20+ Years
Experience

Fully Insured

Same-Day Service

Free On-Site Estimates
Want healthier plants, fewer weeds, and beds that actually look finished? Proper mulch installation is one of the highest-impact improvements you can make to any landscape.
At Mile High Lifescape, we provide professional mulch installation services throughout Denver and the surrounding Front Range communities. From single-bed refreshes to full-property installations, our team handles everything from material delivery through final cleanup, so you get expert results without giving up your weekend.
Read on to learn everything you need to know about mulch installation and discover how Mile High Lifescape can help transform your landscape this season.
What is mulch installation?
Mulch installation is the process of spreading a protective layer of organic or inorganic material over your landscape beds. When done correctly, it improves plant health, reduces maintenance time, and gives your yard a clean, cared-for appearance.
What is mulch?
Mulch is any material applied as a top dressing over soil. The 2 main categories are:
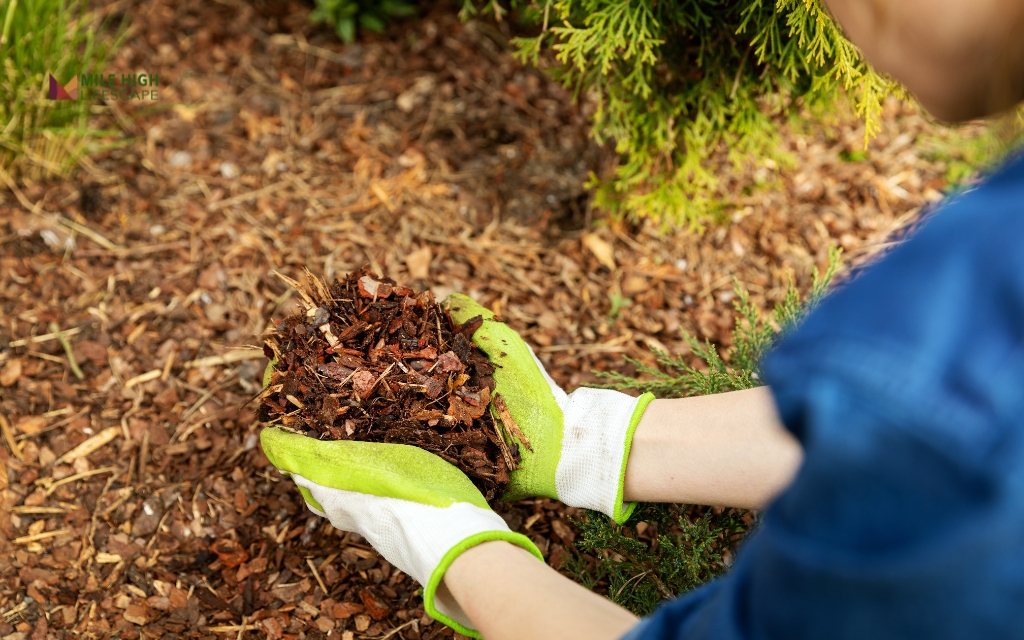
- Organic mulch includes wood chips, shredded bark, straw, and compost. Organic mulch decomposes over time, gradually feeding the soil and improving its structure.
- Inorganic mulch includes gravel, river rock, and rubber mulch. These materials do not break down, which means minimal replenishment but no added soil benefit.
Key benefits of mulch
A correctly installed mulch layer delivers a range of benefits for your landscape:
- Retains soil moisture reduces water loss through evaporation, especially critical in Colorado’s dry, high-altitude climate
- Suppresses weed growth blocks sunlight from reaching weed seeds, dramatically cutting down on ongoing maintenance
- Regulates soil temperature keeps roots cooler during Denver’s hot summers and warmer during freezing winter nights
- Improves soil quality organic mulch breaks down into the soil over time, boosting structure, drainage, and microbial activity
- Enhances curb appeal clean, even mulch beds give your property a well-maintained, professional appearance
Choosing the right type of mulch
The mulch that works best for one bed may be the wrong choice for another. Matching mulch type to your specific plants, goals, and maintenance capacity makes a real difference in long-term results.
Organic mulch
Organic mulch is the best option for garden beds containing perennials, shrubs, and trees. It breaks down gradually, feeding soil microorganisms and improving drainage with each passing season. The trade-off is that it needs to be replenished once or twice per year as it decomposes.
Inorganic mulch
Inorganic mulch does not decompose, which means it requires very little annual upkeep once installed. However, it does not improve soil health, and some types, particularly dark-colored rubber mulch or fine gravel, can retain and radiate heat, which may stress certain plants in summer.
Best choice for most Denver homeowners
For the majority of Denver homeowners, shredded bark or double-shredded wood mulch is the smart, versatile choice. It looks clean and intentional, suppresses weeds reliably, retains moisture well in dry conditions, and breaks down slowly, enriching soil without requiring constant replacement. It also interlocks at the fiber level, making it more resistant to being displaced by heavy rain or strong wind.
Tools and materials needed for mulch installation
Having the right tools before you start makes the entire process faster, cleaner, and less physically demanding. Do not skip the prep – attempting to mulch without proper equipment leads to uneven coverage, wasted material, and frustration.
Essential tools
- Shovel for loading, moving, and distributing mulch from the pile to your beds
- Garden rake for spreading mulch evenly across the entire bed surface
- Wheelbarrow for transporting mulch efficiently from delivery pile or bags to your work area
- Garden gloves to protect your hands from splinters, rough bark, and skin irritation
- Edging tool for creating clean, defined boundaries between lawn and landscape beds before you begin
Materials
- Mulch available in bags (convenient for small areas) or bulk cubic yard delivery (far more cost-effective for large or multiple beds)
- Optional: Landscape fabric – useful for beds with persistent, heavy weed pressure, especially under inorganic mulch
Preparing the landscape bed before mulching
A properly prepped bed is the foundation of long-lasting weed control, healthy plants, and a finish that actually holds up through the season.
- Remove all existing weeds: pull them out by the root, not just the stem. Leaving roots behind guarantees rapid regrowth beneath your fresh mulch layer.
- Clear debris and old mulch buildup: if your existing mulch is thicker than 3 inches in any area, rake out the excess before adding new material. Too much mulch buildup suffocates soil and restricts the oxygen that roots need.
- Loosen compacted soil: use a rake or garden fork to break up the top inch or two of soil, improving water infiltration and air circulation.
- Define clean bed edges: use an edging tool to cut a crisp, defined border between your lawn and your garden beds. Clean edges give your installation a professional appearance and prevent mulch from migrating onto the grass.
Once your bed is prepared, follow these steps for an even, professional-looking installation that protects your plants and holds up through the season.
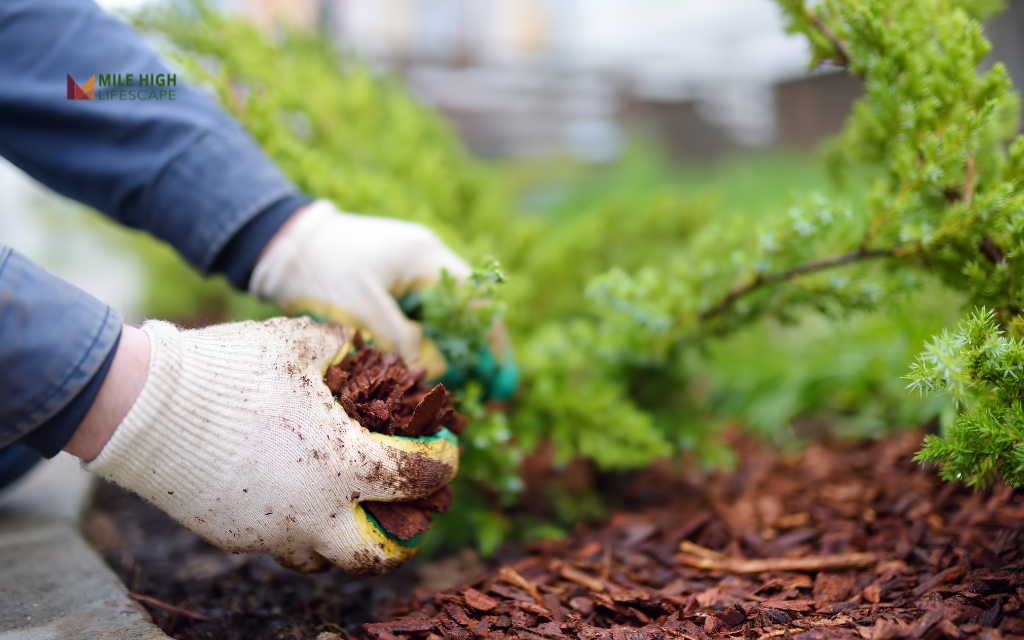
Step 1: Spread mulch evenly
Start at one end of the bed and distribute mulch across the entire area. Work in sections, using your rake to push material into corners, around plant bases, and toward the bed edges. Avoid dumping large piles in one location – spread as you go for more consistent coverage and less correction work later.
Step 2: Maintain proper depth
Depth is the single most important technical detail of the entire mulch installation process. Getting this right makes the difference between mulch that performs and mulch that wastes your money.
- 2 to 3 inches is the correct depth for most garden beds
- Up to 4 inches is appropriate for areas with persistent weed pressure
- Never exceed 4 inches. Excessive depth blocks oxygen from reaching plant roots, encourages fungal growth, and creates habitat for pests
Step 3: Keep mulch away from stems and tree trunks
This step is non-negotiable. Mulch piled directly against plant stems and tree trunks (mulch volcano) traps moisture against the bark. This creates the ideal conditions for fungal disease, insect damage, and slow decline that may not be visible for months or years.
- Keep mulch at least 2 to 3 inches away from the base of all shrubs and perennial stems
- For trees, apply mulch in a flat donut shape, keeping the root flare fully visible and exposed
Step 4: Smooth and finish
Once mulch is at the correct depth and all stems and trunks are cleared, use the back of your rake to smooth the surface to a consistent, even finish. This final step is what separates a polished, professional-looking installation from a hurried DIY job.
Special mulching techniques for different plants
Different plants have different needs, and adjusting your technique slightly can prevent damage and improve long-term results for each area of your landscape.
Mulching around trees
Trees are among the plants most vulnerable to improper mulching, yet they are also among the most frequently over-mulched.
Follow these guidelines to protect your trees properly:
- Apply mulch in a wide, flat ring extending 2 to 3 feet outward from the trunk or to the drip line for younger, establishing trees
- Keep mulch 2 to 3 inches away from the trunk at all times, without exception
- Expose the root flare, it should always be clearly visible at the soil surface
- Never create mulch volcanoes because the damage they cause to root systems and bark is cumulative and often irreversible by the time symptoms appear
How to lay mulch over weeds
Mulch alone can suppress weeds effectively but if you are dealing with an established weed problem, a few extra steps will dramatically improve your results:
- Remove large, established weeds: Hand-pull them from the root before applying any mulch
- Apply a pre-emergent herbicide: This prevents weed seeds in the soil from germinating beneath your new mulch layer (follow all label instructions)
- Apply a thick mulch layer: 3 to 4 inches blocks light from reaching weed seeds and interrupts the germination cycle
- Consider landscape fabric for chronic weed areas: A fabric barrier beneath your mulch adds an extra layer of weed suppression for beds with particularly persistent problems
Landscape fabric performs best under inorganic mulch such as gravel. Under wood mulch, it can degrade over time and become entangled in root systems, so weigh the long-term trade-offs before installing it.
How to put down mulch in flower beds
Flower beds, especially those with delicate annuals, young perennials, or densely planted arrangements, require a gentler, more precise approach:
- Use finer-textured mulch such as shredded bark or compost around soft-stemmed annuals and perennials. Coarse wood chips can damage fragile stems and crowd small plants
- Avoid burying small stems or emerging crowns – leave plant bases clearly visible above the mulch surface
- Maintain consistent spacing between mulch and plant bases throughout the bed, which supports healthy airflow and reduces the risk of fungal problems
How to maintain your mulch throughout the seasons
Mulch is not a set-it-and-forget-it solution. In Denver’s climate, regular maintenance is what keeps your mulch performing the way it should from month to month.
Mulch care in the spring
Spring is the most important maintenance window for mulch. After winter, your mulch layer may have compacted, partly decomposed, or shifted from freeze-thaw cycles.
- Rake and fluff the existing layer to restore texture and allow water and air to penetrate
- Pull early-season weeds before they establish deep root systems beneath the mulch
- Top up depth to the correct 2 to 3 inch range to lock in soil moisture as temperatures rise and spring winds begin to dry the soil
Mulch care in the summer
Denver summers are hot, dry, and intense which puts your mulch layer to work as a moisture barrier and temperature buffer.
- Check subsurface moisture regularly – the soil a few inches beneath the mulch should feel consistently damp, even during dry stretches
- Rake and reposition any mulch that has dried into a crust or shifted from wind, foot traffic, or irrigation
- Identify thinned or bare areas and top up as needed to maintain consistent weed suppression
Mulch care in the fall
Fall mulching is one of the most underused practices among Denver-area homeowners:
- Add a fresh layer of mulch in October or November to insulate plant roots before the ground freezes
- Clear fallen leaves regularly, as matted leaves on top of mulch can form a water-repelling barrier that prevents rain and snowmelt from reaching the soil
- Fall is an ideal time to refresh beds that have not been mulched since spring and to correct any depth deficiencies before winter sets in
Mulch care in the winter
Once the ground freezes, your mulch layer works quietly in the background – protecting root systems from the freeze-thaw cycles that are common in winters.
- Resist the urge to remove or disturb the mulch layer during cold months
- After heavy snowfall, inspect beds for areas where mulch has been displaced by snowmelt or foot traffic and reposition as needed
- When snow melts in late winter, inspect beneath the mulch surface for signs of fungal activity or pest presence
Ways to prevent mulch from washing away in heavy rain
Heavy rain events in summer can displace mulch quickly if your installation is not set up to handle water movement. Here is how to keep your mulch in place:
- Install proper edging: Metal, rubber, stone, or wood edging creates a physical barrier that keeps mulch contained within bed boundaries even during heavy downpours
- Choose shredded mulch over large bark chips: Shredded wood mulch interlocks at the fiber level, providing natural resistance to water displacement that chunky chips cannot match
- Address steep slopes proactively: If your beds are on a grade, consider terracing with retaining borders or installing erosion-control edging to prevent material from washing downhill
- Maintain correct depth: Mulch thinner than 2 inches has insufficient mass to stay in place during heavy rain and is far more vulnerable to erosion
- Do not overfill above edging: Mulch should sit at or just below the top edge of your border, not piled above it, which creates a surface-runoff path directly out of the bed
Why choose Mile High Lifescape for mulch installation?
If you have been searching for professional mulch installation services near me in Denver and the surrounding Front Range communities, Mile High Lifescape combines local expertise, technical precision, and transparent pricing to deliver results that hold up over time.
Local expertise
We have been working with Denver-area landscapes for 20 years. We understand the specific challenges of Colorado soil conditions, elevation, seasonal timing, and climate variability, from late spring frosts to summer drought to early fall freezes.
Every mulch installation we complete is tailored to what actually performs here, not generic recommendations designed for a different region’s climate.
Professional results
Our team delivers clean bed edges, consistent depth, proper stem clearance, and a finished appearance that reflects the care your landscape deserves.
We do not cut corners on technique – no mulch volcanoes, no buried root flares, no thin spots that let weeds through within a few weeks of installation.
Time-saving service
We handle everything from delivery and installation through final cleanup. You do not need to haul materials, rent equipment, or give up your weekend. Come home to a transformed landscape, ready for the season ahead.
Reliable and transparent pricing
We know that mulch installation cost is a key factor in your decision. That is why we provide clear, upfront estimates with no hidden fees. Whether you need a single bed refreshed or full-property mulch installation services across multiple zones, we will give you an accurate number before any work begins.

Conclusion
Mulch installation is one of the simplest ways to improve your landscape when done correctly. With proper preparation, correct depth, and seasonal maintenance, you can achieve professional-looking results that protect your plants and enhance your garden.
And if you would rather leave the heavy lifting to the experts, Mile High Lifescape is ready to help – with the local knowledge, proper technique, and attention to detail that your Denver landscape deserves.
Contact us today at (303) 877-9091 to schedule your tree inspection and get a transparent, no-obligation estimate.