Dirty river rock creates hiding spots for weeds. Trapped debris holds moisture against plant roots, inviting rot and disease. The dust and soil buildup eventually changes your rock’s color, making even high-quality stone look cheap and neglected.
Learning how to clean river rock landscaping protects your investment. Clean rocks reflect your commitment to water-wise gardening. They keep your xeriscape functioning as designed – shedding water quickly, suppressing weeds, and maintaining proper drainage around foundation plantings.
This guide shows you exactly how to restore your river rock. You’ll learn which cleaning methods work best for Denver’s climate, techniques that won’t drain your irrigation budget, and simple maintenance is enough and when deeper intervention makes sense.
Why river rock landscaping gets dirty in Denver
Denver’s environment creates unique challenges for landscape rock. The combination of high altitude, low humidity, and intense sun breaks down organic matter quickly.
Wind carries this fine debris directly into rock beds. Summer thunderstorms follow with heavy rain that splashes mud several feet up from bare soil areas.
- Wind-blown dust and fine soil: Denver sits at the edge of the Great Plains, where prevailing winds pick up particles from agricultural land, construction sites, and bare ground. This dust settles on rock surfaces daily, building a layer that dulls the stone’s natural color.
- Organic debris: Leaves break down into fine particles. Pine needles slip between rocks and decay slowly. Grass clippings from nearby lawns blow into rock beds during mowing. Each addition traps moisture and creates growing conditions for weeds.
- Mud splash: Rain hits bare soil or turf and bounces upward, coating rocks with a thin layer of dirt. Snowmelt in spring creates similar problems as frozen soil thaws and water carries particles across the landscape.
- Algae and mildew: North-facing beds under tree canopies stay damp longer than sun-exposed areas. The combination of shade, trapped moisture, and organic debris creates ideal conditions for green or black growth on rock surfaces.
Before you start: Assess your river rock area
Walk your property before gathering tools or turning on the hose. Understanding what you’re dealing with determines your cleaning approach. Some areas need only a quick surface refresh. Others require deeper intervention to restore proper function and appearance.
Decide what kind of cleaning you need
Light refresh: Dust coats the rocks but hasn’t penetrated deeply. Leaves and twigs sit on top rather than work into the bed. A simple removal of debris and quick rinse restores the original look.
Moderate cleaning: The rocks have lost their bright appearance. Dirt has worked down between stones, creating a muddy layer underneath. You’ll need to agitate the rock bed and rinse more thoroughly to reach embedded material.
Deep restoration becomes necessary when rocks have sunk into soil, weeds have established extensive root systems, or mud has created a thick layer throughout the bed. This level requires removing rocks completely, addressing underlying problems, and reinstalling clean stone.
Check for potential problems first
Are rocks sunken into soil? If you can barely see individual rocks or they’ve settled below the surrounding grade, you have a base layer problem.
Is landscape fabric exposed or failing? Look for black fabric showing through rocks, tears in the fabric, or complete fabric breakdown. Failed landscape fabric allows soil migration and makes weed control nearly impossible. You might need to replace fabric during deep cleaning.
Are nearby plants sensitive to disturbance? Identify plants growing within 12 inches of rock areas. Perennials with shallow root systems, newly planted specimens, or moisture-sensitive plants like lavender and salvia may not tolerate aggressive rinsing or soil saturation during cleaning.
This assessment determines how aggressive your cleaning method should be. Light issues respond to simple dry cleaning, while deep problems may require professional intervention to avoid damaging your landscape investment.
How to clean river rock landscaping
Step 1: Remove loose debris
Begin every rock cleaning session with dry removal of surface debris. This prevents pushing leaves and organic matter deeper into the rock layer where they’ll decompose and create more soil buildup.
- Use a leaf blower on a low to medium setting to clear leaves, twigs, pine needles, and loose dirt from the rock surface. Work from one end of the area to the other, blowing debris onto adjacent lawn or into collection areas. A backpack blower gives you better control and reduces fatigue for larger areas over 500 square feet.
- Switch to a stiff-bristled push broom for stubborn debris that blowing alone doesn’t remove. Work the broom in the direction of natural slope to move material off the rock bed. This agitation also loosens dirt that’s settled between rocks, making the next rinsing step more effective.
- Always complete this dry cleaning phase before introducing water. Hosing off debris without removing it first creates a muddy mess that embeds dirt more deeply into your rock layer. This is especially important in Denver’s clay-rich soils, which turn to sticky mud when wetted.
Step 2: Rinse the rock surface
Once loose debris is cleared, strategic rinsing removes the dust and light soil that dry methods miss. The key is using just enough water to clean effectively without waste.
Use a gentle spray pattern, not full blast pressure. Attach a hose nozzle with an adjustable spray setting and select “shower” or “mist” rather than “jet.” Aggressive water pressure can displace rocks, expose landscape fabric, and disturb plant roots. It also uses significantly more water than necessary.
Work downhill following your yard’s natural slope to control runoff direction. Start at the highest point of your rock bed and systematically rinse sections, allowing water to flow naturally toward drainage areas or lawn edges. This prevents water from pooling in low spots or flooding plant root zones.
Avoid soaking the soil beneath rocks or creating standing water. The goal is surface rinsing, not saturation. Move steadily across the area rather than dwelling on one spot. If water starts pooling, you’re applying too much too quickly.
Step 3: Loosen embedded dirt
For dirt that’s compacted between rocks or dried onto surfaces, gentle agitation breaks it loose so rinsing becomes effective.
Lightly rake the rock surface using a leaf rake or bow rake with moderate pressure. Work in straight lines across the area, allowing the rake tines to stir the top layer of rocks without digging down to the landscape fabric. This action lifts embedded soil particles to the surface where rinsing can remove them.
Physically lift and drop rocks in heavily soiled sections. This technique is labor-intensive but highly effective for moderate cleaning needs. Pick up a shovelful of rocks, lift them 6-8 inches, and drop them back in place. The impact dislodges trapped dirt, and you’ll see dust clouds or soil falling through the rock layer. Repeat 2-3 times per shovelful.
Spot-rinse only areas you’ve just agitated rather than rinsing the entire bed again. This targeted approach conserves water while addressing problem zones. You’ll notice previously hidden dirt now visible on the surface – a sign your agitation is working.
Step 4: Deep cleaning
Sometimes river rock requires washing beyond what surface rinsing achieves. This is common every 3-4 years or after major landscaping changes that introduce significant soil contamination.
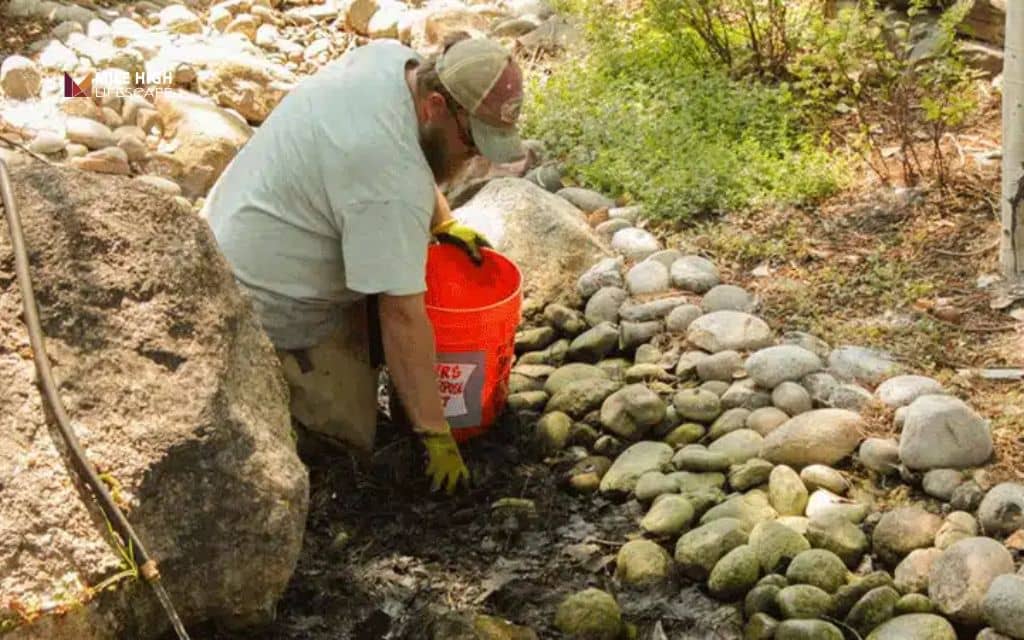
For heavily soiled areas, remove rock in manageable batches. Using a square-point shovel, scoop rocks into a 5-gallon bucket or wheelbarrow. Work in small sections (4-5 square feet at a time) to avoid overwhelming yourself and to maintain landscape fabric coverage as much as possible.
Wash rocks through a screen with controlled water flow. Set up a simple washing station: place 1/2-inch hardware cloth screen over a wheelbarrow or large bucket, spread a single layer of rocks on the screen, and rinse with moderate water pressure. Dirt and clay wash through while clean rocks remain. This method uses less water than washing individual rocks and processes more volume.
Let excess water drain completely before returning rock. Spread washed rocks on a tarp in direct sun for 30-60 minutes. Dry rocks are easier to handle and won’t introduce additional moisture to your landscape bed. This step also prevents mud creation if your underlying soil is already damp.
Inspect and repair landscape fabric while rock is removed. This is your opportunity to fix tears, add fabric to exposed areas, or replace deteriorated sections. Fresh fabric significantly extends the time before your next deep cleaning is needed.
How often should you clean river rock landscaping?
Typical maintenance schedule in Denver
Light cleaning two to three times per year keeps most rock beds looking sharp. Schedule these sessions after spring storms (late April through May), following peak leaf fall (October through November), and after winter debris accumulates (late February through March). Each session takes 30-60 minutes for an average residential bed.
Deep cleaning every 2-4 years maintains long-term function. Frequency depends on your specific conditionsbeds under mature cottonwoods need more frequent deep cleaning than those in open areas. Properties near construction sites or bare soil face faster accumulation than established neighborhoods with mature landscaping.
Signs it’s time to clean again
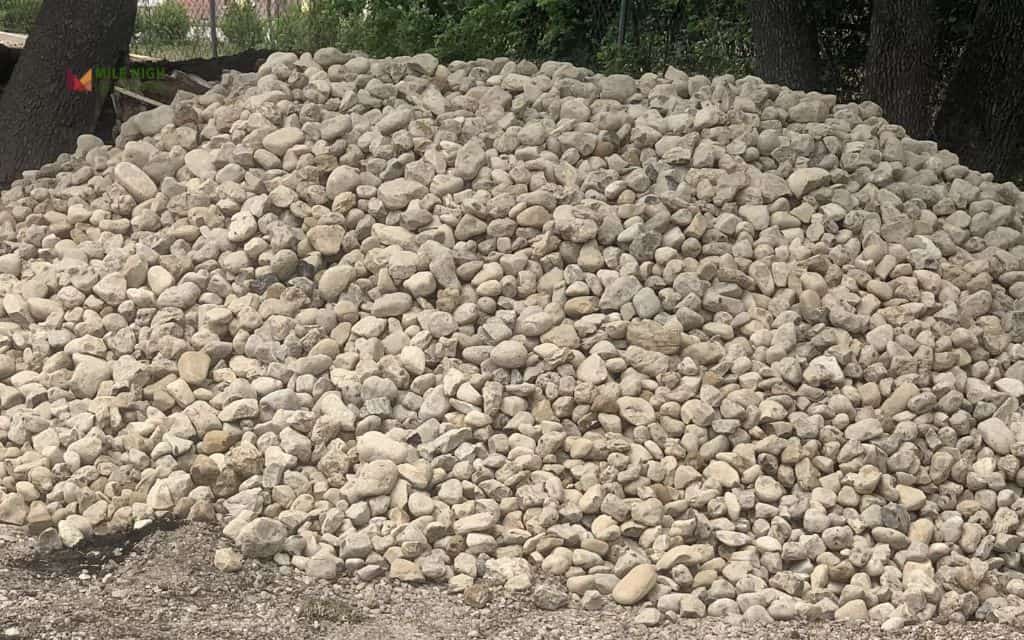
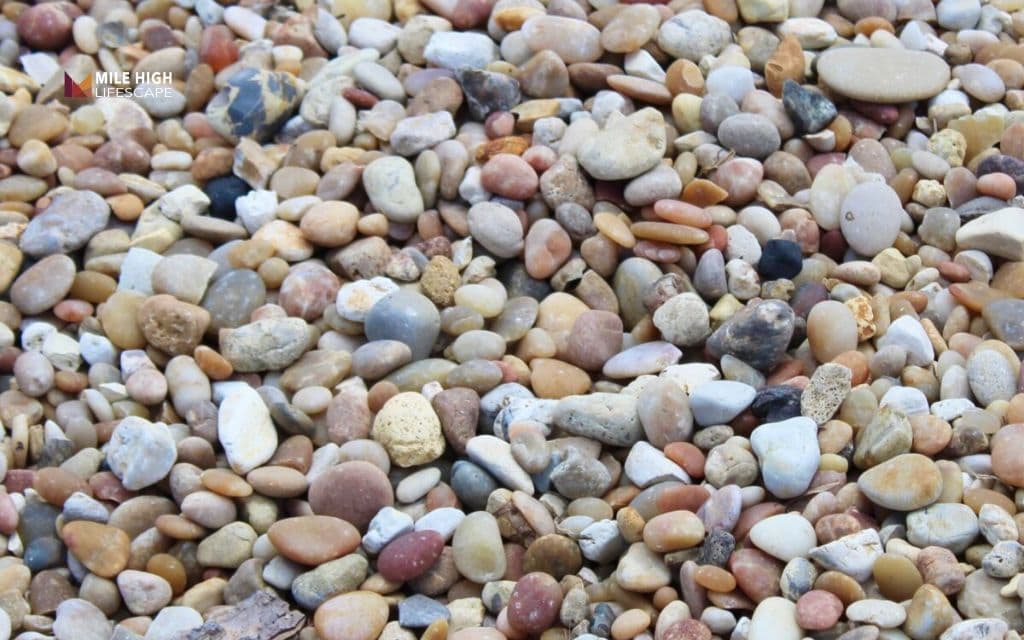
Rock color provides the clearest signal. When stones look dull gray rather than showing their natural color variations, dirt has built up enough to warrant attention. This dulling happens gradually, so compare current appearance to photos taken right after installation or the last deep cleaning.
Soil becomes visible between stones as buildup progresses. You’ll see brown or gray material filling gaps that should show landscape fabric or base rock. This soil provides a seed bed for weeds and holds moisture against rocks, potentially causing staining or discoloration.
Increased weed growth signals that organic matter has accumulated to levels supporting plant establishment. A few weeds don’t necessarily mean the whole bed needs cleaning, but a sudden increase in weed pressure indicates conditions have shifted in their favor.
Conclusion
Cleaning river rock landscaping protects your investment in water-wise landscaping. The right approach uses minimal water, requires no harsh chemicals, and puts you back in control of your yard’s appearance.
Regular maintenance beats emergency restoration. Schedule light cleaning sessions with seasonal yard work. Stay ahead of accumulation rather than fighting years of neglect. Your rocks will maintain their appearance, your plants will thrive, and your xeriscape will function as designed.
If your rock landscaping needs more than a refresh, professional maintenance can save time and protect your investment.
For nearly two decades, Mile High Lifescape has been serving Denver Metro area homeowners with expert landscape rock service. Contact us at (303) 877-9091 or hello@milehighlifescape.com for a free assessment.
Frequently asked questions (FAQs)
What is the best way to clean river rock landscaping?
Start by removing loose debris with a leaf blower or broom before adding any water. Follow with a gentle rinse using a shower-pattern spray nozzle, working from high areas downward. For embedded dirt, lightly rake the surface to lift and drop rocks, then spot-rinse only where needed to conserve water.
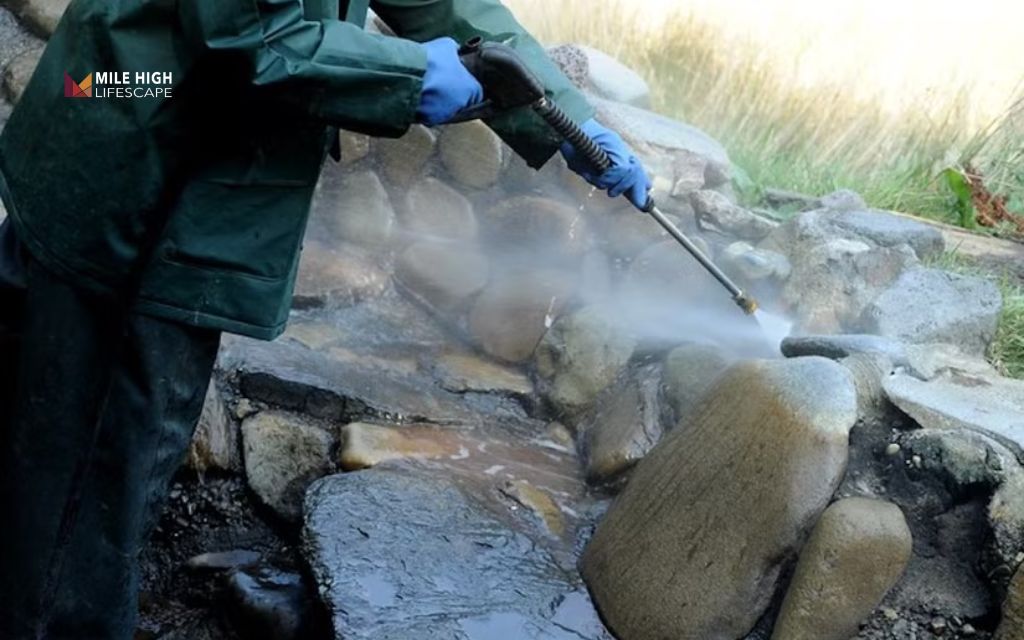
Can I pressure wash landscape rocks?
Pressure washing creates more problems than it solves for river rock beds. High pressure displaces rocks, exposes or damages landscape fabric, and forces dirt deeper between stones. A standard garden hose with an adjustable nozzle set to gentle spray provides enough force to clean effectively without causing damage.
How do I clean river rocks without removing them?
Surface cleaning handles most situations without rock removal. Blow off debris, rinse with a gentle spray, and use light raking to agitate the top layer. This approach cleans thoroughly for routine maintenance while keeping rocks in place and preserving the landscape fabric underneath.
Does cleaning river rock help prevent weeds?
Yes. Regular cleaning removes the organic matter and fine soil that weeds need to germinate. Clean rocks provide no seed bed, no nutrients, and no moisture retention for weed establishment. Most weeds you see in rock beds started in accumulated debris, not in the rocks themselves.
How much water does it take to clean landscape rocks?
A typical 100-square-foot rock bed requires 10-15 gallons for thorough surface cleaning – about the same as watering a flower bed. Deep cleaning uses 20-30 gallons because you’re rinsing both rocks and the underlying base. Compare this to the water saved by maintaining rocks instead of growing traditional groundcovers in the same space.
