Denver’s climate demands careful preparation to protect strawberry plants through harsh winter months. So, how to winterize strawberry plants? The key to successful winterization lies in understanding Colorado’s unique weather patterns and implementing proven protection strategies before the first frost arrives.
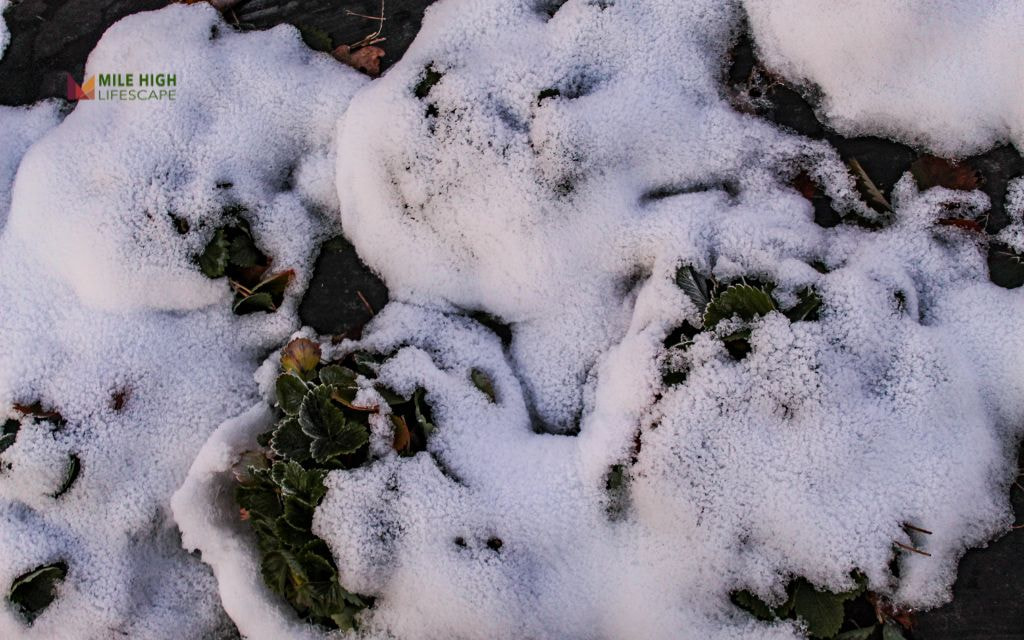
Strawberry plants face significant challenges in Denver, where temperatures can plummet below zero and snow accumulation can persist for months. Without proper winterization, plants suffer root damage, crown rot, and reduced spring productivity. The extreme temperature fluctuations common in Colorado create additional stress that can kill unprotected plants.
Why is winterizing strawberry plants important?
Denver’s climate brings sudden temperature drops, heavy snowfall, and freeze-thaw cycles that damage unprotected strawberry plants. These conditions freeze plant roots, damage crowns, and stress entire plant systems. Without protection, survival rates drop to just 30% compared to 90% for properly winterized plants.
Proper winterization protects against challenges: rapid temperature changes, soil heaving from freeze-thaw cycles, and dry winds that desiccate plant tissues.
Protected plants emerge stronger in spring, producing larger berries and higher yields throughout the growing season.
How to winterize strawberry plants step by step?
Follow these systematic steps beginning in late October, approximately 2 weeks before Denver’s average first frost date:
Step 1: Clean and prepare the area
Remove all dead leaves, spend fruit, and plant debris from the strawberry bed. Cut back runners and trim damaged or diseased foliage, leaving healthy green leaves intact. Clean tools with rubbing alcohol to prevent disease transmission.
Step 2: Prepare the soil
Gently loosen soil around plants using a hand cultivator, working carefully to avoid root damage. This prevents soil compaction under snow weight and improves spring drainage. Add a light application of compost around plants, maintaining a 2-inch distance from crowns.
Step 3: Apply base mulch layer
Spread a thin layer of compost directly around the root zone, followed by 4 to 6 inches of straw mulch. Extend mulch coverage beyond the plant’s drip line to protect the entire root system. Avoid using thick layers of leaves alone.
Step 4: Install plant covers
Place frost cloth or row covers over the entire strawberry bed after applying mulch. Use hoops or stakes to create an air gap between fabric and plants. This prevents fabric contact with foliage while maintaining insulation properties.
Step 5: Secure protection systems
Anchor covers with landscape pins or heavy objects to prevent wind displacement. Ensure fabric edges touch the ground to trap warm air while allowing moisture exchange. Check security weekly throughout winter.
Step 6: Winterize container plants
Move container-grown strawberries to sheltered locations such as unheated garages or covered patios. Wrap pots with insulating materials like burlap or bubble wrap. Group containers together and surround them with mulch or hay bales.
Step 7: Final watering
Water plants thoroughly before the ground freezes, ensuring deep root zone saturation. This provides moisture reserves that plants access during winter months. Avoid watering when freezing temperatures are expected within 24 hours.
What materials and tools are needed?
Mulching materials:
- Straw (weed-free): The gold standard for strawberry winterization. Straw provides excellent insulation while allowing air circulation, preventing moisture buildup that leads to crown rot. Purchase certified weed-free straw to avoid introducing unwanted plants to your strawberry bed.
- Shredded leaves: Effective when mixed with straw but never used alone. Leaves compact under snow weight and create anaerobic conditions that damage plants. Mix no more than 25% leaves with 75% straw for optimal results.
- Pine needles: Excellent supplementary mulch that adds beneficial acidity strawberries prefer. Pine needles provide superior drainage properties and decompose slowly. Combine with straw for enhanced protection and soil improvement.
- Compost: Serves dual purposes as mulch and soil amendment. Apply a thin layer directly around plants before adding other mulching materials. Compost provides slow-release nutrients that plants can access during warm winter periods.
Plant protection covers:
- Frost cloth (0.55-1.5 oz per square yard): Premium protection material for extreme cold events. Choose appropriate weight based on expected temperatures. Lighter fabrics work for mild protection while heavier weights handle severe cold snaps without crushing plants.
- Row covers: Create beneficial microclimates that maintain temperatures several degrees warmer than ambient air. Install loosely to allow air circulation and plant movement. Tight installations cause damage during wind events.
- Burlap: Natural fiber material perfect for additional layering during severe cold snaps. Burlap breathes well and prevents condensation buildup while providing wind protection. Use over frost cloth for extra insulation.
- PVC hoops or metal conduit: Essential support structures that maintain air space above plants. Proper spacing prevents fabric contact with foliage while maximizing insulation benefits. Install hoops before covering for easy installation.
- Landscape pins or heavy objects: Critical for securing covers against Colorado’s strong winter winds. Use enough anchoring points to prevent fabric displacement during storms. Check security weekly throughout winter months.
Soil care and fertilization:
- Balanced organic fertilizer: Apply 6 weeks before first expected frost to allow nutrient absorption without stimulating vulnerable new growth. Choose fertilizers with equal nitrogen, phosphorus, and potassium ratios for balanced plant nutrition.
- Hand cultivator: Essential tool for gently loosening soil around plants without damaging roots. Proper soil preparation prevents compaction under snow weight and improves spring drainage when thaw begins.
Container protection:
- Insulating materials (burlap, foam insulation, bubble wrap): Crucial for protecting container root systems that lack natural soil insulation. Focus protection on pot sides and bottoms where roots are most vulnerable to freezing temperatures.
- Hardware cloth barriers: Prevention system for rodent damage to mulched areas. Install barriers 2 inches deep and extend 6 inches above mulch level. Check monthly for damage and repair promptly to maintain protection.
How can you protect strawberry plants from harsh winters?
Row covers and fabric protection
Row covers create protective microclimates that moderate temperature extremes. Install covers using hoops made from PVC pipe or metal conduit to maintain air space above plants. This design prevents fabric contact with foliage while maximizing insulation benefits.
Layer different protective materials for extreme weather events. Use frost cloth as the primary layer, adding burlap or additional fabric during severe cold snaps. Remove excess layers during warming periods to prevent overheating and condensation buildup.
Cold frames and hoop houses
Construct temporary cold frames using clear polycarbonate panels and wooden frames. Position frames to capture maximum solar gain while protecting plants from prevailing winds. Include ventilation systems to prevent overheating during sunny winter days.
Hoop houses provide excellent protection for larger strawberry plantings. Use cattle panels or PVC hoops covered with greenhouse plastic. Install automatic vent openers to regulate temperature without daily monitoring.
Winterizing containers
Container strawberries need extra protection since pots provide minimal insulation. Wrap containers with insulating materials such as burlap, foam insulation, or bubble wrap. Focus protection on pot sides and bottoms where root systems are most vulnerable.
Group containers together and surround them with mulch or straw bales. This creates a thermal mass that moderates temperature fluctuations. Position grouped containers in protected areas away from prevailing winds.
Move containers to unheated but sheltered spaces such as garages, sheds, or covered patios. These locations provide wind protection while maintaining cold temperatures necessary for dormancy.
Monitoring moisture
Winter watering requires careful attention to soil moisture levels and weather conditions. Water plants thoroughly before the ground freezes, ensuring deep root zone saturation. This provides moisture reserves that plants can access during winter months.
Check soil moisture monthly during winter thaws. Water sparingly when soil feels dry 2 inches below the surface. Avoid watering when temperatures are expected to drop below freezing within 24 hours.
What are some additional tips?
Pest control measures:
- Inspect mulch and covers regularly for rodent activity signs
- Install hardware cloth barriers around strawberry beds
- Bury barriers 2 inches deep, extend 6 inches above mulch level
- Check barriers monthly and repair damage promptly
- Remove fallen fruit and plant debris before winterization
- Clean tools with rubbing alcohol to prevent disease transmission
- Watch for mice and voles nesting in straw mulch during winter
Proper watering techniques:
- Water deeply in late fall when soil temperatures exceed 40°F
- Ensure roots absorb moisture before entering dormancy
- Check soil moisture monthly during winter thaws
- Water sparingly when soil feels dry 2 inches below surface
- Avoid watering 24 hours before expected freezing temperatures
- Allow soil to dry slightly between winter waterings
- Monitor drainage to prevent ice formation around roots
- Improve drainage in clay soils with sand or organic matter
Temperature and weather monitoring:
- Remove covers during warm winter days above 40°F to prevent overheating
- Watch for condensation buildup under protective covers
- Adjust ventilation during sunny winter periods
- Monitor weather forecasts for extreme cold events requiring extra protection
Conclusion
Successful strawberry winterization in Denver’s Zone 5 climate requires proper timing, quality materials, and systematic protection methods. Begin preparations in late October using straw mulch and frost cloth to achieve 90% plant survival rates compared to just 30% for unprotected plants.
The investment in proper winterization delivers healthier spring emergence and increased berry yields throughout the growing season. For nearly 2 decades, Mile High Lifescape has been proudly serving the Denver Metro area as the go-to landscape company. Contact Mile High Lifescape at (303) 877-9091 for expert guidance on winterizing your garden and preparing your landscape for Colorado’s challenging climate.
Frequently asked questions (FAQs)
How do I know when to winterize my strawberry plants in Denver?
Begin winterization preparations in late October, approximately 2 weeks before Denver’s average first frost date. Watch for nighttime temperatures consistently dropping below 40 degrees Fahrenheit as your signal to start the process.
Can I use any type of mulch for winterizing strawberries?
Straw provides the best mulch for strawberry winterization, offering excellent insulation and air circulation. Avoid using thick layers of leaves alone, as they can mat down and retain moisture that promotes crown rot.
Should I cover strawberry plants during the winter months?
Yes, covering strawberry plants with frost cloth or row covers provides essential protection from wind, extreme cold, and temperature fluctuations common in Denver’s Zone 5 climate.
Do strawberries need to be winterized?
Strawberries require winterization in Zone 5 climates to survive temperatures below 10 degrees Fahrenheit. Proper protection ensures plant survival rates exceeding 90% compared to just 30% for unprotected plants.
How to keep strawberries fresh for winter?
Remove all debris and spend fruit before winterization. Proper mulching and covering techniques maintain plant health through dormancy, ensuring fresh, vigorous growth when spring arrives.
Should I prune my strawberry plants before winter?
Remove dead leaves, runners, and damaged foliage before winterization. Leave healthy green leaves intact, as they help protect the plant crown and provide energy reserves for spring growth.

