How to winterize hydrangea plants? You need to protect the flower buds and roots by adding mulch around the base, wrapping plants with burlap to block cold winds, and moving potted hydrangeas to warmer spots like garages or covered porches during freezing months.
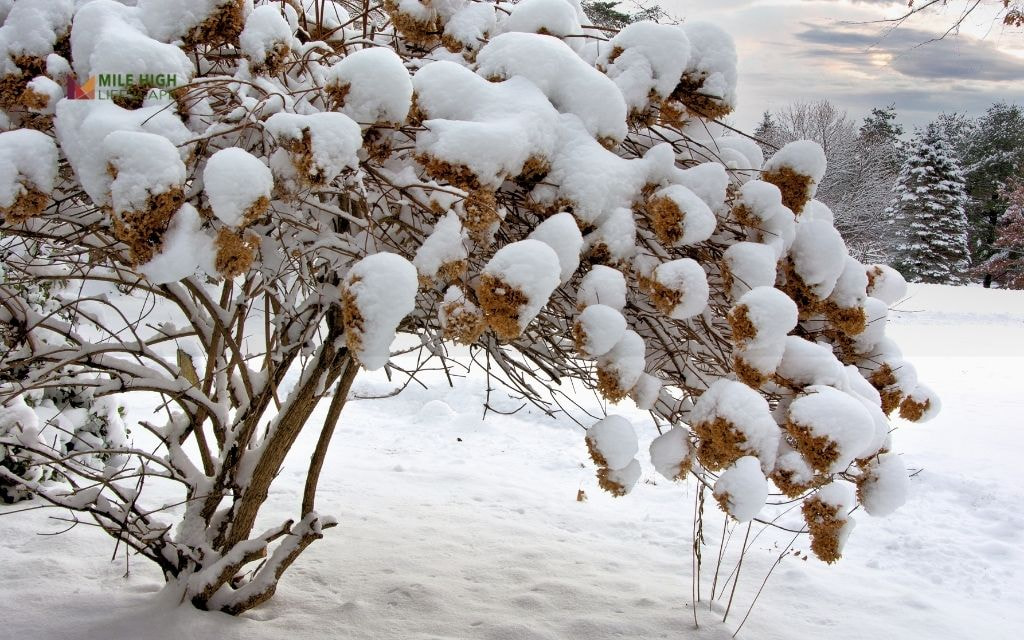
Harsh winter conditions pose serious threats to hydrangea survival. These stunning flowering shrubs face extreme temperature swings, fierce winds, and sudden freeze-thaw cycles that can destroy tender buds and damage root systems.
Without proper winterization, your hydrangeas may fail to bloom next spring or suffer permanent damage.
This comprehensive guide walks you through essential winterization steps including pruning techniques, mulching methods, covering strategies, and care for potted hydrangeas. You’ll also learn how to identify winter damage and help your plants recover for spectacular spring blooms.
Let’s get started!
How to Winterize Hydrangea Plants?
Step 1: Pruning (When and How)
Proper pruning sets the foundation for successful winter protection. Dead wood and spent flowers harbor diseases that winter stress can worsen. Remove these vulnerable parts before cold weather arrives.
Schedule pruning for late fall, after blooms fade but before heavy snow arrives. This timing, typically October through early November in Denver, allows plants to redirect energy toward root strengthening while avoiding new growth that frost would damage.
Use sharp, sanitized pruning shears to prevent disease transmission. Cut back up to one-third of the plant’s height, focusing on dead, diseased, or damaged stems. Remove spent flower heads, but preserve healthy buds that will produce next year’s blooms. Clean cuts heal faster and resist infection better than ragged tears.
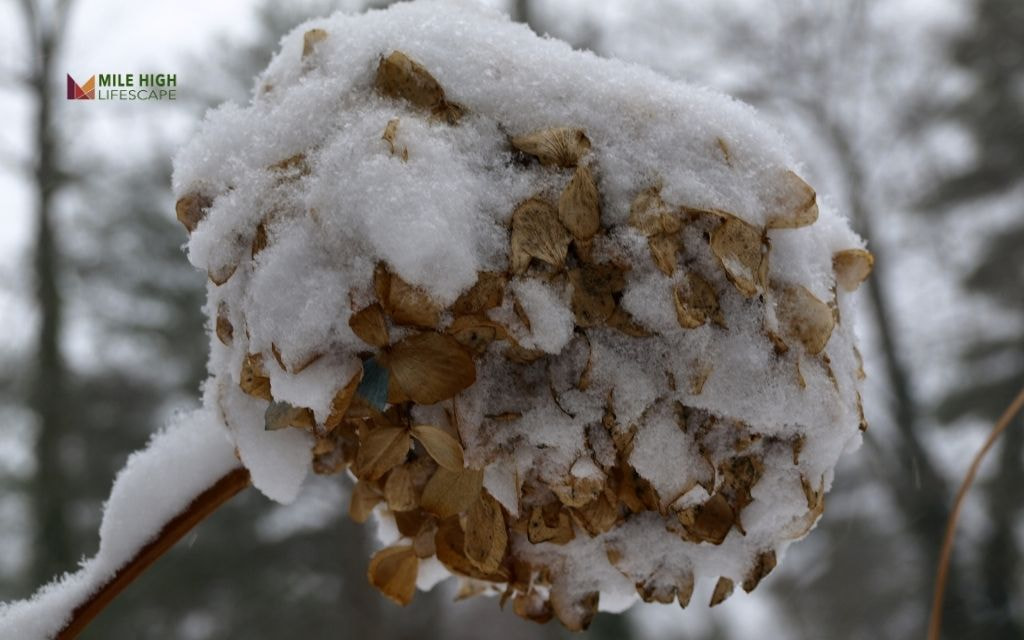
Step 2: Mulching
Mulch creates a protective barrier that insulates roots from temperature extremes. It prevents soil heaving during freeze-thaw cycles that can damage root systems and expose tender feeder roots to killing frost.
Choose organic materials that decompose slowly and provide steady insulation. Shredded bark, composted leaves, or straw work well. Avoid rock mulch, which absorbs cold and transfers it directly to plant roots.
Step 3: Covering with Burlap or Frost Cloth
Denver’s fierce winter winds can desiccate hydrangea stems and buds even when temperatures stay above freezing. Wind protection becomes essential for plant survival.
Select breathable materials like burlap or horticultural frost cloth rather than plastic covers that trap moisture and cause rot. These materials filter wind while allowing air circulation that prevents fungal problems.
Wrap plants loosely, creating a tent-like structure supported by stakes if necessary. Secure covers with soft ties, ensuring material doesn’t contact branches directly. Leave the bottom open for air circulation unless extreme cold threatens, then close temporarily during the worst weather.
Step 4: Watering Before Winter Sets In
Denver’s dry climate means hydrangeas enter winter already stressed by low humidity. Adequate soil moisture helps plants survive dormancy without desiccation damage.
Water deeply in late fall before soil freezes, typically mid to late November. Apply water slowly to ensure penetration to the full root zone depth. Soil should feel moist but not waterlogged at 6-inch depth.
Stop regular watering once soil begins freezing consistently.
Step 5: Checking for Pests or Disease
Winter stress weakens plants, making them vulnerable to pest and disease problems that healthy specimens resist. Fall inspection catches issues before they become serious.
Examine stems, leaves, and soil for aphids, spider mites, scale insects, or fungal infections. Look for unusual discoloration, webbing, or sticky honeydew deposits that indicate pest presence.
Treat identified problems with appropriate horticultural oils or remove affected plant parts. Clean pruning tools between cuts to prevent spreading infections throughout the plant.
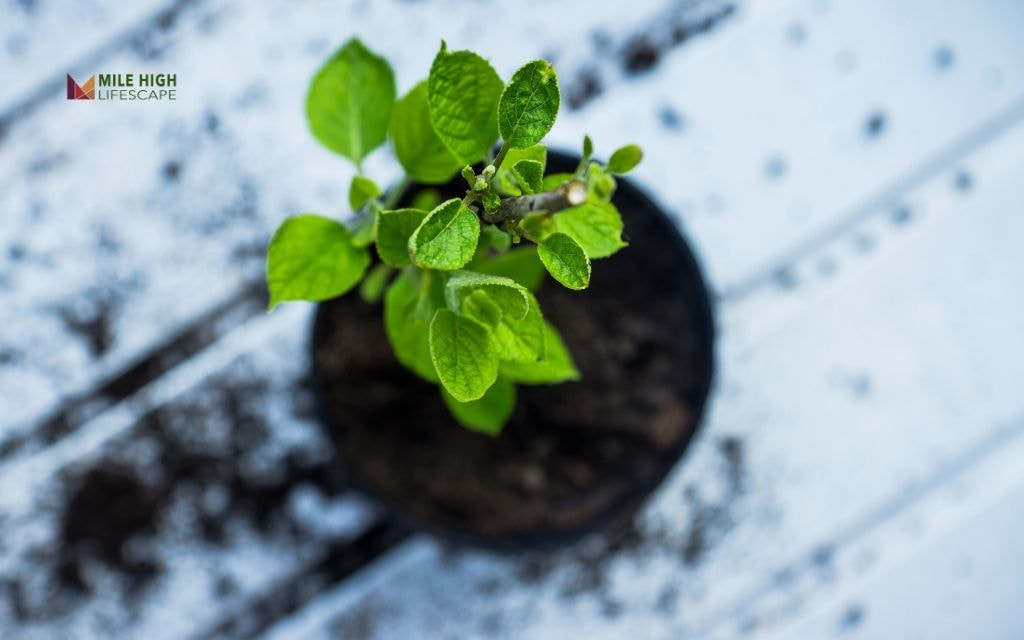
How to Winterize Potted Hydrangeas?
Container-grown hydrangeas face greater winter risks because exposed roots experience more severe temperature swings than ground-planted specimens.
Pots freeze faster and thaw quicker, creating stress that can kill plants.
Step 1: Move Pots to Protected Areas
Relocate containers to sheltered locations where temperatures remain more stable. Unheated garages, basements, or covered porches provide protection from wind and extreme cold while maintaining dormancy conditions.
If indoor space isn’t available, bury pots in the ground up to their rims and surround with mulch. This technique insulates roots while keeping plants accessible for winter monitoring.
Step 2: Insulate the Pot
Wrap containers with insulating materials like bubble wrap, burlap, or foam sleeves. Multiple layers work better than single thick coverings. Focus protection on pot sides where roots contact container walls.
Place wrapped pots inside larger containers filled with insulating material like shredded leaves or straw. This double-wall approach creates an air barrier that maintains more stable soil temperatures.
Step 3: Water Sparingly
Dormant hydrangeas need less water, but completely dry soil can kill roots during extended cold periods. Check soil moisture monthly and water lightly when the top inch feels dry.
Water early on warm days when soil isn’t frozen. Use lukewarm water to avoid shocking roots with temperature extremes.
Ensure drainage holes remain clear to prevent waterlogging.
Step 4: Remove Dead or Damaged Growth
Clean up containers before moving them to winter quarters. Remove fallen leaves, spent flowers, and damaged stems that harbor pests or diseases. This maintenance reduces problems during dormancy.
Inspect containers for cracks or damage that winter freezing might worsen. Replace damaged pots before cold weather arrives to prevent root exposure during the most vulnerable period.
How to Identify if Your Hydrangeas Have Winter Damage?
Winter damage often becomes apparent gradually as plants emerge from dormancy. Early identification allows prompt treatment that can save plants from permanent harm.
Brown, crispy foliage indicates desiccation damage from wind or inadequate winter protection. Stems that feel hollow or spongy suggest freeze damage that penetrated into woody tissue. Plants that fail to leaf out by late spring likely suffered severe root damage.
Delayed or absent blooming often signals bud damage from temperature extremes. Some varieties bloom on old wood, so winter injury to established stems eliminates the current year’s flowers even if new growth appears healthy.
Check for split bark, sunken areas on stems, or unusual discoloration that suggests tissue death. Scrape bark gently with a fingernail – green tissue underneath indicates living wood, while brown or black tissue shows damage.
How to Help Hydrangeas Bloom After Winter?
Post-winter care determines whether your protection efforts result in spectacular blooms or disappointing performance. Proper spring management awakens plants and encourages robust flowering.
Proper Pruning in Early Spring
Wait until the last frost passes before removing winter protection or pruning damaged wood. This timing, usually mid to late April in Denver, prevents new growth from frost damage.
Remove only obviously dead wood, cutting back to healthy tissue where bark shows green underneath. Resist heavy pruning unless damage is severe – many buds that appear dead may still produce blooms.
Fertilizing
Apply balanced, slow-release fertilizer as soil warms and new growth begins. Choose formulations with equal nitrogen, phosphorus, and potassium ratios that support both foliage growth and flower production.
Avoid high-nitrogen fertilizers that promote leaf growth at the expense of blooms. Time applications for early spring when soil can be worked but before active growth begins.
Sun and Water
Ensure hydrangeas receive adequate morning sunlight while staying protected from harsh afternoon exposure. Most varieties thrive with 4-6 hours of direct morning light and filtered afternoon shade.
Maintain consistent soil moisture as plants break dormancy and begin active growth. Deep, infrequent watering encourages strong root development better than frequent shallow irrigation.
Conclusion
Denver’s challenging winter climate demands proactive hydrangea protection, but proper winterization techniques ensure these beautiful shrubs thrive year after year. Success depends on timing, appropriate materials, and understanding each plant’s specific needs.
Start winterization early, before extreme weather arrives. Monitor plants throughout winter for damage or problems that require attention.
Most importantly, remember that proper preparation now prevents costly plant replacement and ensures spectacular blooms next season.
Frequently Asked Questions (FAQs)
Why should I winterize hydrangeas?
Winterizing protects hydrangeas from Denver’s extreme temperature swings, fierce winds, and freeze-thaw cycles that can kill plants or prevent blooming. Without protection, hydrangeas may suffer permanent damage or fail to flower the following season.
How do you prepare hydrangeas for winter?
Preparation involves pruning dead growth, applying mulch around the base, wrapping with burlap for wind protection, watering deeply before soil freezes, and moving potted plants to sheltered locations. Each step protects different plant parts from specific winter threats.
Should hydrangeas be cut back before winter?
Remove only dead, diseased, or damaged growth before winter. Avoid heavy pruning since many varieties bloom on old wood. Cut back no more than one-third of the plant, focusing on cleanup rather than shaping.
Can I winterize hydrangeas too early?
Yes, winterizing too early can trap heat and encourage new growth vulnerable to frost. Wait until plants enter dormancy after several light frosts but before severe cold arrives. In Denver, this timing typically falls in late October through early November.
What is the 1 3 rule for hydrangeas?
The rule means removing no more than one-third of the plant during any pruning session. This prevents shock while allowing necessary cleanup. Heavy pruning weakens plants and may eliminate next year’s blooms on varieties that flower on old wood.
Do hydrangeas need to be cut down in the fall?
No, hydrangeas should not be cut down completely in fall. Remove only dead or diseased portions while leaving healthy stems and buds intact. Many varieties require old wood for blooming, so aggressive fall cutting eliminates next year’s flowers.