
Hydroseeding sprays a slurry of grass seed, mulch, fertilizer, and water onto bare soil. The mulch holds moisture and keeps seed in place, so germination stays even and rain does not wash the seed away. Homeowners who start a lawn from scratch often pick DIY hydroseeding over sod for the lower material cost.
DIY hydroseeding is realistic for many yards, and it rewards careful work. This guide covers tools, soil preparation, slurry mix, spraying, and aftercare, so you can judge whether do it yourself hydroseeding fits your property.
Is DIY hydroseeding right for your lawn?
DIY hydroseeding fits bare, accessible ground where you can prepare the soil, spray evenly, and water on a steady schedule. Small to mid-size yards, new builds, and cleared lots suit it best. The method also lets you choose your own seed, which pre-grown sod does not.
| Method | Cost level | Effort | Erosion control | Best for |
| Seeding by hand | Lowest | Moderate | Low, seed can wash away on slopes | Small, flat areas |
| Sod | Highest | High, heavy rolls to lift and lay | Immediate cover | Fast results |
| DIY hydroseeding | Low to moderate | High prep work, then steady watering | Good, mulch shields the seed | Bare, mid-size areas |
| Professional hydroseeding | Moderate, includes labor | Low | Good | Large or sloped areas |
Hire a professional when the lot is large, the slope is steep, or live turf covers the ground. Slurry can smother existing grass, and steep ground calls for specialty mulch. Plan your calendar before you commit to DIY hydroseeding, because new seed needs watering for weeks and missed days cost you seedlings.
What you need before you start
Gather every item before you start DIY hydroseeding. Hydroseed grips bare soil best, so you may need a sod cutter to strip old grass first. This list covers a standard DIY hydroseeding project.
- Soil and grade: Use a soil test kit or lab test, a rake, a yard leveler, topsoil, and compost, plus lime or sulfur if your test calls for it.
- Slurry: Gather grass seed, mulch, fertilizer, and water, with tackifier and green dye as options.
- Equipment: Line up a rental hydroseeder, a homemade unit, or a kit to mix and spray the slurry.
- Protection: Wear sun protection, gloves, closed-toe shoes, and face protection while you spray.
Step 1: Choose your seed and mulch
Match the seed to your climate
Seed choice shapes every DIY hydroseeding result, so match the grass to your climate and sun exposure. Cool-season grasses suit northern regions, and warm-season grasses suit southern ones. Your local extension office can name the species that perform well near you.
Blends spread the risk across sun, shade, and soil conditions. Kentucky bluegrass with tall fescue is one example of a grass hydroseed blend. Read the seed label for purity and germination rates, then follow its coverage rate.
Choose a mulch for your site
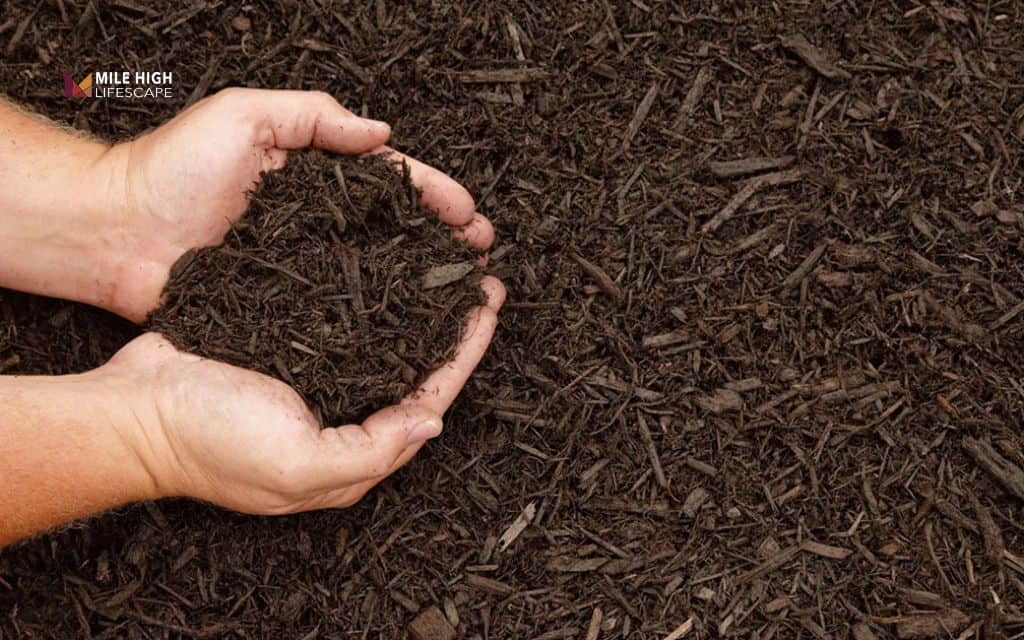
Mulch separates DIY hydroseeding from spreading loose seed. Four types cover most projects.
- Paper: Costs the least and performs the least, so it suits flat, low-risk areas.
- Wood fiber: Costs more and performs well on general lawns.
- Blended: Mixes wood fiber and paper, which gives a middle cost and performance for budget projects.
- Bonded fiber matrix: Costs the most and performs best on slopes and heavy erosion.
For DIY hydromulch mixes, choose the type by slope and budget. Pick bonded fiber matrix for steep or eroding ground. Add a tackifier where wind or runoff can move the mulch.
Step 2: Test and correct your soil
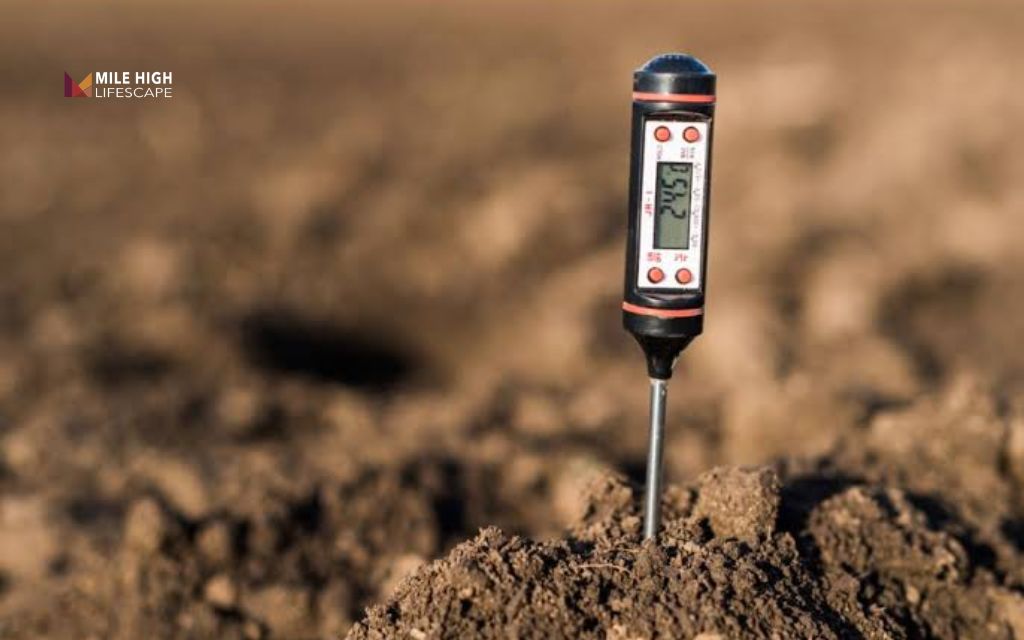
Soil tests show pH and nutrient levels. Most grasses grow best between pH 6.0 and 7.0, and outside that range seedlings struggle. Home kits give a quick reading, and lab tests add detail. Run one before any DIY hydroseeding job.
Add lime when soil is too acidic and sulfur when it is too alkaline, following the rates on the test report or product label. Use the nutrient results to pick the fertilizer for your slurry. Mix amendments into the soil before you seed.
Step 3: Prepare the ground
Strip the site to bare soil
DIY hydroseeding works best on bare soil. Remove weeds, old plants, dead grass, rocks, toys, and tools, but leave the irrigation system in place. Use a sod cutter if live turf covers the area, because slurry can smother existing grass.
Flag sprinkler heads
Flag every sprinkler head before DIY hydroseeding begins. Heavy equipment can crush heads you cannot see, and flags show you where to steer around them. If you plan to install a sprinkler system, do it now, before you spray.
Set the grade
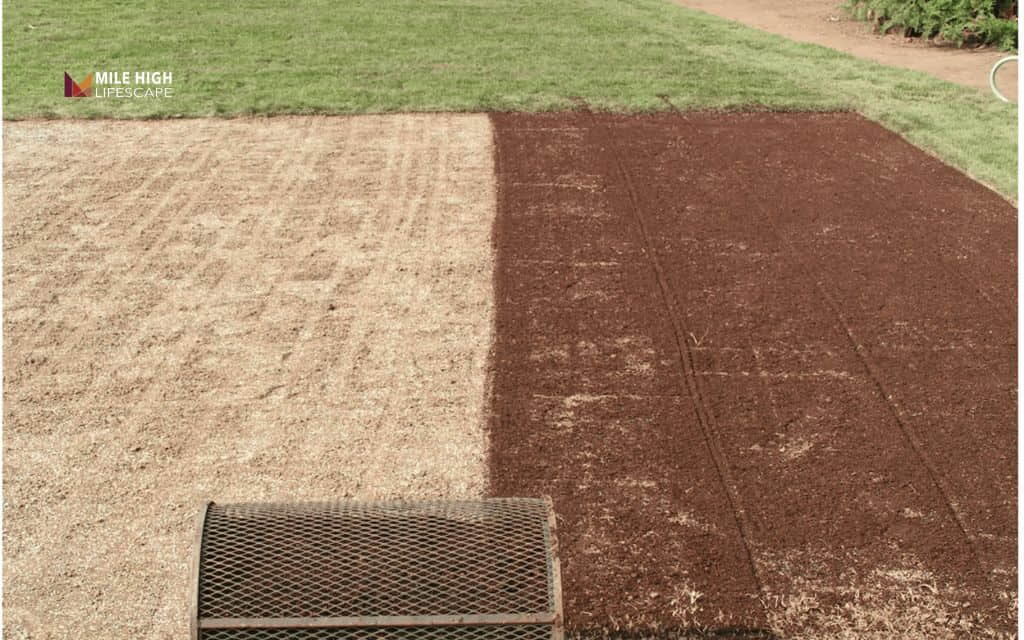
Grading is the base of every DIY hydroseeding job. It sets the slope so rain and runoff move away from your house. Shape the soil 2.5 to 3 inches below your final grade. Fill holes, then level the surface with a rake and a yard leveler.
Build the seedbed with topsoil and compost
Spread about 3 inches of topsoil and compost across your DIY hydroseeding area, along with any lime or sulfur. Churn the mix into the existing soil. Topsoil and compost feed seedlings and help roots grow deep.
Level the final surface
Rake the surface to your final grade and check for low spots. Smooth ground prevents pooling and keeps DIY hydroseeding slurry even. Avoid heavy compaction, because roots need loose soil to start.
Step 4: Set up your equipment and mix
Choose your hydroseeding equipment
You have three options: rent a hydroseeder, build a homemade unit, or buy a kit. DIY hydroseeding kits suit patches and small lawns, while a rental machine suits large areas.
- Rental hydroseeder: Best for large areas, but you must operate a heavy machine and finish within the rental period.
- Hydroseeder DIY build: Suits handy homeowners with mid-size areas, but it needs a tank, pump, agitation, and sprayer to keep seed and mulch mixed.
- DIY hydroseeding kit: Suits small areas and patch repair, and coverage stays limited to what the kit lists.
The best DIY hydroseeding kit matches your grass type, covers your square footage, and lists application rates on the label. Compare coverage per kit before you buy, since larger yards may need several.
Mix the slurry
DIY hydroseeding amounts depend on the area, so ask your supplier and follow the equipment manual. As a starting point, each 1,000 square feet takes 5 to 7 pounds of seed, about 20 pounds of fertilizer, and 40 to 50 pounds of mulch. Fill the tank about three-quarters full with water.
Fill the tank with water and run the agitator for 30 seconds. Add the seed first, then mulch and fertilizer, and add tackifier last. Mix until no clumps remain, and spray soon after mixing so the slurry does not sit in the tank.
Step 5: Apply the slurry
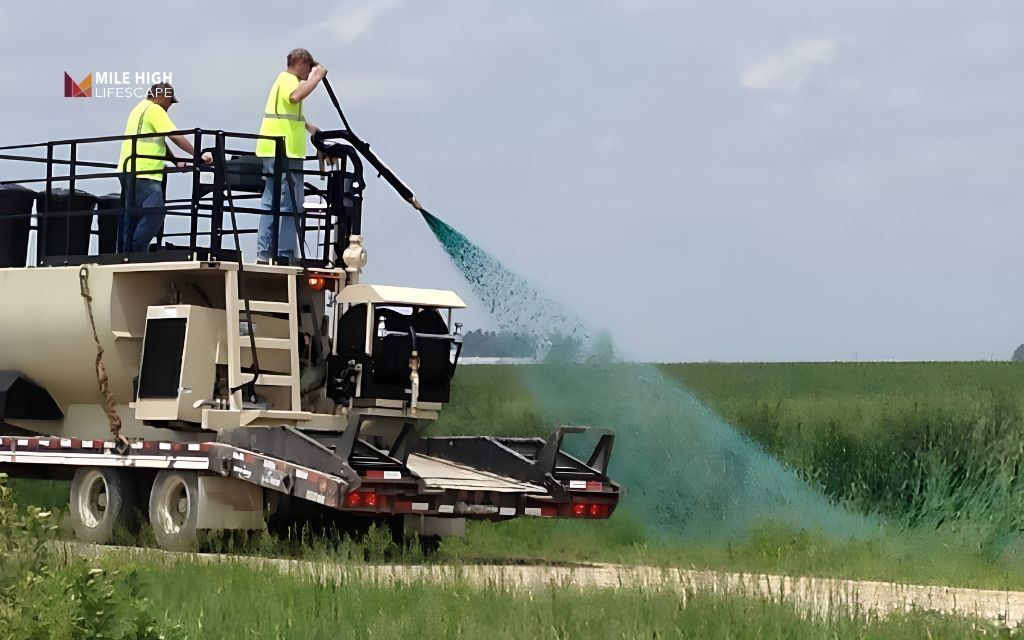
Pick a calm, cool day for DIY hydroseeding. Light rain is fine. Wear protective gear, and plan your path so you never walk on sprayed ground. Work from the far edge back toward your starting point.
Even coverage decides how well DIY hydroseeding performs. Hold the nozzle about 3 feet above the ground unless your manual says otherwise, and spray slowly. Overlap each pass a little to close gaps. Dye shows where slurry has landed, so you can fix missed spots.
Aftercare for a new hydroseeded lawn
Aftercare decides whether DIY hydroseeding turns into a full lawn. Timing shifts with grass type, heat, wind, and soil, so treat these figures as starting points.
- Watering: DIY hydroseeding depends on steady moisture, so keep the surface moist with short cycles two to three times a day for the first four to six weeks, then taper off, and avoid puddles.
- Germination: Speed depends on species and soil temperature, so fast starters sprout within days while Kentucky bluegrass can take weeks.
- Foot traffic: Keep people and pets off the lawn for about the first month.
- Fertilizer: Feed with a starter or slow-release fertilizer about 30 days after seeding.
- Mowing: Mow when the grass reaches 3 to 4 inches, usually after four to six weeks, and cut no more than one third of the blade height.
- Weed control: Hand-pull weeds and wait three to four months before you use herbicide, following the product label.
Conclusion
DIY hydroseeding saves labor costs and gives you control over materials. Hiring a professional removes the need to rent or buy equipment and learn how to run it. Experienced applicators also cover ground evenly and handle slopes, which improves your odds of a full lawn.
Mile High Lifescape has served the Denver Metro area for nearly two decades. If you want expert help with mulch installation, we offer free quotes and advice on your site. Call us at (303) 877-9091.
Frequently asked questions (FAQs)
Why should you hydroseed?
DIY hydroseeding costs less than sod and covers ground more evenly than hand seeding. The mulch speeds germination and reduces soil erosion. You also pick your own seed blend, and the lawn roots into your own soil instead of a rolled layer of turf.
What do you need to make your own hydroseeder?
For a hydroseeder DIY build, you need a tank or drum, a pump, a sprayer, and a way to keep the slurry agitated. Some homeowners pair a small pump with a bucket for tiny areas. Homemade units can struggle to keep seed and mulch suspended, so a DIY hydroseeding kit or rental may save effort.
When should you hydroseed?
Time DIY hydroseeding to the growing season of your grass. Warm-season grasses such as Bermudagrass go in during late spring or early summer. Cool-season grasses such as Kentucky bluegrass, fescues, and ryegrasses go in from late summer to early fall. Spring and fall work well for most lawns. Summer seeding needs more watering, because heat dries the surface fast. Check local guidance for your region.
Is hydroseeding better than overseeding?
The two methods do different jobs. DIY hydroseeding suits bare soil, and slurry can smother living grass. Overseed instead when you need to thicken a thin lawn or fill small bare patches in existing turf.
How much does professional hydroseeding cost?
Professionals usually quote by the square foot. Your total depends on lot size, slope, site access, seed and mulch choice, and soil condition. Request written quotes from a few providers with the same measurements, then compare them with your own DIY hydroseeding costs for rental, seed, mulch, and water.