DIY sodding gives you a green, usable lawn in one weekend, but only when the soil, timing, and watering are right. This guide shows homeowners the proper way to lay sod in 11 steps, with Colorado advice from our lawn crews. You will learn what to buy, how to prepare clay soil, and how to keep new sod alive for its first 30 days.
Is DIY sodding right for your yard?
DIY sodding suits small, flat yards with working sprinklers and an owner who can commit two weekends of labor plus 3 weeks of daily moisture checks. Large, sloped, or heavily compacted yards often justify a professional crew.
A 500 sq ft (46 m²) side yard makes a manageable first project. A 3,000 sq ft (279 m²) sloped backyard on clay is a different job.
What a DIY sod project really involves
A DIY sod project involves four stages of physical work, and each stage has a deadline. Sod is a living, perishable crop, so the laying stage cannot pause once the pallets arrive.
- Removing turf: strip old grass and roots with a rented sod cutter, then haul the heavy strips away.
- Preparing soil: test, till, amend, and grade the bare ground before delivery day.
- Laying sod: move every roll from pallet to yard and fit each piece by hand within hours.
- Watering daily: check moisture under the sod every day for the first 2 to 3 weeks.
DIY vs. professional sod installation
DIY sod installation costs less in cash, while professional installation costs less in risk and time. The table compares both paths across 5 practical factors.
| Factor | DIY sodding | Professional installation |
| Labor | You and your helpers lift, carry, and fit every roll | A trained crew lays the lawn in hours |
| Equipment | You rent a sod cutter, tiller, and roller | The crew brings its own machines |
| Soil prep | You test, amend, and grade on your own | The crew assesses and corrects soil and grade |
| Irrigation | You check sprinkler coverage yourself | The crew can install or adjust sprinklers |
| Risk | Mistakes mean buying sod twice | Workmanship issues fall on the installer |
When is the best time to lay sod in Colorado?
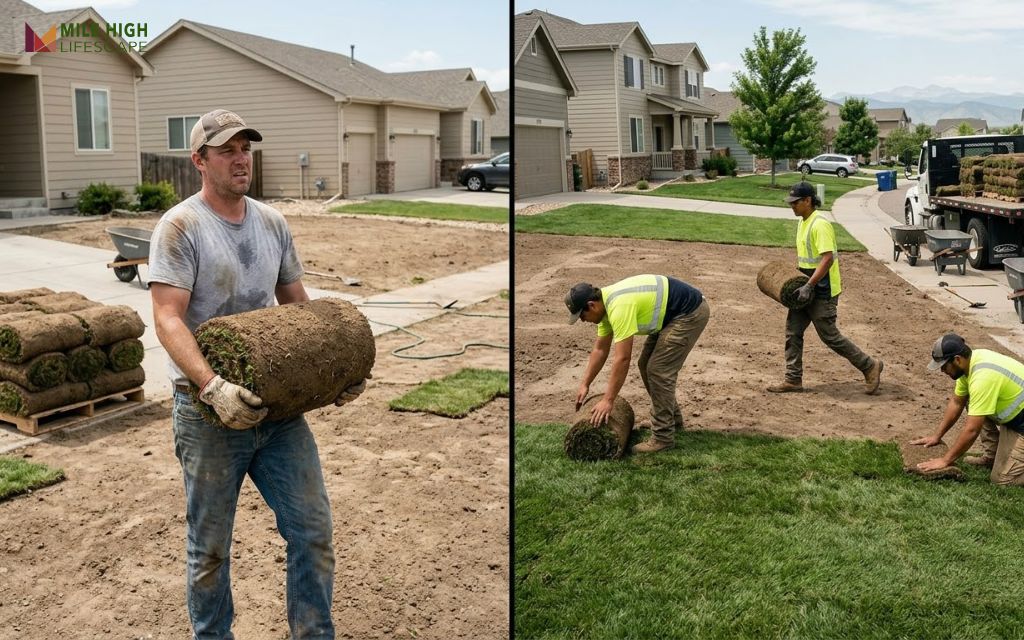
The best time to lay sod in Colorado is spring or late summer to early fall, when cool-season grass grows actively and daytime temperatures stay moderate. Colorado State University (CSU) Extension notes that sod can go down any time in the growing season, as long as roots establish before the fall freeze.
Cool-season sod timing on the Front Range
Front Range lawns run on cool-season grasses, so timing follows their growth peaks. Kentucky bluegrass roots fastest in mild spring weather and again from late August into September.
Midsummer sodding demands more water, because Denver sits at 5,280 feet (1,609 m), where strong sun, low humidity, and wind dry sod fast. Late fall sodding risks a freeze before roots anchor.
Check your water provider’s rules before you order sod
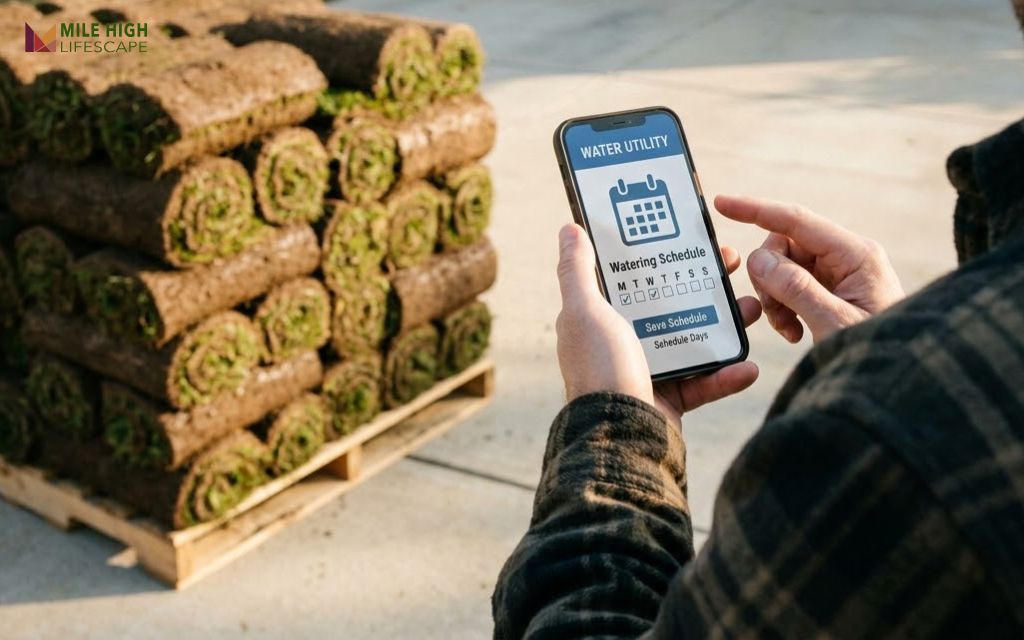
Your water provider decides whether new sod can legally get the water it needs. Check the current rules before you buy a single pallet, because rules change with drought stages.
As of October 2026, Denver Water prohibits all lawn watering and spray irrigation, and it does not allow new grass establishment after September 30 without an approved variance. The utility expects the ban to last at least into spring 2027.
During the 2026 season, Denver Water offered a Watering Establishment Permit for new bluegrass sod for up to 3 weeks, while other suburban districts used their own variance forms. Call your provider and confirm permits, watering days, and allowed hours first.
How to choose the right sod for your conditions
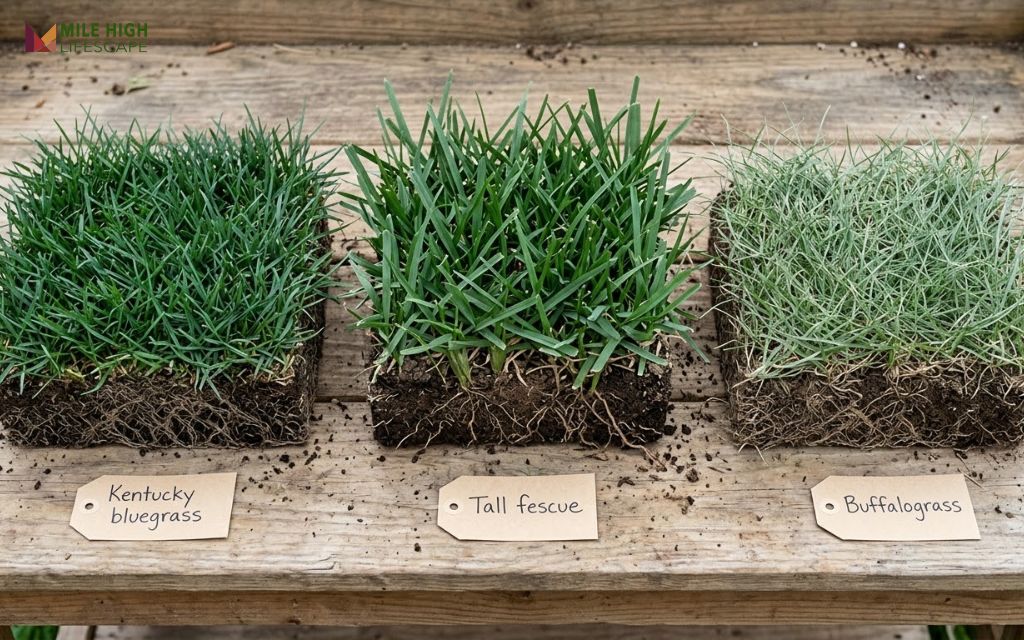
Choose sod that matches your sun exposure, foot traffic, and water supply. CSU Extension names Kentucky bluegrass as the most widely used lawn grass in Colorado, and local growers produce it as sod.
- Kentucky bluegrass: dense, self-repairing turf for sunny, high-traffic lawns with reliable irrigation.
- Turf-type tall fescue: deeper-rooted, coarser turf that handles heat and moderate shade.
- Fine fescue blends: narrow-bladed grasses for shady yards under mature trees.
- Buffalograss: a native, low-water option for sunny sites below 6,500 feet (1,981 m), laid as sod from late May through late August.
Most sod farms grow turf in full sun, so overseed shady patches later with a shade-tolerant mix.
How much sod do you need?
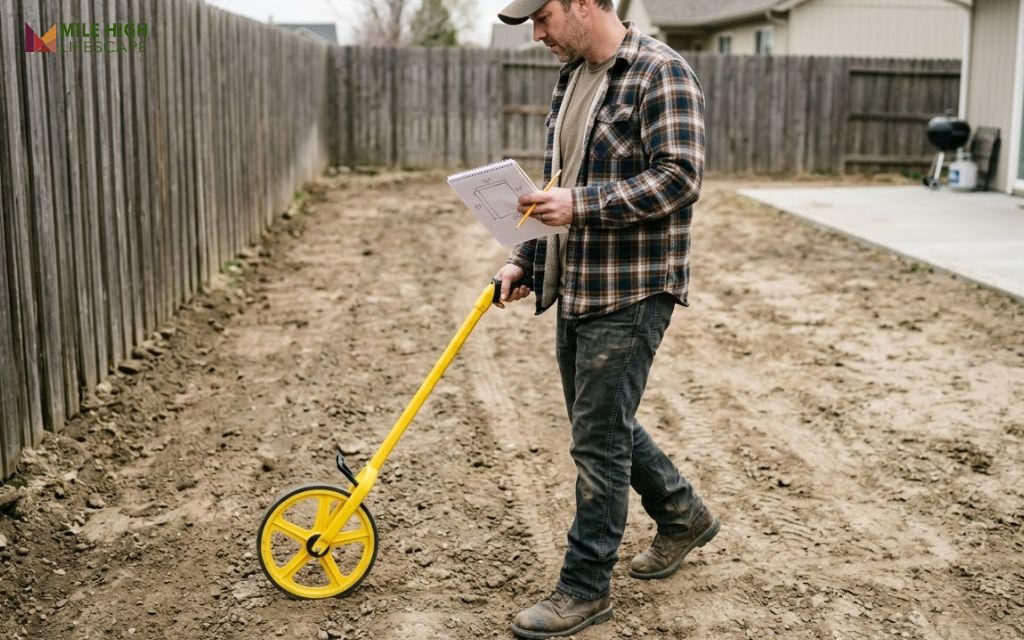
Measure the lawn area in square feet, then add 5 to 10 percent for cuts, curves, and damaged pieces. Multiply length by width for each section, and split odd shapes into rectangles and triangles.
For example, a 30 by 40 foot (9.1 by 12.2 m) backyard covers 1,200 sq ft (111.5 m²). Add 10 percent and order about 1,320 sq ft (122.6 m²). Pallet coverage varies by grower and cut size, so confirm square footage per pallet before you divide.
Tools and materials checklist for laying sod
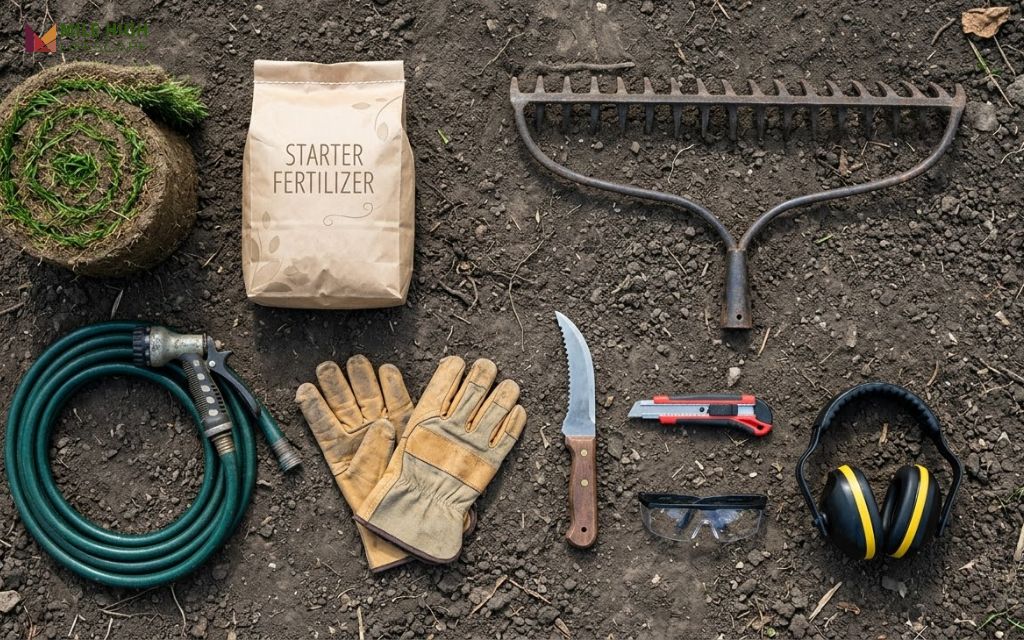
A DIY sod job needs 10 core tools and materials, and most heavy machines can be rented by the day. Gather everything before delivery day, because sod cannot wait while you shop.
| Tool or material | Used for | Buy or rent |
| Sod cutter | Stripping old grass at a shallow, even depth | Rent |
| Rototiller | Loosening compacted soil and mixing compost | Rent |
| Bow rake or landscape rake | Grading, leveling, and removing debris | Buy |
| Lawn roller | Pressing sod roots into soil | Rent |
| Sod knife or utility knife | Cutting pieces around curves and obstacles | Buy |
| Wheelbarrow | Moving soil, compost, and sod rolls | Buy or borrow |
| Compost or sphagnum peat | Improving soil structure | Buy in bulk |
| Starter fertilizer | Feeding new roots, based on a soil test | Buy |
| Hoses, sprinklers, and a timer | Watering each section immediately | Buy |
| Gloves, eye protection, and hearing protection | Running machines safely | Buy |
The proper way to lay sod: 11 steps
The proper way to lay sod follows 11 steps, from utility locates to the first deep watering. Steps 1 through 5 prepare the site, and steps 6 through 11 cover delivery day.
Step 1: Call 811 and flag sprinkler heads
Call Colorado 811 at least 2 full business days before you cut, till, or grade. State law requires the request, and the locate service is free. Call 811 or (800) 922-1987, or file a request online.
Colorado 811 marks public utility lines only. Flag sprinkler heads, valve boxes, and private lines yourself, because sod cutters and tillers shred them. Our crews flag every head before any machine touches the lawn.
Step 2: Remove the existing grass
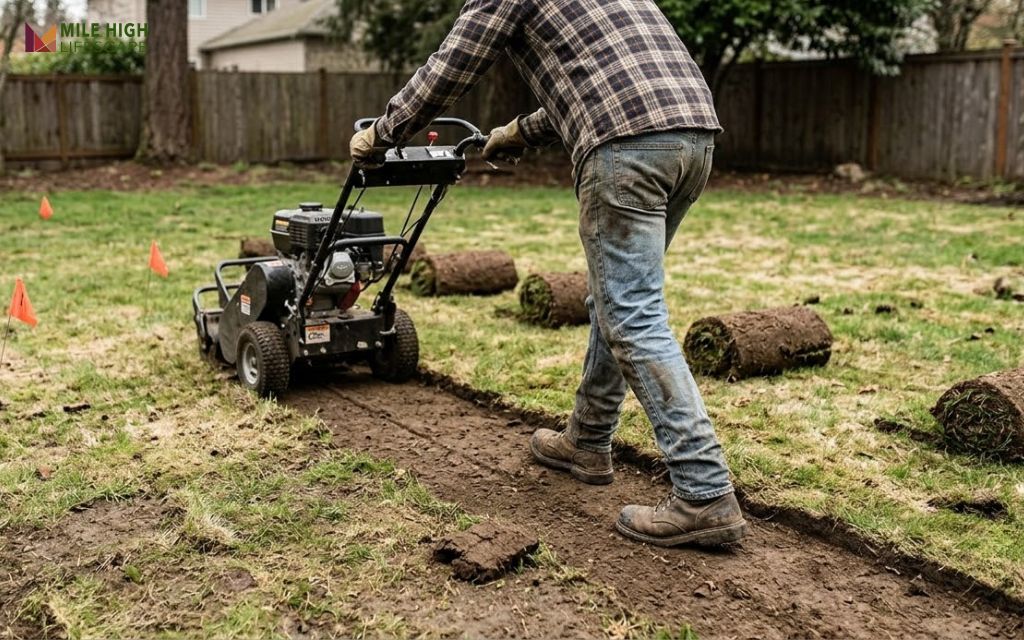
Remove all existing grass and roots, because sod laid over old turf cannot reach the soil and dies. A rented sod cutter set to about 1/2 to 1 inch (1.3 to 2.5 cm) lifts turf in clean strips.
Smothering grass under a tarp also works but takes several weeks. Skip residual herbicides, since residue harms new roots.
Step 3: Test and amend the soil
Test the soil first, then amend it with organic matter. A basic soil test shows pH, nutrients, and texture, and CSU’s soil testing lab handles samples from Colorado homeowners.
CSU Extension recommends 3 to 5 cubic yards of compost, decomposed manure, or sphagnum peat per 1,000 sq ft (2.3 to 3.8 m³ per 93 m²). Till it into the top 6 to 8 inches (15 to 20 cm). Cultivate as deep as 12 inches (30 cm) if the soil is compacted.
Front Range clay holds water and packs tight, so organic matter matters here. Avoid tilling wet clay, because it forms hard clods.
Step 4: Grade and level the surface
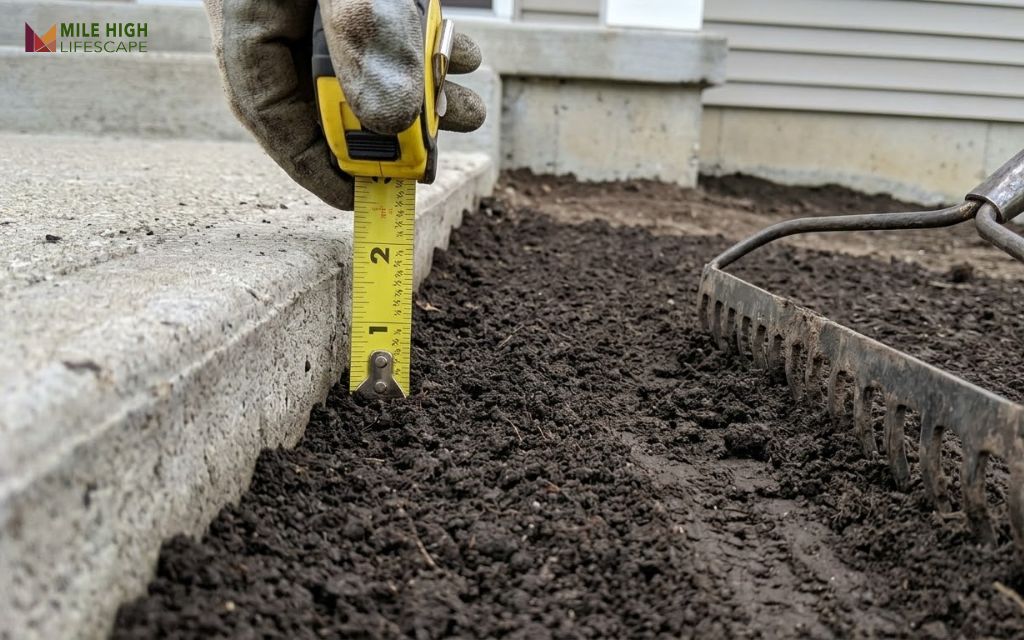
Grade the soil so water drains away from the house, then level it about 1 inch (2.5 cm) below sidewalks and driveways. That gap lets the sod sit flush with hardscape, so mower wheels do not scalp the edges.
Knock down high spots with the rake tines, then smooth with the flat back. A light roll reveals dips to fill before delivery.
Step 5: Pre-moisten the soil and let it settle
Moisten the soil 6 to 8 inches (15 to 20 cm) deep several days before delivery, as CSU Extension advises. The water settles loose fill and reveals low spots.
On install day, the soil should feel slightly moist. Dry soil pulls water from sod roots, and soggy soil compacts underfoot.
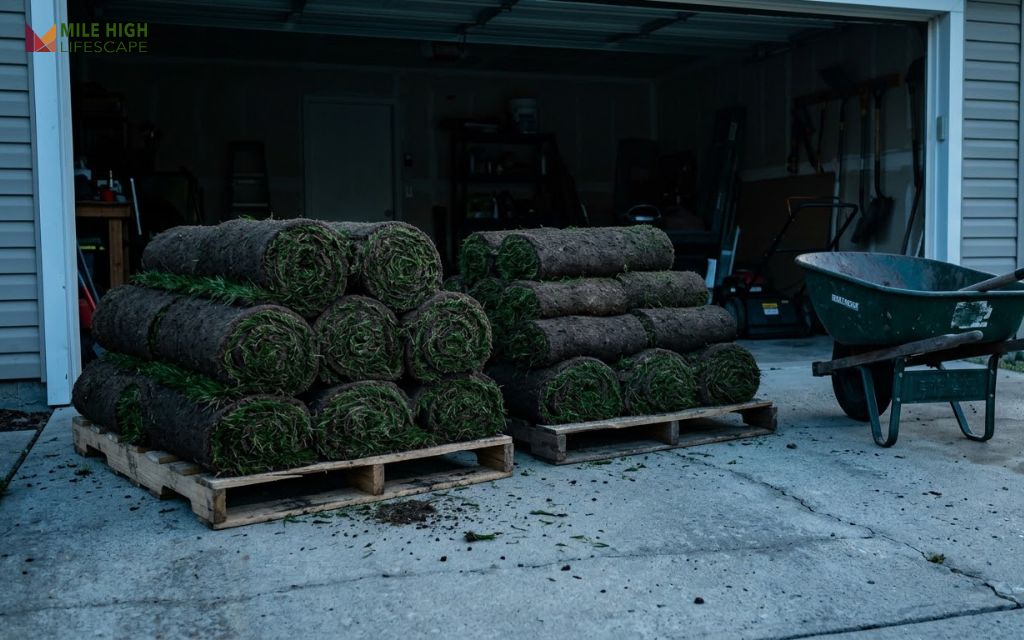
Step 6: Schedule delivery and store sod in the shade
Schedule delivery for the morning you plan to lay it, and install every roll the same day. Rolled sod heats up on the pallet and declines within hours in hot weather.
Park pallets in shade, out of the wind, and unstack rolls if work runs long.
Step 7: Lay the first row along a straight edge
Start the first row along the longest straight edge, such as a driveway, sidewalk, or fence line. A straight first row keeps every following row square.
Press each piece into the soil by hand, and kneel on a plywood board instead of fresh sod.
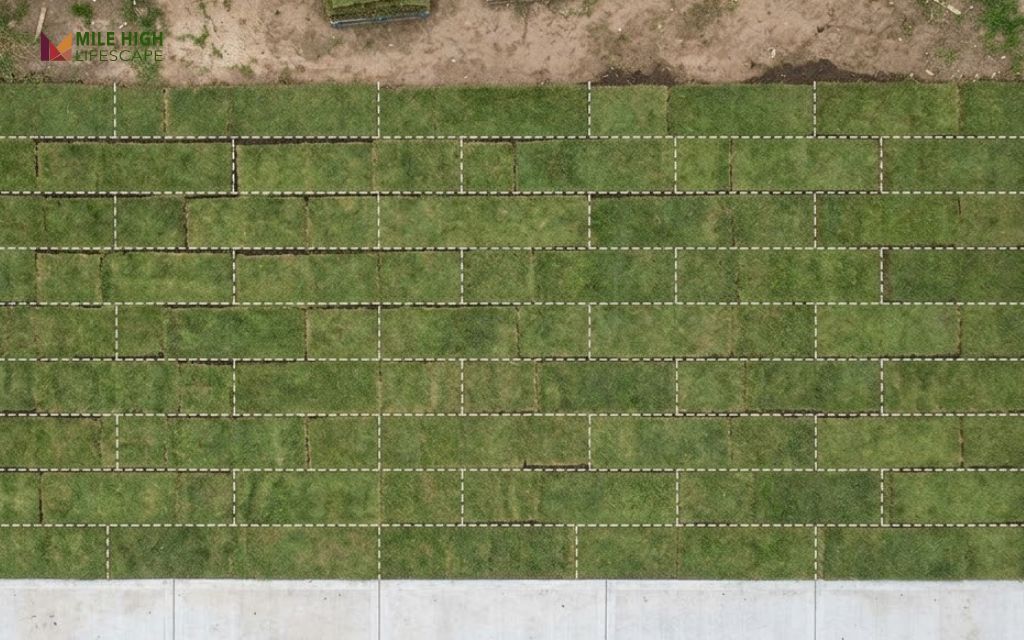
Step 8: Stagger the seams and butt edges tight
Stagger the seams in a brick pattern by starting the second row with a half piece. Offset joints stop water from channeling along seams and help the rows knit together.
Push each edge snugly against its neighbor without overlapping or stretching. Sod shrinks as it dries, so stretched pieces open gaps that turn brown.
Step 9: Cut around curves, trees, and sprinkler heads
Cut sod with a sharp sod knife or utility knife, slicing from the soil side for a clean edge. Lay a garden hose along curved beds as a cutting guide.
Fill small gaps with leftover pieces wider than a few inches, because thin slivers dry out fast.
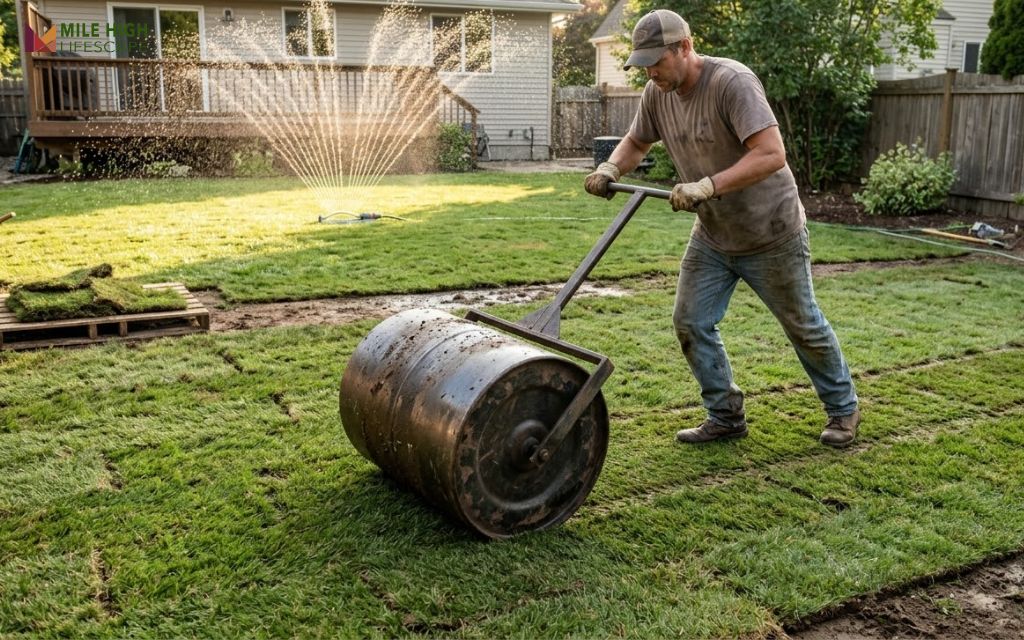
Step 10: Roll the sod for root-to-soil contact
Roll the finished section with a lawn roller about half filled with water. Rolling presses roots into the soil and removes air pockets that block water.
Roll in one direction, then cross at a right angle. A half-full roller firms sod without compacting the soil below.
Step 11: Water each section right away
Water each finished section immediately, before you move to the next one. Waiting until the whole yard is done leaves the first rolls drying in the sun.
Soak the first watering until the soil under the sod is wet several inches down. Lift a corner to check: the soil should feel damp, not dry or muddy.
Laying sod on slopes
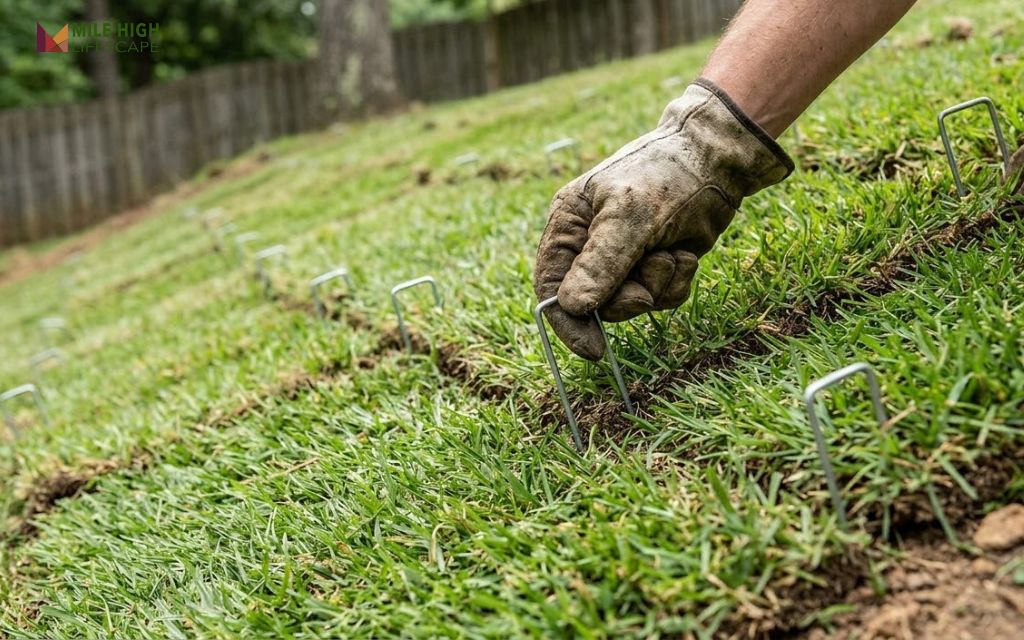
Lay sod across a slope, not up and down it, and pin each piece with sod staples. Horizontal rows slow runoff, while vertical seams turn into water channels.
Work from the bottom up, and push staples flush so mower blades clear them.
Make sure your sprinklers can cover new sod
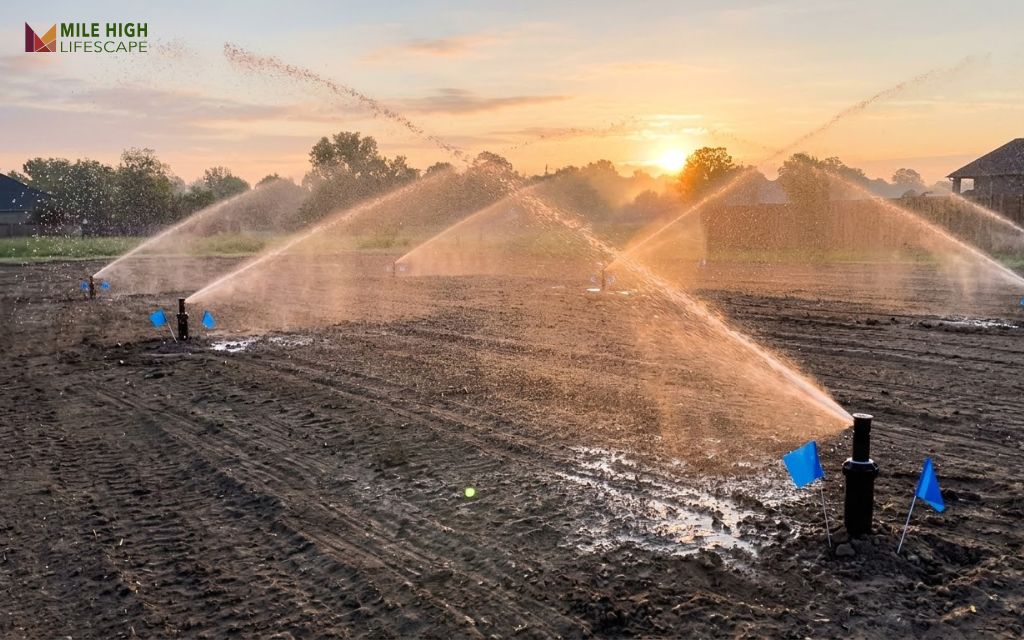
New sod needs even, head-to-head sprinkler coverage, because dry corners die first. Run every zone before delivery day and watch where the spray lands.
Fix clogged nozzles, tilted heads, and gaps along fences. Hose-end sprinklers suit small lawns but need constant moving.
If your system misses corners or cannot meet local watering rules, consider professional Sprinkler Installation before you buy sod. Efficient zones and smart timers put water where new roots need it.
New sod care: the first 30 days
New sod needs 30 days of steady care: consistent moisture, a timely first mow, and very little foot traffic. Most failures happen in this window, not on install day.
How to water new sod week by week
Water new sod often enough to keep both the sod and the soil beneath it moist, not soggy. CSU Extension uses that moisture target instead of a fixed schedule, because weather changes the need daily.
| Period | Goal | What to check |
| Days 1 to 7 | Keep sod and top soil constantly moist | Lift a corner daily; soil should feel damp |
| Days 8 to 14 | Maintain moisture as roots start to grip | Check edges and corners first; they dry fastest |
| Days 15 to 21 | Water less often, but longer per cycle | Tug test; resistance means roots have anchored |
| Days 22 to 30 | Shift to deep, infrequent watering | Soil dries slightly between waterings |
Water early in the morning to cut evaporation and leaf disease. Hot, windy days may need short extra cycles within allowed hours.
The tug test: how to tell sod has rooted
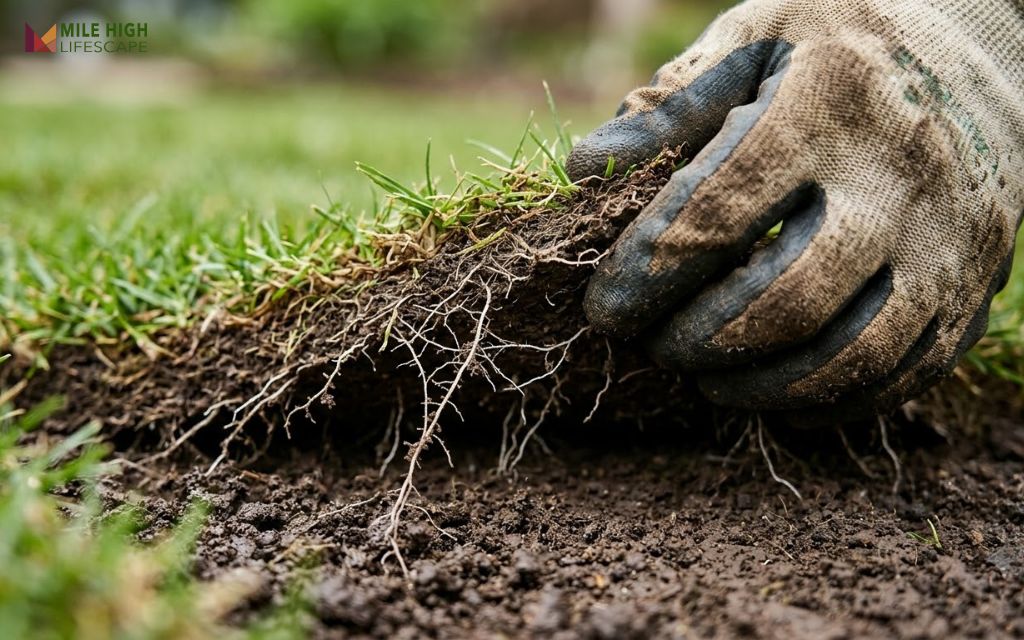
Gently pull up on a corner of the sod; if it resists, the roots have anchored. CSU Extension notes that sod should root well into the soil within 2 to 3 weeks.
If a piece lifts easily, keep moisture steady and retest in a few days. Once it holds, water less often but longer.
When to mow new sod for the first time
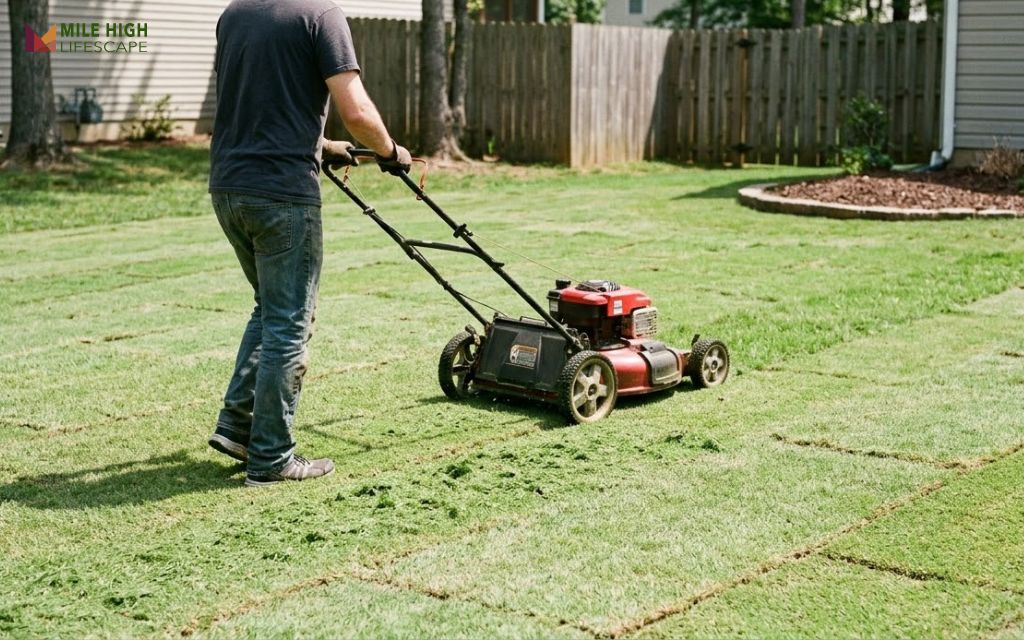
Mow new sod for the first time after it passes the tug test and grows about 3 to 3.5 inches (7.5 to 9 cm) tall. That usually lands 2 to 3 weeks after installation.
Set the mower high, use a sharp blade, and cut no more than one third of the blade height.
Fertilizing new sod
Feed new sod with a starter fertilizer based on your soil test, then begin a regular program after the roots anchor. Starter products work best mixed into soil during prep.
Avoid weed-and-feed products and pre-emergent herbicides on new sod, because both can injure developing roots. Treat weeds only after the lawn is fully established.
Keeping kids, pets, and foot traffic off
Keep kids, pets, and heavy foot traffic off new sod for at least 2 weeks, until it passes the tug test. Footsteps shift pieces, open seams, and tear young roots.
Rope off the lawn with stakes and string if dogs or children use the yard daily.
Common DIY sodding mistakes and how to fix them
Most DIY sodding problems trace back to 3 causes: poor soil prep, uneven watering, and gaps between pieces. Catch them in the first 2 weeks, and most remain fixable.
| Problem | Likely cause | Fix |
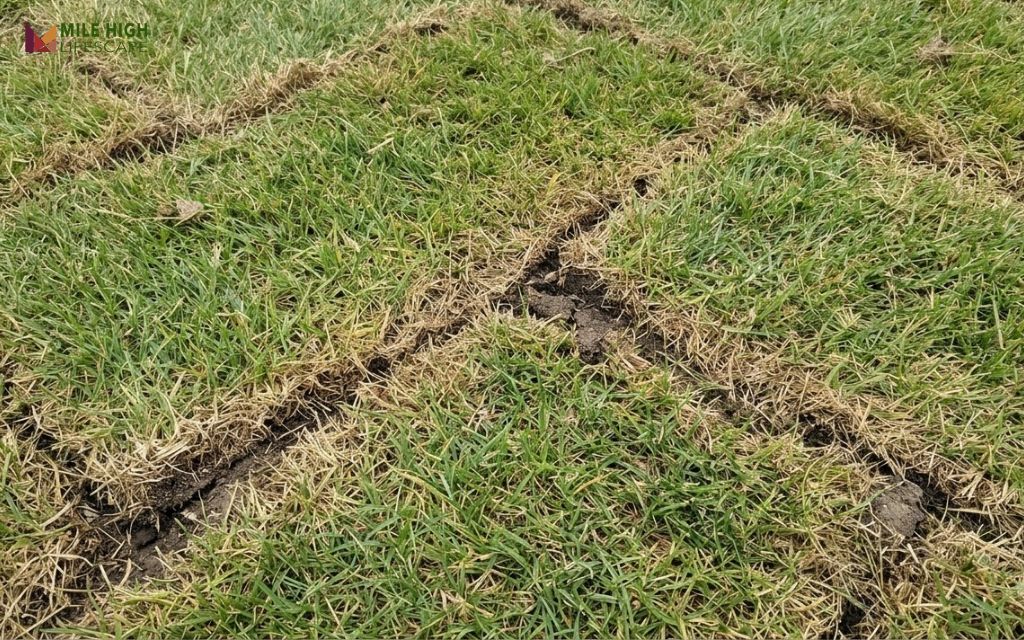
| Brown, crispy seams | Edges dried; pieces stretched | Hand-water seams daily; fill gaps with soil or sod scraps |
| Yellowing across the lawn | Too little water, or soggy soil | Lift a corner before watering; adjust run times |
| Spongy, squishy spots | Overwatering on clay | Skip a cycle and let the surface firm up |
| Pieces lifting at corners | Air pockets; no rolling | Press down, water, and roll again |
| Sod sitting above sidewalks | Grade set too high | Lift pieces, remove soil, and relay |
| Low spots holding water | Soil settled after laying | Lift sod, add soil, and replace before rooting |
Homeowners often report that a bad grade is the hardest fix, because rooted sod must come up first.
Is sod the right choice? Water-wise alternatives
Sod is the right choice when you need a usable lawn for play or pets and have reliable water. In strict drought years, a smaller lawn or a water-wise design may serve the yard better.
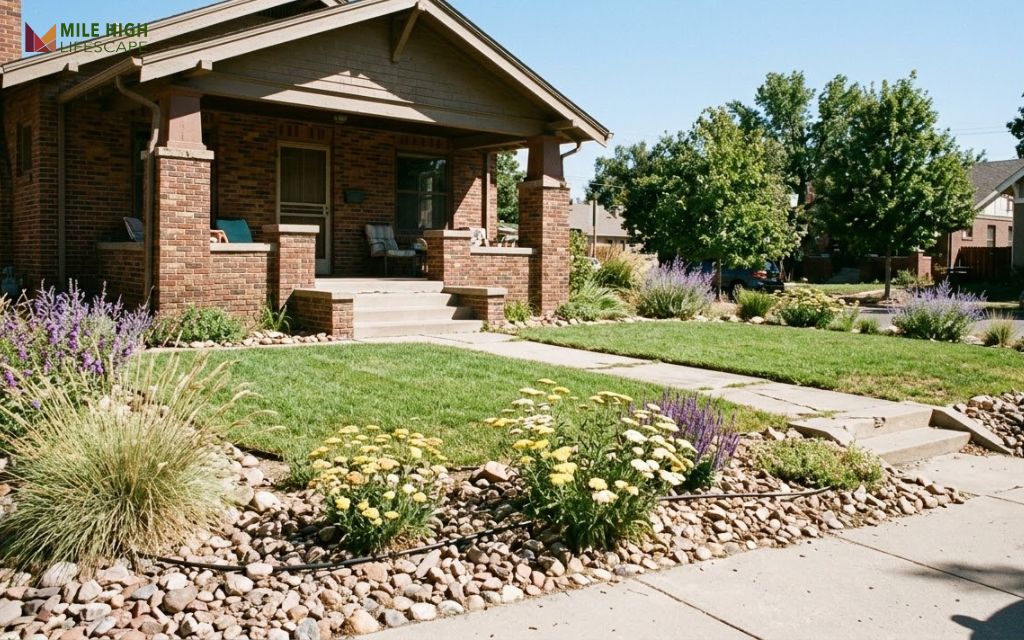
Many Denver homeowners keep turf only where people use it and convert slopes and corners to low-water plantings. Professional Xeriscape Landscaping pairs native plants, rock, and drip irrigation with a right-sized lawn.
Trusted resources for sod installation
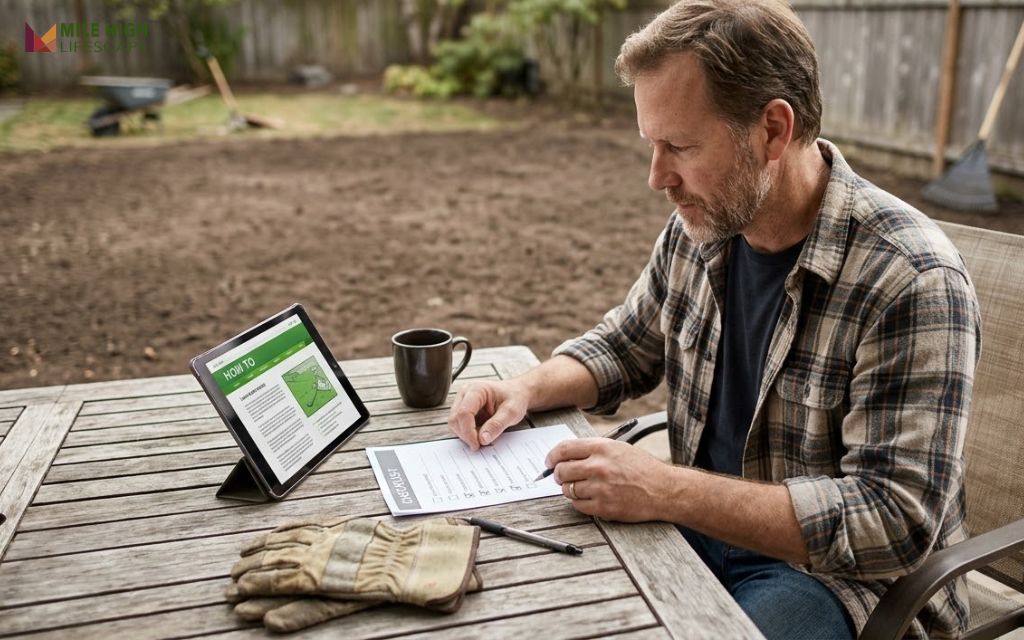
The best online resources for sod installation come from local research and the agencies that regulate your yard. Use these 4 sources alongside this guide.
- CSU Extension, PlantTalk Colorado: research-based sodding, grass, and soil testing guidance.
- Your water provider: current watering days, drought stages, and permits for new sod.
- Colorado 811: free utility locates and the legal notice period before digging.
- Your local sod grower: harvest dates, pallet coverage, and variety advice.
When to call a lawn care professional
Call a professional when the job exceeds your time, tools, or soil conditions. These 5 situations usually justify a crew.
- Large lawns: areas over 2,000 sq ft (186 m²).
- Steep slopes: grades that need staking or drainage work.
- Heavy clay: soil that needs deep cultivation or regrading.
- Weak irrigation: sprinklers that miss areas or need new zones.
- Tight timelines: lawns that must root before a sale, event, or watering cutoff.
Sod installation from Mile High Lifescape
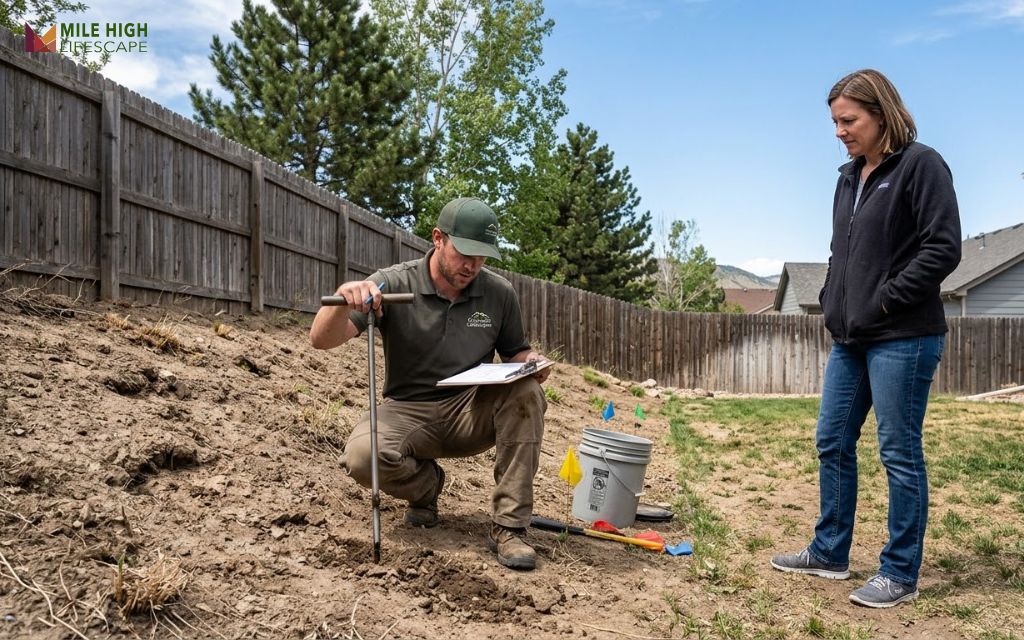
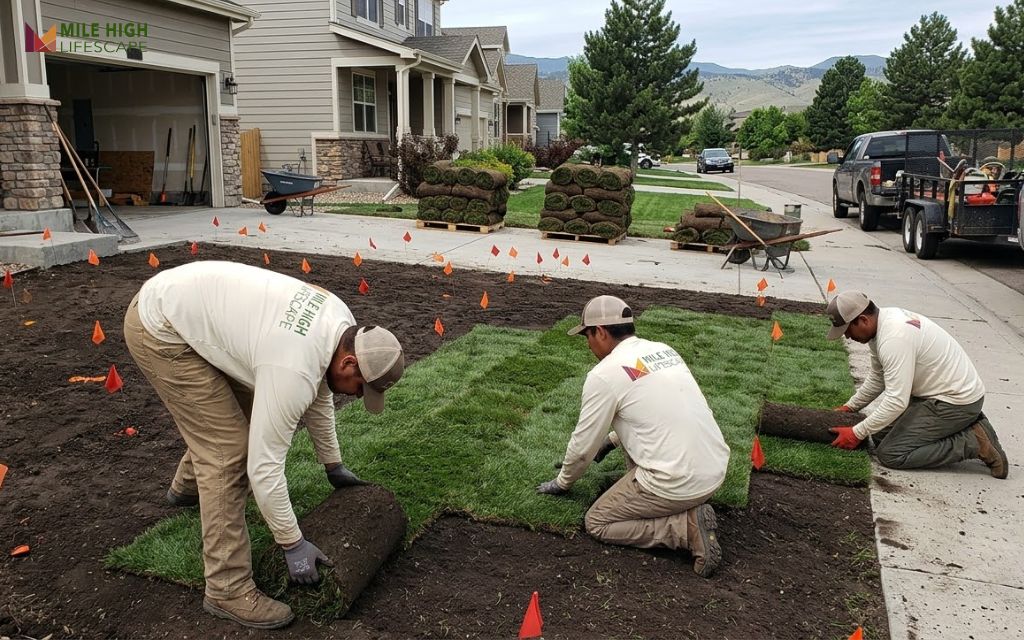
Mile High Lifescape installs sod for homeowners across the Denver Metro area, with over 20 years of experience in Colorado lawn care and landscaping. Our Sod Installation service handles every step this DIY sodding guide covers, from site assessment to post-installation care.
- Site preparation: we remove old grass, rocks, and debris to create a clean base.
- Soil enhancement: we add organic matter and fertilizer suited to your soil.
- Irrigation setup: we install or adjust sprinklers so new sod gets even water.
- Care guidance: we explain watering, mowing, and early care for your new lawn.
We serve Denver, Lakewood, Littleton, Centennial, Broomfield, Thornton, Westminster, Highlands Ranch, and nearby areas. Every project follows applicable building codes and local watering rules.
After the lawn roots, our Lawn Care team can handle mowing, fertilization, and weed control, and Lawn Aeration helps clay soil breathe in later seasons.
FAQs about DIY sodding
Can you lay sod over existing grass?
No. Remove existing grass first, because new sod roots must touch bare soil. Old turf blocks water and roots, so both layers decline.
How long does it take new sod to root?
New sod usually roots within 2 to 3 weeks with steady moisture. CSU Extension recommends a gentle tug test to confirm rooting before you reduce watering.
How soon can you walk on new sod?
Wait at least 2 weeks, until the sod passes the tug test.
How often should you water new sod?
Water often enough to keep the sod and the soil beneath it moist, not soggy, for the first 2 weeks. Hot, dry weather may need short cycles more than once a day.
Can you lay sod in the fall or winter in Colorado?
Yes, early fall works, but roots must establish before the ground freezes. In 2026, Denver Water barred new lawn establishments after September 30, so check your provider first.
Do you need topsoil before laying sod?
Not always. Most yards need organic matter tilled into native soil, not a new topsoil layer. Add topsoil only to fix low spots, poor grades, or shallow soil.
Is it cheaper to lay sod yourself?
Yes, DIY sodding costs less in cash, but you pay for rentals and your time. A failed install doubles the sod cost.