There’s something undeniably charming about a brick border for garden. This timeless landscaping element not only defines spaces with elegance but also adds a touch of warmth and character to any outdoor design.
Beyond their visual appeal, brick borders offer practical benefits by keeping garden beds tidy and supporting a well-maintained lawn care routine. For Denver homeowners seeking a professional touch, Mile High Lifescape is the trusted expert in tree and lawn care and edging solutions. Their skilled team can help you achieve a stunning, affordable garden that showcases the timeless beauty of brick.
Ready to explore how this classic feature can transform your outdoor space? Let’s dive in!
Why Choose a Brick Border for Garden?
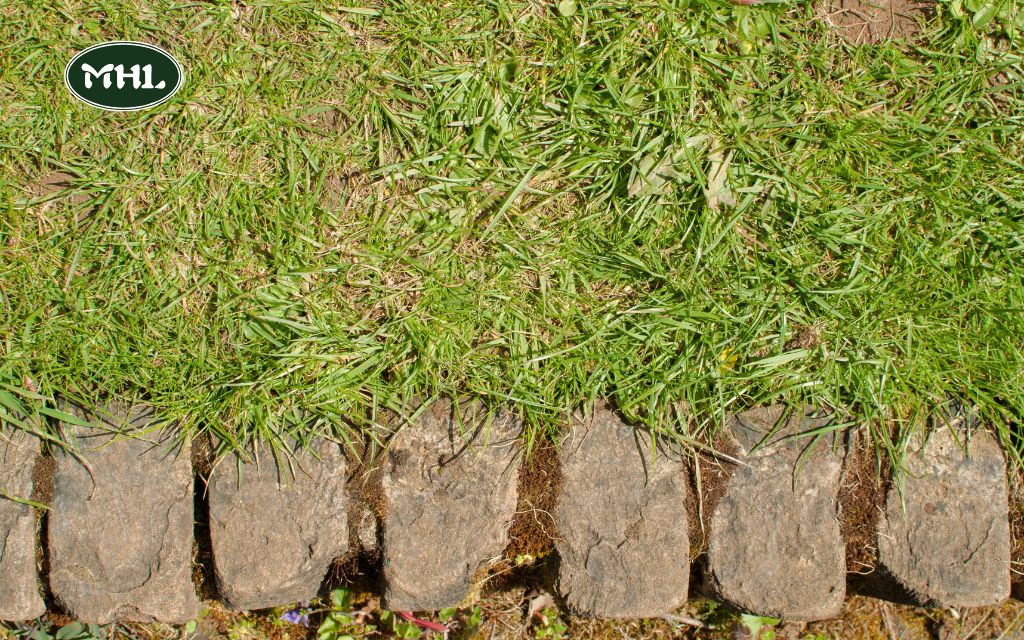
A lawn border isn’t just the edge of your sidewalk or driveway—it’s any line that separates different areas of your yard, like where grass meets flower beds, bushes, mulch, or rocks.
Brick Lawn Borders Are Classic
One great thing about using brick for your lawn border is that it never goes out of style. Unlike other edging options, bricks are a classic choice that will keep your yard looking sharp for many years. As long as you take care of them, your landscaping will always look fresh and timeless.
It’s a Standard Size
Most of us know exactly what a brick looks like. That’s because bricks come in standard sizes and shapes, which makes them easy to work with. The good thing is that these consistent sizes help you figure out exactly how many bricks you need for your lawn border.
On the downside, the standard size can limit the shapes you can create. While you can trim a few bricks to fit a smaller space, if you need to cut a lot of bricks, it can be time-consuming. But overall, a brick border for garden is a solid and dependable choice!
Brick Comes in Standard Colors
Bricks are usually made in just a few standard colors, mostly due to the materials that make them strong and long-lasting. The good news is, if one brick breaks or gets damaged, you can easily replace it without having to redo the entire brick border for garden.
However, the downside is that bricks don’t offer as many color or texture choices, so it might be harder to match a specific look or style for your home.
It Creates a Variety of Patterns
While many pavers only come in one shape, bricks are regular and easy to work with, giving you lots of options to create different patterns for your lawn border. You can simply lay them down and let the earth hold them in place, but usually, mortar is used to secure the bricks and create a smooth, clean edge.
This also gives you the flexibility to make curved or creative designs, and even build a strong retaining wall if you want your brick border for garden to extend deeper into the ground.
Types of Brick Borders for Gardens
Incorporating a brick border into your garden not only adds a classic charm but also provides functional separation between different areas of your landscape. Here are some popular types of brick borders to consider:
Flat Brick Edging
Flat brick edging involves laying bricks horizontally at ground level to create a clean and level border for pathways or garden beds. This method offers a neat appearance and serves as a clear demarcation between different sections of your garden. Additionally, flat brick edging can make mowing easier by providing a stable edge to work against.
Angled Brick Borders
Angled brick borders add dimension to your garden by tilting bricks slightly, often at a 45-degree angle. This design creates a zigzag pattern that adds visual interest and a unique texture to your garden edges. Angled brick borders are particularly effective in traditional or cottage-style gardens, enhancing the overall aesthetic appeal.
Raised Brick Edging
Raised brick edging involves stacking bricks to build a low wall, elevating the garden bed above the surrounding ground level. This approach adds depth and a dramatic look to your garden, while also helping to prevent soil erosion and providing better drainage for plants. Raised brick edging is suitable for both vegetable plots and flower beds, offering a structured and organized appearance.

How to Install a Brick Border for Garden
Step 1: Order the Bricks
Start by laying a piece of rope along the edge of your garden bed, following the natural shape. Mark the end of the rope with tape, then pull it tight and measure it. Divide the total length of the rope by the width of your bricks to figure out how many you’ll need.
Don’t forget to add about 10 percent extra to your order, just in case. For example, if your rope is 324 inches and each brick is 4 inches wide, you’ll need about 81 bricks. Adding 10 percent brings it to 89 bricks. Be sure to get clay pavers, sometimes called severe-weather-rated bricks, for durability.
Step 2: Scout the Curves
Place the bricks along the edge of the garden bed, keeping them close to the grass but not touching. Leave a small gap for sand between the bricks. For gentle curves, angle the bricks a little bit; for sharp curves, find the center of the curve and leave a small triangle-shaped gap. The gap should not be wider than a brick.
Step 3: Mark the Bricks
For the triangular gaps in the curves, you’ll need to cut angled bricks. Place a brick over the gap and use a masonry pencil to mark the spot where it overlaps the neighboring bricks. Do the same at the other end of the brick.
Step 4: Transfer the Marks
Flip the brick over and transfer the marks to the other side. Use the masonry pencil and a straightedge, if needed, to draw lines connecting the marks. These lines will guide your cuts to make the bricks fit perfectly into the gaps.
Step 5: Cut the Keystones
After marking the brick, place it on a work surface with the cut lines facing up. Attach a segmented diamond blade to your circular saw and adjust it so the blade only cuts through the brick in one pass. To reduce dust while cutting, drizzle water on the brick as you work. You can create a steady water flow by poking a small hole in the bottom of a water bottle. Once the brick is cut, check if it fits the gap.
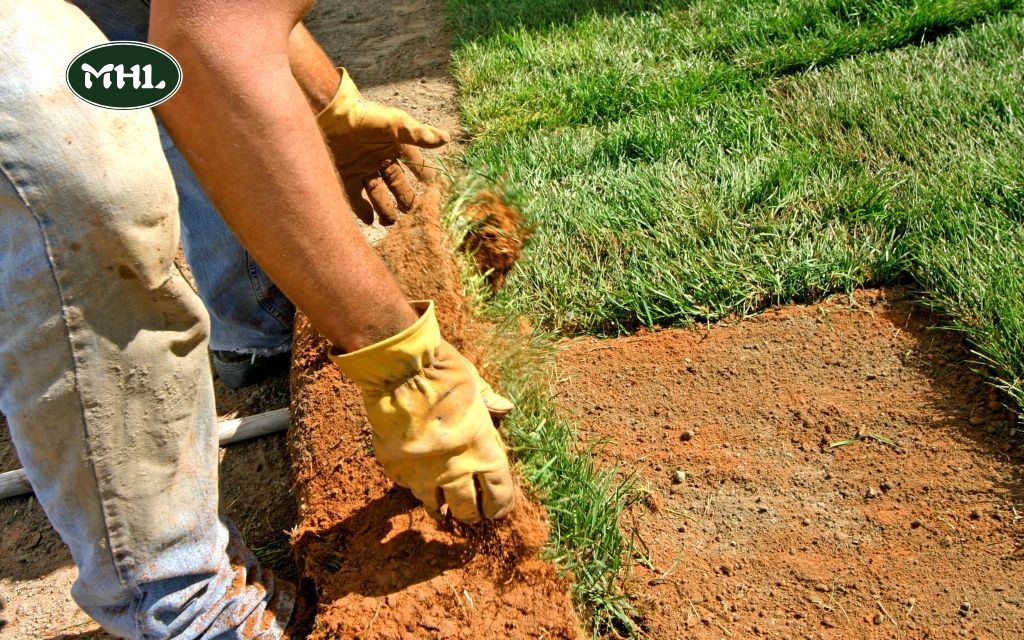
Step 6: Dig the Trench
Lay a tarp over your grass to catch any soil you dig up. Use a spade to dig a trench along the edge of your garden bed, starting at the grass line and working into the bed. The trench should be a few inches wider than the bricks you are using for your brick border for garden.
Step 7: Check the Depth
Dig until the soil changes color, showing that you’ve gone deep enough. Measure the depth of your trench—it should be at least 6 inches deep. This will allow space for a 2- to 3-inch layer of paver base, 1 inch of stone dust, and the bricks to be level with the ground.
Step 8: Pack the Paver Base
Spread the paver base evenly along the trench. Use a tamper to pack it down every so often, then keep adding small amounts of the base until it’s 2 to 3 inches deep. If you dig deeper than 6 inches, add and tamp down more base until the trench is as deep as a brick plus 1 inch for the stone dust.
Step 9: Mix the Stone Dust
In a large wheelbarrow, mix 6 parts stone dust with 1 part Portland cement. Mist the mixture with a hose to activate the cement, making it easier to mix and shovel into the trench.
Step 10: Lay the Bricks
Starting with sections a few feet long, use the trowel to spread the stone-dust mixture over the paver base. Press the bricks into place one by one, tapping them with a rubber mallet. Make sure each brick is level with the ground and flush with the next. For curves, use the cut keystone bricks. Continue laying the bricks, filling any gaps with stone dust as you go, and backfill the back edge with soil.
Step 11: Fill the Gaps
Once all the bricks are in place, pour polymeric sand over the top and sweep it into the gaps with a brush. Tap the bricks with a rubber mallet to help the sand settle into the cracks. Keep adding sand until it fills the gaps and is level with the surface of the bricks.
Step 12: Hose off the Edging
Gently wash off any extra sand or dust with a hose. Be careful not to dislodge the sand in between the bricks. Once the sand is dampened, it will harden like grout and secure the bricks in place, ensuring your brick border for garden stays intact for years to come.
Maintaining Your Brick Border For Garden
Maintaining your brick border for garden is essential to preserve its appearance and functionality. Here’s how to keep it in top condition:
Cleaning and Sealing Bricks
Over time, bricks can accumulate dirt, moss, and algae, leading to discoloration and potential structural issues. To maintain their appearance:
- Regular Cleaning: Use a garden hose with a spray nozzle to rinse off loose dirt and debris. For stubborn stains or moss, apply a mixture of equal parts white vinegar and water, let it sit for 15 minutes, then scrub with a stiff-bristle brush. This method effectively removes grime without the need for a pressure washer, which can damage the bricks.
- Sealing the Bricks: After cleaning, allow the bricks to dry completely. Apply a high-quality brick sealer to protect against moisture infiltration, moss growth, and discoloration. Sealing also enhances the bricks’ durability and maintains their aesthetic appeal.
Fixing Loose or Damaged Bricks
Addressing loose or damaged bricks promptly prevents further deterioration. Follow these steps:
- Remove the Loose Brick: Gently tap around the damaged brick with a chisel and hammer to loosen it, taking care not to harm adjacent bricks. Once loosened, extract the brick from the border.
- Clean the Area: Clear out old mortar and debris from the vacant space using a wire brush, ensuring a clean surface for the new mortar to adhere.
- Prepare and Apply New Mortar: Mix fresh mortar according to the manufacturer’s instructions. Apply a layer to the base and sides of the cavity. Also, butter the replacement brick with mortar on its sides.
- Insert the New Brick: Place the new or cleaned brick into the prepared space, pressing firmly to ensure it aligns with the existing border. Remove any excess mortar with a trowel.
- Allow to Set: Let the mortar cure as per the manufacturer’s guidelines, typically 24 to 48 hours, before exposing it to moisture or heavy use.
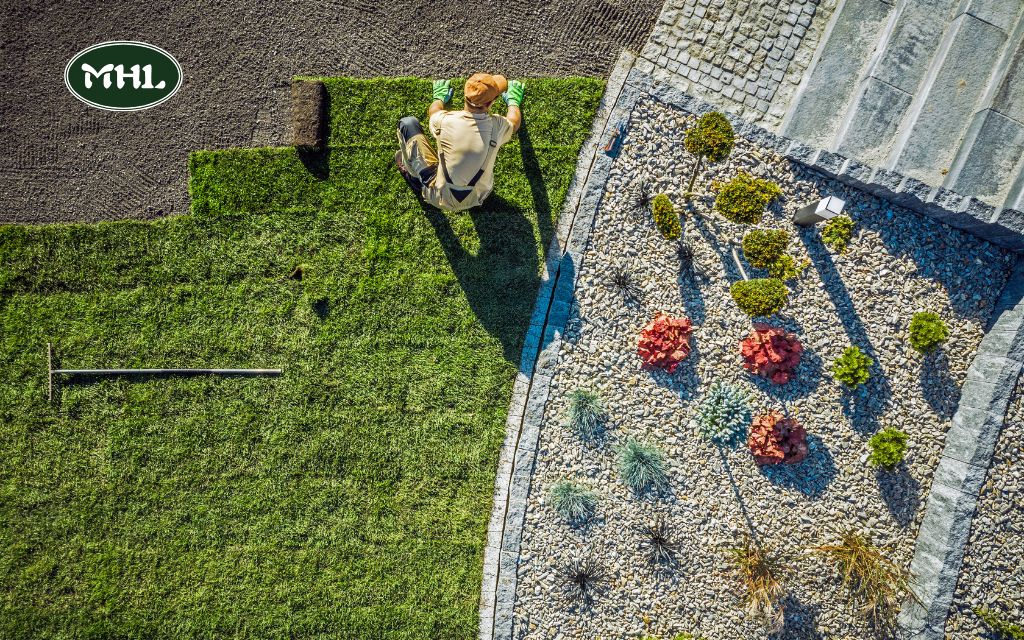
Mile High Lifescape: Reliable Lawn Care Service in Denver
Mile High Lifescape is Denver’s top choice for professional lawn care and landscaping services, specializing in installing brick borders that elevate your garden’s beauty and organization. With over two decades of experience, we tailor every project to your unique preferences and property needs, ensuring a seamless blend of style and functionality.
Our team is committed to transforming your outdoor space into a stunning and inviting oasis, offering expert craftsmanship and unparalleled customer service. Let Mile High Lifescape bring your garden dreams to life.
FAQ About Brick Border for Garden
How durable are brick garden borders?
Bricks are highly durable and can last decades with proper installation and maintenance.
Can brick borders handle uneven terrain?
Yes, bricks can be easily installed on uneven surfaces, creating a clean and level look.
Are brick borders easy to maintain?
Absolutely! They require minimal upkeep, mainly occasional cleaning and resetting of loose bricks if needed.
Conclusion
Brick border for garden is a classic way to give your yard a polished and organized look. Its durability ensures long-lasting beauty, while its timeless charm complements any garden style. Whether you’re creating straight paths or curved edges, brick borders enhance your landscape and make maintenance easier.
Mile High Lifescape provides expert installation and care, helping you achieve a stunning and functional outdoor space. Let us bring your garden vision to life with beautiful, durable brick borders!

