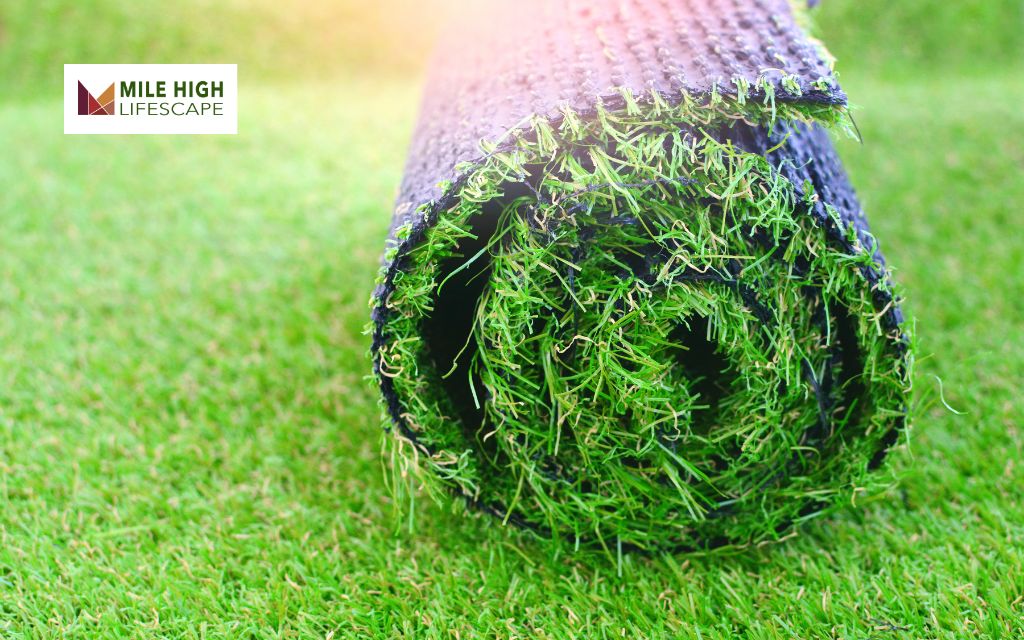
Installing a fake lawn is an excellent solution for homeowners seeking a low-maintenance, eco-friendly alternative to natural grass. With artificial turf, you can enjoy a pristine yard while reducing water usage and eliminating the need for pesticides or excessive lawn care maintenance.
Many homeowners choose artificial turf over natural grass because it provides a durable, pet-friendly, and aesthetically pleasing outdoor space that requires minimal upkeep. If you’re wondering how to install fake lawn effectively, this guide will walk you through the entire process step by step.
And for those who prefer professional installation, Mile High Lifescape is a trusted name in tree and lawn care, offering expert services to help you achieve the perfect synthetic lawn. Ready to transform your yard? Let’s dive into the essentials of installing artificial turf!
Why Choose Artificial Lawn?
A Budget-Friendly Choice
At first, artificial grass might seem more expensive than real grass, but it can actually save you money in the long run. It doesn’t need much care, and it lasts a lot longer than natural grass. This means you won’t have to worry about replanting or watering your lawn all the time, which is especially helpful in dry or hot climates.
Easy to Maintain
Artificial turf doesn’t need the same kind of upkeep as real grass. This makes it a great choice for people who want a nice, green lawn but don’t have the time or energy to take care of it. Professional installers can make sure your artificial lawn stays lush and beautiful for years, with minimal effort on your part.
Good for the Environment
Since artificial turf doesn’t need water to stay green, it’s a more eco-friendly option. Plus, the materials used to make turf are often recyclable, so once you need to replace it, the turf can be reused, helping to reduce waste.
Pet-Friendly
For pet owners, artificial turf is a fantastic option. Unlike natural grass, it doesn’t have harmful chemicals or pesticides that could hurt your pets. It’s also soft and comfy, making it a great place for dogs to run, play, or fetch.
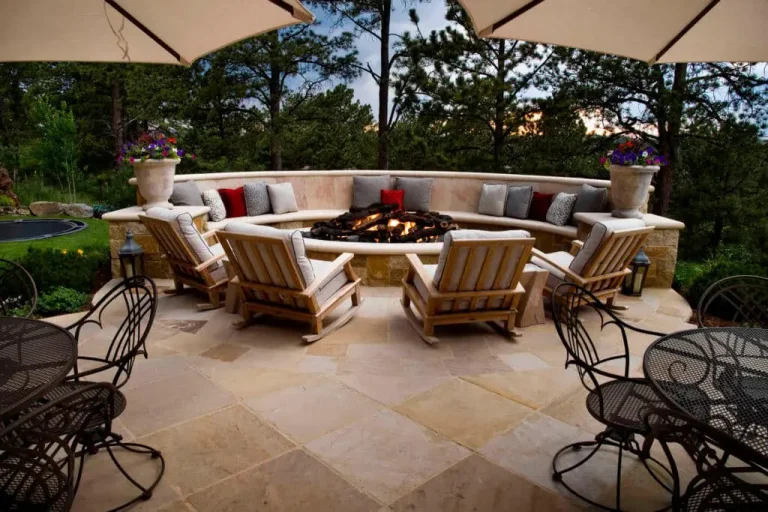
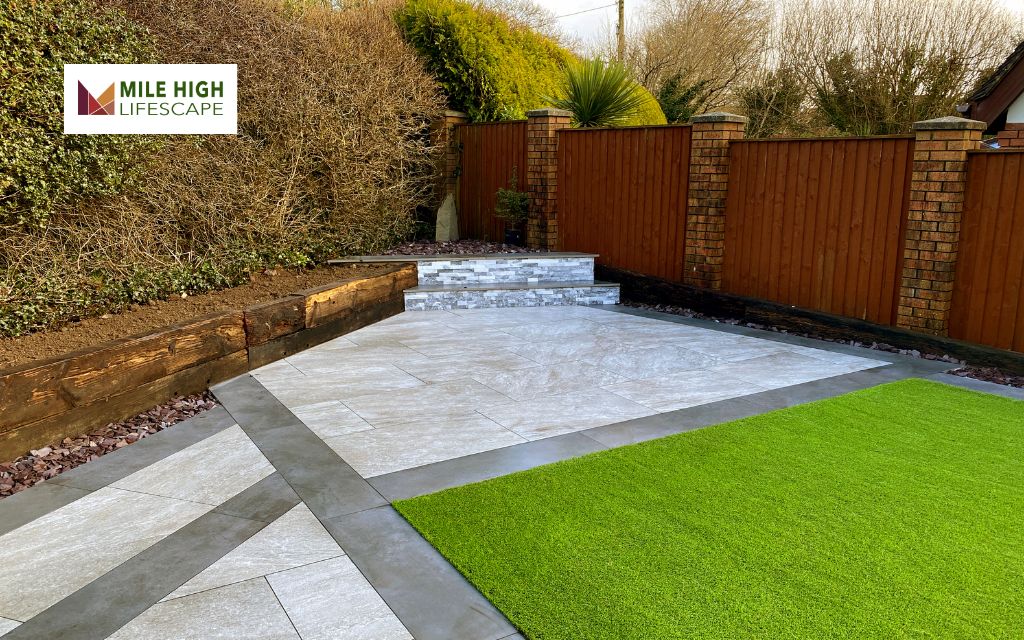
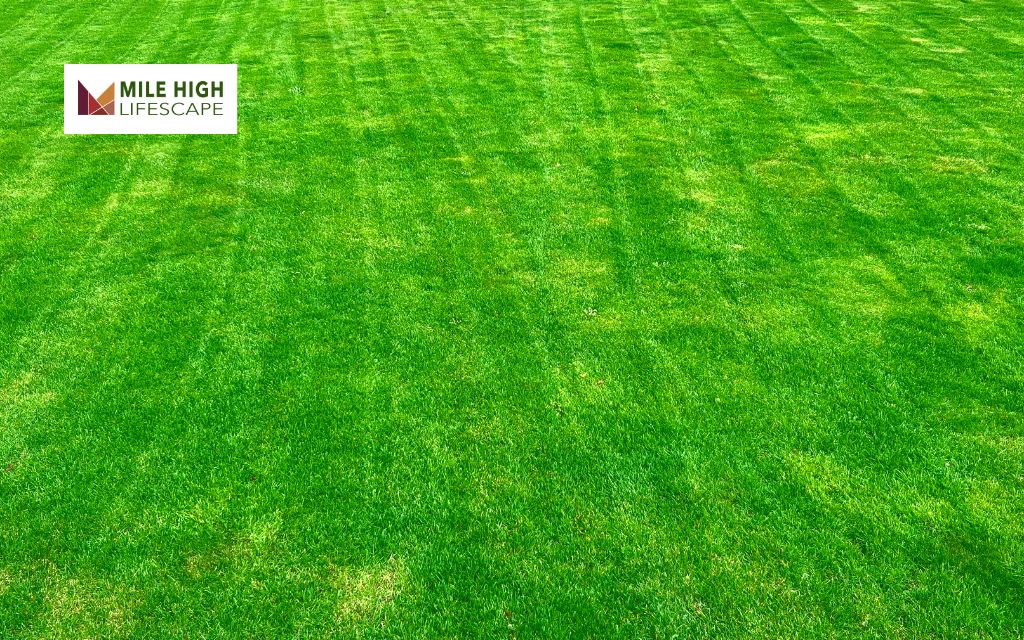
Artificial Grass Looks Amazing
If you want to improve your property’s look, artificial grass is a great way to do it! It adds a clean, fresh look to any space, whether it’s for a backyard, sports field, playground, or even a dog park. It looks just like real grass, and the best part is, it’s super easy to maintain.
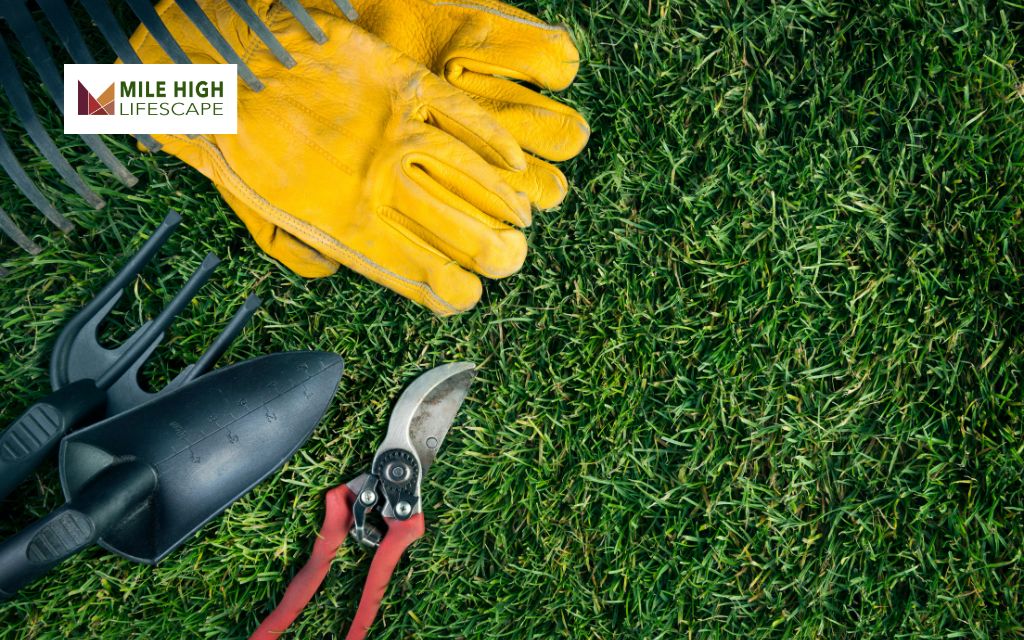
Tools Needed to Install Fake Lawn
Essential Tools
- Shovel: Before you can learn how to install fake lawn, you need to remove the grass that’s already there. You can use a shovel and pickaxe for this, which is a cheap option, but it will take time. If you have a compact trailer, that can make the job easier. If not, just start digging!
- Wheelbarrow: Use a wheelbarrow to haul the dirt you’ve dug up out of your yard. It helps move things quickly.
- Box Cutter: To make your new fake lawn fit perfectly, use a box cutter. Make all the cuts from the back of the turf so you can follow the stitch rows for a clean cut.
- Turf Paint: Sometimes, old sports turf might have lines or markings. Don’t worry! You can easily fix this with green turf paint to cover any unwanted lines.
- Hammer: You’ll need a hammer or mallet to secure the turf to your base. Add nails every few inches along the edges to keep it in place.
- 40-D Turf Nails: Use 40-D, 5-inch non-galvanized turf nails to secure the turf firmly to the base.
- Drop Spreader: A drop spreader helps spread the right amount of infill evenly across your new lawn. If your turf already has infill, you might not need this step.
- Push Broom: After spreading the infill, use a push broom with stiff bristles to brush it into the grass. This will make the blades stand up and give your fake lawn the look of freshly mowed grass. If you have a power broom, that can make it even easier.
Optional Tools
- Pickaxe: A pickaxe is useful for removing tough things like stumps and big stones when you’re taking out your old grass.
- Dump Trailer: As you remove your old lawn and soil, it can pile up fast! If you can, have a dump trailer on hand to help get rid of the old material. This will make disposal easier and make sure you follow local rules for getting rid of the old lawn.
- Class II Road Base: For a solid foundation, it’s a good idea to use a Class II road base. This helps create a level surface with good drainage. If you don’t have that, you can also use your existing soil, just smooth it out and wet it a bit to help create a stable base.
- Seam Tape: If you’re using more than one roll of turf, seam tape will help you stick them together. This keeps everything connected and secure.
- Spackle: If you’re using glue and seam tape, spackle helps you spread the glue evenly to attach the turf pieces.
- Infill: Infill is the sand-like material that keeps your artificial grass upright. It can be made of different things, like silica sand, rubber crumb, or volcanic ash. It’s what gives your fake lawn its full, lush look.
8-Step Guide: How to Install Fake Lawn
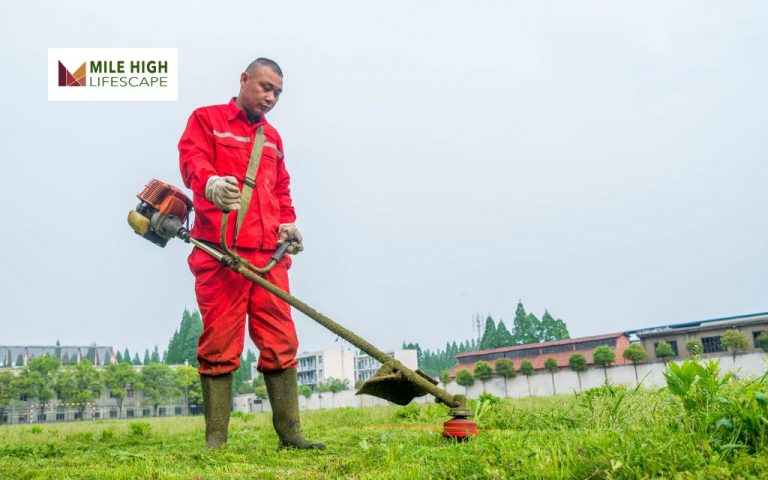
Step 1 – Prepare the Surface
To get your fake lawn ready, you need to start by clearing the area where the grass will go. This means digging up any old grass, roots, and anything else on the ground. You’ll need to dig down about 80 – 100 mm, which is roughly the thickness of a large book. To do this, you’ll just need a shovel and a wheelbarrow to move the dirt.
Step 2 – Build a Solid Base
Next, you’ll create a flat surface for your new artificial grass. First, spread a 50mm – 70mm layer of crushed rock across the area. Once it’s spread out evenly, wet it down and use a plate compactor or tap it down with a hand tool to make it firm.
The crushed rock helps the grass stay in place and lets water drain away. You can get the crushed rock at your local garden store, but keep in mind that we don’t sell this material. For this step, you’ll need a rake, shovel, wheelbarrow, hose, and a compactor.
Step 3 – Add Crusher Dust, Level, and Compact
Now it’s time for the crusher dust. Add a 20mm – 40mm layer of this dust on top of the crushed rock. Crusher dust is great because it’s smooth and free of big rocks, which helps create an even surface for your fake lawn. Make sure you level it out, then wet it down and compact it to make it flat and smooth.
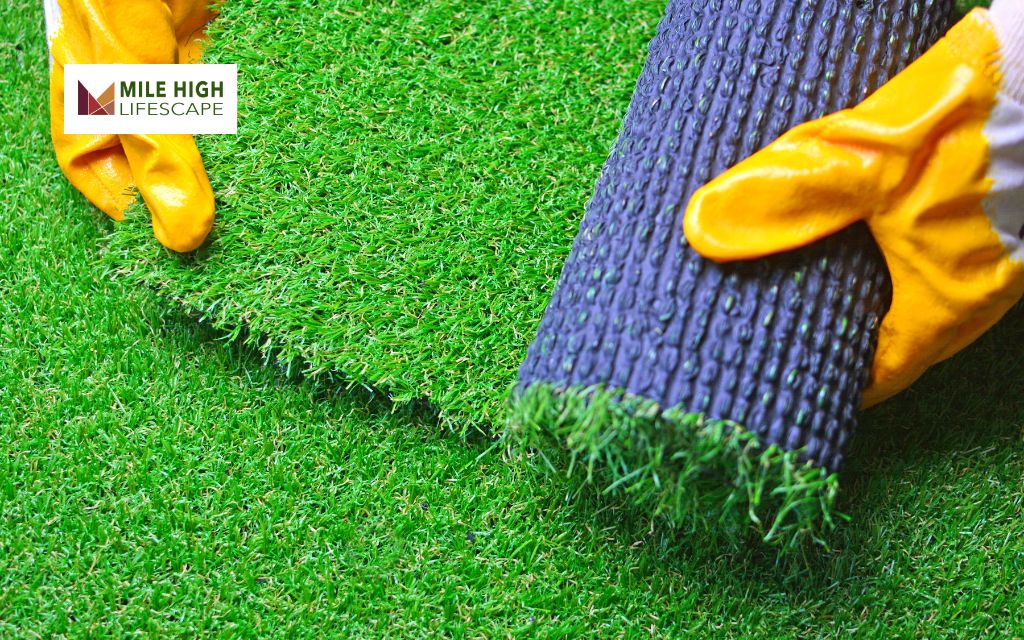
Step 4 – Lay Your Fake Grass
Now, it’s time to place your artificial grass on the ground. If you’re using more than one piece, make sure all the grass pieces are facing the same way. You can do this by making sure the blades of the grass are pointing in the same direction. To lay the grass down, just use the turf you bought and maybe get some help moving it into place.
Helpful Tip: The best look for your fake grass is when the blades are facing toward you, or to the side. The least attractive view is when the grass is facing away from you, so keep that in mind as you lay it down.
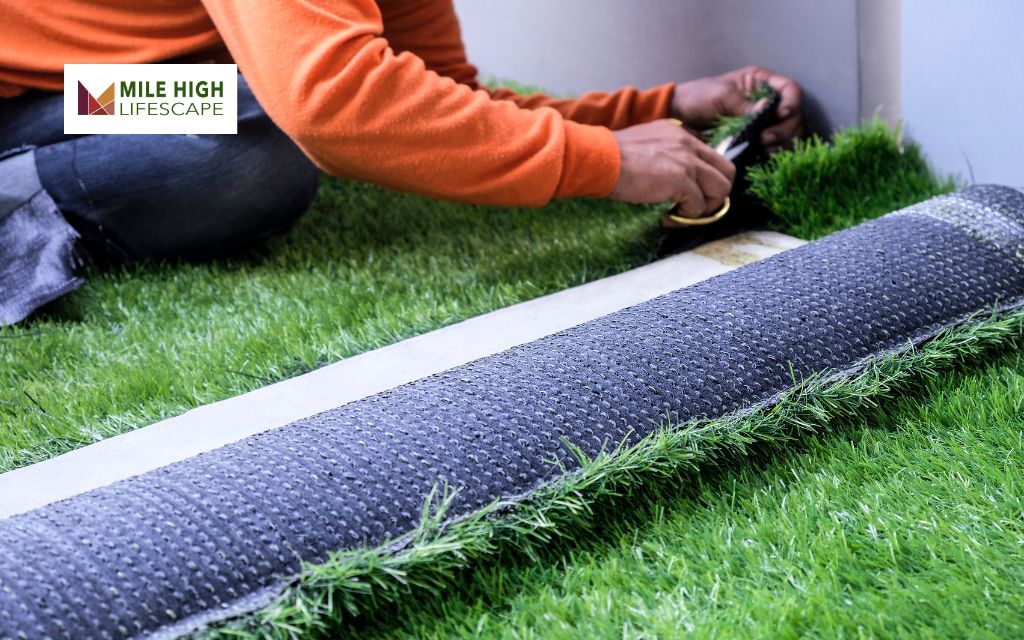
Step 5 – Join the Pieces with Tape
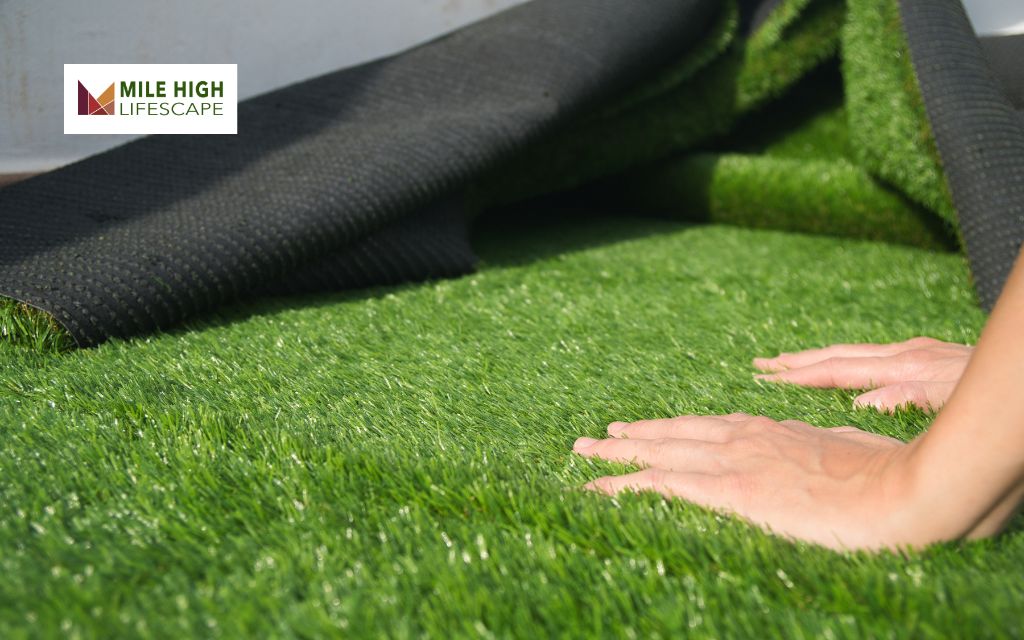
To make your artificial lawn look real, it’s important to join the pieces neatly. After rolling out the grass, make sure the edges meet up perfectly with no gaps showing.
When you’re happy with the fit, fold back both sides of the grass, and place joining tape sticky side up under the edges. Peel off the white layer of the tape, then carefully lay the grass back down on top. Press down on the grass to make sure it sticks.
To secure it further, use nails or U pins every 300mm along both sides. You’ll need joining tape, a hammer, and nails/U pins for this step.
Helpful Tip: If you have extra grass around the edges, cut off one or two rows with a utility knife to make a clean join.
Step 6 – Trim the Excess Grass
You’re almost done! You might notice some extra grass hanging over the edges. No worries—just use a utility knife to carefully cut off the extra grass. You’ll need a utility knife and fresh blades for this.
Helpful Tip: Keep your blades sharp and change them every 3 or 4 cuts to make the job easier.
Step 7 – Trim and Secure the Edges
Now that your fake grass is in place, it’s time to secure the edges. Use 150mm nails or U pins, placing them about 200mm apart along the edges of the grass. Hammer them into the ground to hold everything down. All you’ll need for this step are nails or U pins and a hammer.
Helpful Tip: Before hammering the nails or U pins all the way in, gently flick the grass blades out from under the nail or U pin. This way, the grass won’t get trapped, and your nails or U pins won’t show up when you’re finished.
Step 8 – Add Silica Sand
Your lawn is looking great now! The last step is to take some dry, specially graded sand and spread it evenly over your new turf. Use a stiff broom or a power broom to brush the sand across the grass, making sure there’s no sand left on top. This helps keep the grass blades standing up straight.
Helpful Tip: Try doing this on a sunny day! The warmth from the sun will help the blades of grass open up and stand up naturally, giving your lawn a fresh, natural look.
How to Install Fake Lawn: 4 Common Mistakes to Avoid
Ordering the Wrong Amount of Turf
This mistake happens more often than you’d think. Someone excited about installing fake grass might order just one roll, thinking it’s enough to cover their whole yard. But halfway through, they realize they don’t have enough!
On the flip side, ordering too much can be frustrating too, especially when you end up with extra turf you don’t need. Plus, if you have to order more later, the new turf might have a slightly different color, making your lawn look patchy.
Forgetting About Drainage
Before you start digging, it’s important to make sure your yard has proper drainage. If your turf isn’t installed on a surface that drains well, water will collect in puddles, making your lawn look messy and soggy. Make sure the ground slopes slightly to help the water run off, and you’ll have a much cleaner result.
Not Paying Attention to the Grass Angle
When you’re installing fake grass, it’s important to think about the direction of the fibers. Unlike real grass, fake grass fibers all lean in the same direction.
You want the fibers to face towards the house, so when you look at your lawn, the fibers create a full, natural look. Be sure to lay all the pieces in the same direction to avoid visible seams and to get the best look.
Visible Seams
One of the most noticeable mistakes is leaving seams in your turf that stand out. To avoid this, use the “S-seam” method. We use a special tool to cut the seams in a curved shape, which helps them overlap and makes them harder to see.
Once the seams are lined up, we secure them with seaming tape, grass adhesive, and nails placed every 4-6 inches to make everything stay put and look perfect.
Cost of Installing an Artificial Lawn
The cost to install fake grass typically ranges from $15 to $19 per square foot, which includes both the materials and the labor.
Most people install artificial grass in about 500 square feet of their yard, often in just a few areas. This means the total cost for most homeowners is usually between $7,400 and $9,350 if you’re using a mid-quality turf. If you choose nylon turf, the price could go up by about 20%.
These prices are based on a survey of artificial grass installation across the U.S. Your actual cost may vary depending on the type of turf you choose and the size or shape of the area where you’re installing it.
FAQs About How To Install Fake Lawn
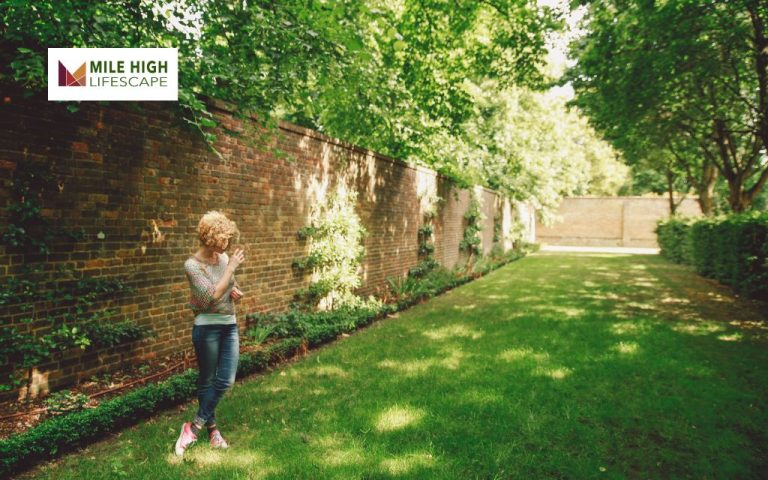
How do you prepare the ground for artificial grass?
To set up artificial grass correctly, you need to prepare the ground first. Start by removing the existing grass, weeds, and any debris. Then, dig out the soil to about 4 inches deep to make space for the base materials.
After that, you’ll add a layer of gravel and sand (about 3 inches), which helps with drainage. Use a compactor to flatten and firm up this layer, making sure the ground is smooth and solid. This strong base will help your artificial lawn last longer and stay looking great.
Can I install artificial grass myself?
Yes, you can install artificial grass yourself if you have some basic landscaping skills. The job involves preparing the ground, adding a solid base, rolling out the turf, cutting it to fit, securing the edges, and putting in some infill.
It takes time and attention to detail, but many homeowners successfully do it themselves and save money. If you’re unsure about any part of the process, it’s okay to ask for help from a professional like Mile High Lifescape.
What do you put under artificial grass?
Underneath artificial grass, you need a solid base. This is usually made from a mix of gravel and sand, about 3 inches deep. This helps keep the turf stable, drains water properly, and prevents the grass from shifting. Sometimes, a weed barrier fabric is also used under the base to stop weeds from growing, but this is optional and depends on where you’re installing it.
Can I just lay artificial grass on soil?
It’s not a good idea to lay artificial grass directly on soil. Without proper ground preparation, your turf may become uneven, and water could pool on top. You might also face issues with weeds growing through the grass, and the turf won’t last as long. Preparing the ground properly with a solid base is key to making sure your artificial lawn looks good and lasts for years.
Conclusion
How to install fake lawn? It’s easier than you think! With the right preparation, materials, and steps, you can enjoy a lush, green lawn without the hassle of watering or mowing. A well-installed artificial lawn saves you time, money, and effort while keeping your yard looking fantastic year-round. Whether you DIY or hire a pro, a fake lawn is a smart choice for a beautiful, low-maintenance outdoor space.