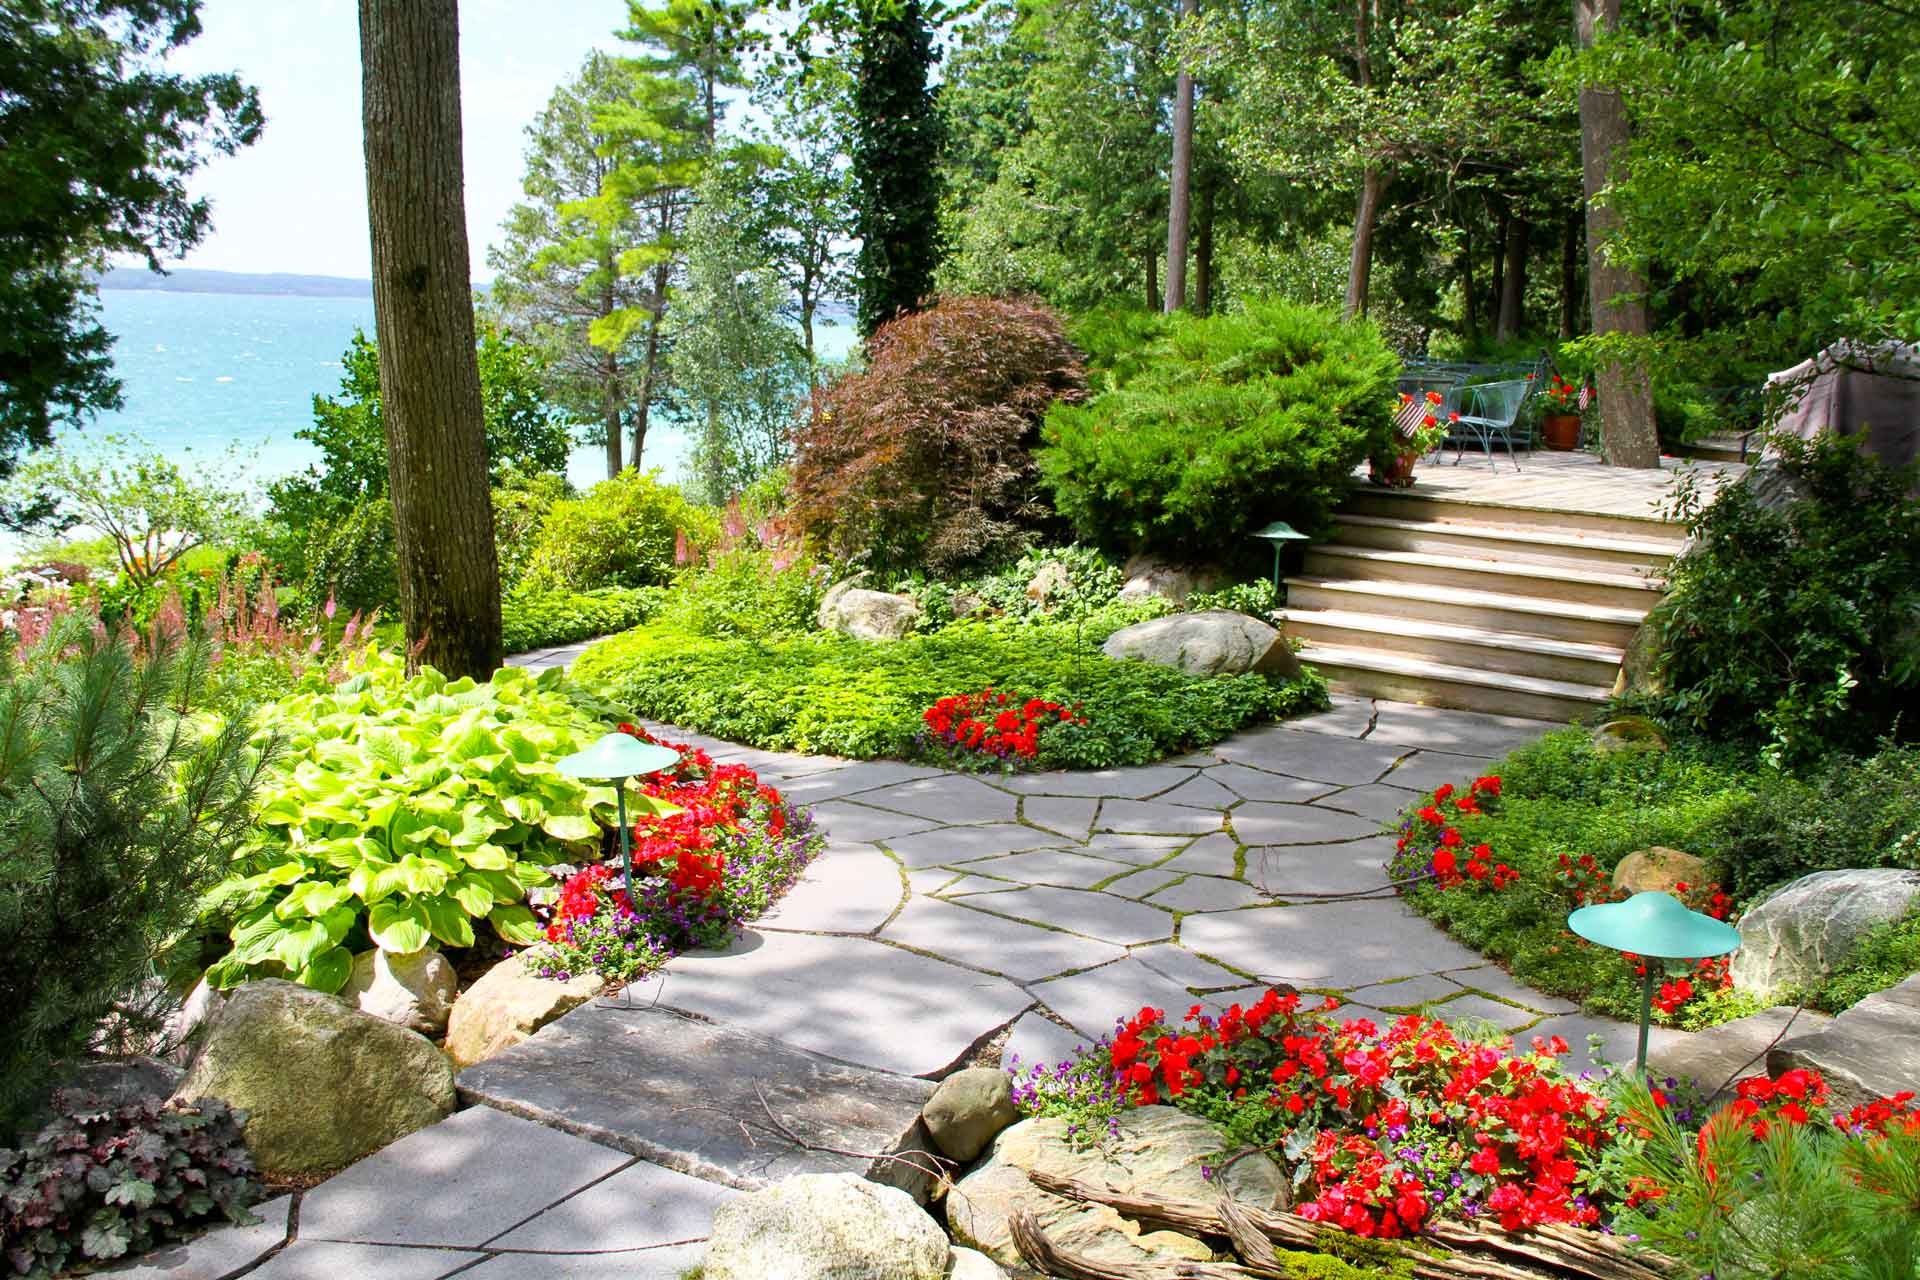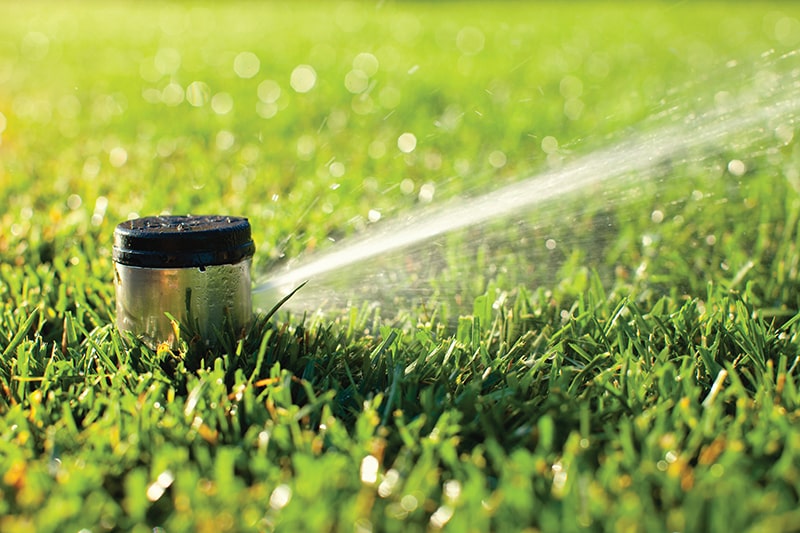
In-ground lawn sprinklers offer the convenience of delivering precise amounts of water and then disappearing out of sight. They are an excellent solution for maintaining a vibrant landscape while conserving water.
To embark on a DIY sprinkler installation project, it’s essential to start with a well-thought-out plan. Many manufacturers offer personalized system designs tailored to your specific yard and geographical location.
The manufacturer will provide guidelines on how to assess your water pressure. Typically, you’ll need a minimum pressure of 30 to 35 psi and a water flow rate of approximately 10 to 13 gallons per minute to support an effective sprinkler system. They will also offer a template for you to sketch your property boundaries. Once you submit the sketch, they will send you a comprehensive landscape plan, complete with detailed instructions and a list of the materials you’ll need to purchase from the hardware store to assemble the system.
Sprinkler System Installation in 10 Steps

Step 1: Understanding In-Ground Sprinklers
Important: Before proceeding, ensure that you have obtained the necessary permits from the local building department. Contact the one-call center to have the local utilities mark any buried electrical cables, gas lines, or sewer lines.
Step 2: Excavating the Trenches
- Identify the water source pipe you will be connecting to, which may be located in the basement or buried underground.
- Mark the locations of the trenches and sprinklers using wooden stakes or plastic flags.
- Utilize a gas-powered trenching machine to dig the trenches at a depth recommended for your area, typically between 4 to 12 inches.
Tip: Many rental dealers offer the convenience of delivering and picking up the trenching machine for a small additional fee.
Step 3: Establish the Water Connection
- Begin by shutting off the water supply to the house at the meter.
- Cut into the main water line and introduce a tee fitting using PVC cement and primer. In the case of a copper line, solder a copper tee instead.
- Apply PVC cement to a 90-degree PVC elbow and attach it to a male PVC adapter.
- Thread the adapter into the tee fitting on the main water line. It is acceptable to connect PVC to copper in this step.
- Tip: If you feel uncertain about this process, it is recommended to hire a professional plumber to assist you in tapping into the main line.
Step 4: Install the Zone Valves
- Dig a trench from the main water line to the designated valve box location as specified in your plan. At the endpoint, dig a hole approximately 18 inches deep and 2 to 3 feet long.
- Line the hole with a layer of gravel, around 2 inches deep, and position the valve box within it. Ensure that the box lid is level with the grass surface.
- Following the instructions provided by the manufacturer, assemble the manifold and attach the zone valves. Place the manifold inside the valve box.
- Run 1-inch schedule 40 PVC pipe from the main water line to a backflow-prevention device, and then connect it to the manifold.
- Excavate a shallow trench from the valve box to the location where the timer will be installed, according to your plan.
- Lay the 24-volt underground wire in the trench and connect it to the wires extending from each valve.
Step 5: Lay the Pipes in the Trenches
- Under your plan, lay the PVC pipes in the trenches originating from the valve box. If needed, use couplings and PVC cement to join sections of pipe.
- When a pipe branches off to a sprinkler head, splice in tee fittings and attach a short length of flexible piping, which will connect to the sprinkler head.
- For connections to drip-irrigation tubing, secure an upturned elbow, a short vertical pipe, and a pressure reducer with a microfilter.
Tip: Save both money and trips to the home center by purchasing PVC fittings in contractor packs that include multiple pieces.
Step 6: Connect the Pipes at the Valve Box
Utilize 90-degree elbows to connect the PVC water pipes in the trenches to the zone valve pipes extending from the valve box.
Once the piping is completed, turn on the water supply to flush out any dirt or debris from the system. Subsequently, turn off the water to proceed with installing the sprinklers.
Step 7: Install the Pop-Up Sprinklers
- Affix a pop-up sprinkler to the end of each section of flexible piping. Insert the barbed fitting completely into the pipe; no glue or hose clamp is necessary.
- Remove the cap from the sprinkler and install the appropriate spray nozzle, as specified in the plan.
Step 8: Lay Out the Drip-Irrigation System
- For flowerbeds and trees, connect the drip-irrigation tubing to the pressure reducer and microfilter originating from the underground PVC pipes.
- Unroll the tubing along the flower bed, keeping it near the base of the plants.
- Continue unwinding the spool back and forth throughout the flower bed, maintaining a spacing of 12 inches between the tubing.
- If needed, connect one length of tubing to another using a push-in coupling.
- When reaching the end of the layout, cut the tubing with a utility knife if required. Flush it with water, fold it over, and secure it with an end clamp.
Tip: Prior to installation, expose the tubing to sunlight for a few hours to soften it, making it easier to handle and install.
Step 9: Secure the Irrigation Tubing
- After laying out the irrigation tubing, use plastic ground stakes to secure it in place.
- Slide each stake over the tubing and press it firmly into the ground. Space the stakes approximately 18 to 24 inches apart.
- In some cases, it may be necessary to position two stakes very close together on opposite sides of the tubing to provide better stability.
- To minimize water evaporation and conceal the tubing, cover the area with a layer of bark mulch. Apply the mulch to a depth of at least 4 inches, which will also help prevent weed growth.
Step 10: Connect the Timer
- Mount the programmable timer on the exterior wall of your house.
- Strip the insulation from the ends of the 24-volt wires that lead from the zone valves to the timer.
- Follow the instructions provided by the manufacturer to attach the wires securely to the designated terminals on the timer.
- If electrical power needs to be connected to the timer, it is recommended to hire a licensed electrician to handle the task.
- Once the connections are made, set the timer according to your preferred schedule and run a test to ensure that each zone and all the sprinklers are functioning correctly.
- Make any necessary adjustments to the sprinkler nozzles to ensure they are spraying in the desired direction.
By following Mile High Lifescape‘s 10-step guide, you can successfully install a lawn sprinkler system for a lush and water-efficient landscape. Take the necessary precautions, plan carefully, and enjoy the convenience of automated irrigation. Achieve a vibrant and appealing lawn that enhances the beauty of your home while conserving water resources.
Contact us:
Address: 1427 S Federal Blvd, Denver, CO 80219
Hotline: +(303) 877-9091
Email: [email protected]