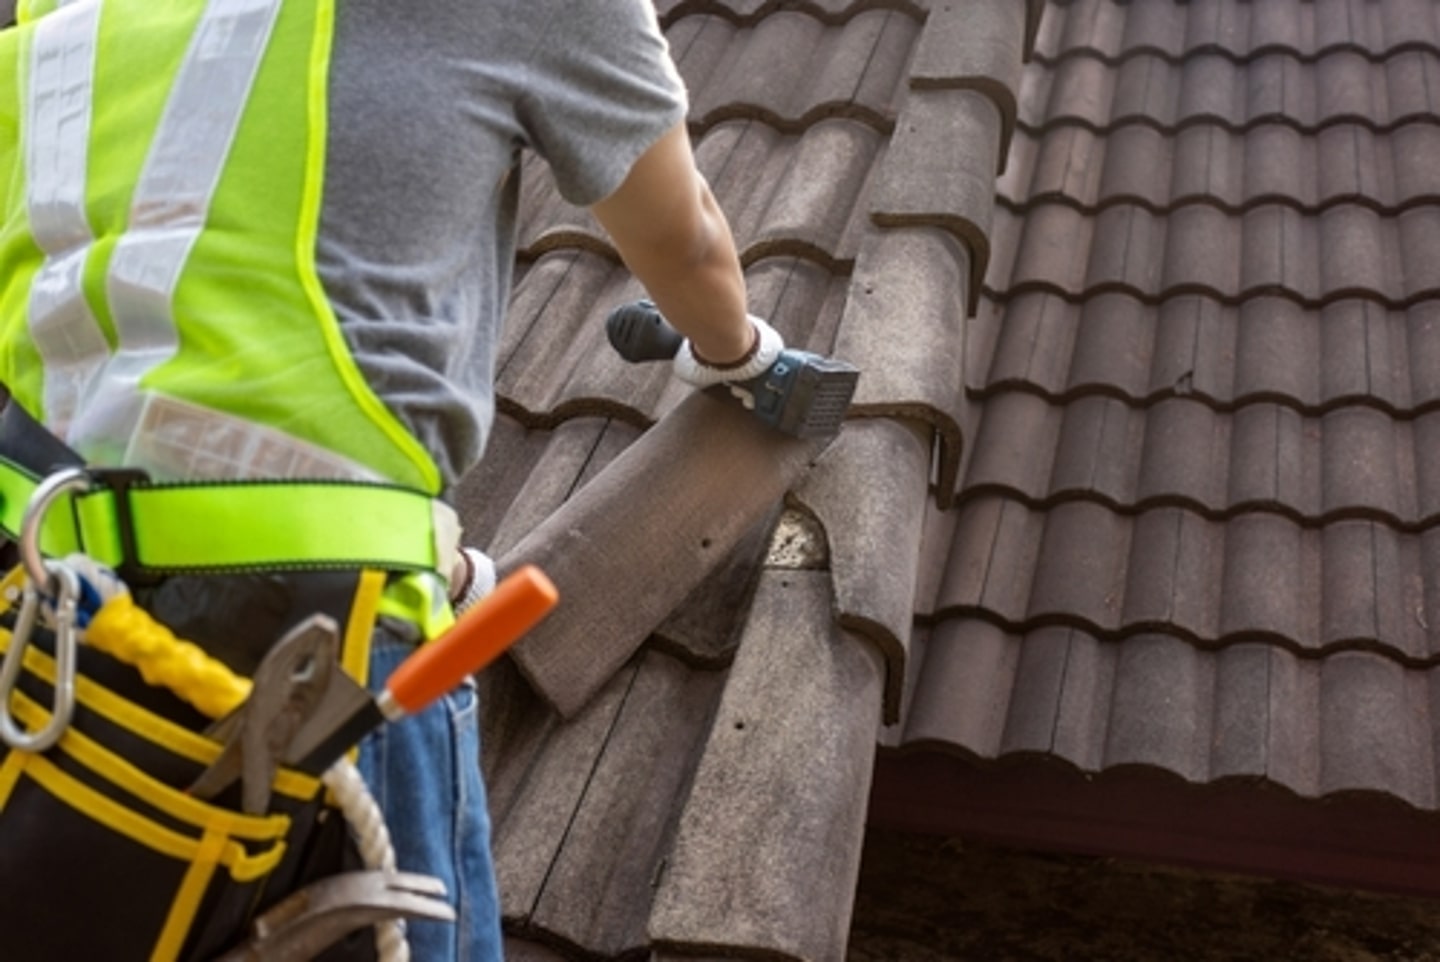
Are you dealing with a leaking roof and in need of some helpful tips to find and fix the issue? Look no further! We’ve got you covered with 12 valuable roof repair tips that will assist you in identifying and resolving roof leaks.

Leaky Roof Overview
If you’re experiencing water stains that span across your ceilings or run down your walls, it’s likely that your roof is the culprit. The challenging part lies in identifying the source of the leak, but fortunately, repairing the roof leak is often a straightforward process. We’re here to share some practical tips and techniques for detecting and fixing the most common types of roof leaks.
However, if you reside in an area known for snowy winters and you only encounter leaks on warm or sunny days, it’s probable that ice dams are causing the issue. While we won’t delve into roof leak repair specific to ice dams in this particular discussion, we recommend referring to an article on preventing ice dams for more information.
Regardless of the circumstances, it’s crucial to address a leaky roof promptly, even if it doesn’t seem overly bothersome or you have plans to replace the roof in the near future. Small leaks can lead to significant problems over time, including mold growth, deterioration of framing and sheathing, compromised insulation, and ceiling damage. A flashing leak that resulted in an expensive repair bill was apparent from the ceiling stains for over two years. If the homeowner had taken immediate action, the damage and subsequent repairs would have been minimized.
It’s essential to prioritize fixing a leaky roof to prevent further complications. Whether it’s a minor issue or a more significant concern, timely repairs can save you from extensive damage and expenses.

How to Find Roof Leaks
When attempting to locate a leak, start by inspecting the higher sections of the roof where the water stains are present. The first step is to check for any openings in the roof. These penetrations are typically the most common source of leaks. In fact, it’s uncommon for leaks to develop in uninterrupted areas of the roof’s shingles, even on older roofs. Penetrations can include vents for plumbing or the roof, chimneys, dormers, or any other structures that pass through the roof. They may be situated several feet above the visible leak or to the right or left of it.
If you have access to the attic, it’s the easiest way to track down a leak. Take a flashlight and examine the area for signs of water stains, black marks, or mold. These indications will guide you towards the source of the leak. However, if accessing the attic is not feasible or if you have a vaulted ceiling, you’ll need to go onto the roof itself and thoroughly inspect the suspected areas.
By carefully examining the roof and its penetrations, you can identify the cause of the leak and take appropriate steps to address it effectively. Always prioritize safety when working at heights, and if needed, consider seeking professional assistance in locating and repairing the leak.

A Trick for Finding Difficult Leaks
If you’re having trouble locating a leak, you can enlist the help of a companion and use a garden hose on the roof. Begin by starting at a lower point and saturating the area just above where the leak is visible inside the house. Isolate specific sections as you run the hose. For instance, soak the downhill side of a chimney first, then move to each side, and finally the top on both sides. Meanwhile, have your helper stay inside the house and watch for any drips to appear. Allow the hose to run in each area for several minutes before gradually moving it up the roof. Instruct your helper to alert you when a drip becomes visible. This method will help you narrow down the general vicinity of the leak. Be patient during this process as it can take over an hour. And don’t forget to show your appreciation to your helper, perhaps by treating them to dinner.
If running water doesn’t pinpoint the exact location of the leak, don’t hesitate to take more direct action. Start removing shingles in the suspected area. By doing so, you’ll uncover evidence of the leak and be able to track it down to its source. Look for discolored felt paper or signs of water damage or rotting wood directly beneath and around the area of the leaky roof. This closer inspection will provide you with valuable clues to aid in your repair efforts.
Solution for a Small Leak
Locating certain roof leaks can be quite challenging. In some cases, the water may appear on the ceiling far away from the actual source of the leak. If your ceiling has a plastic vapor barrier positioned between the drywall and the attic insulation, you can move aside the insulation and inspect the plastic for any signs of water flow stains. It’s common for water to travel towards openings in the vapor barrier, such as around ceiling light fixtures.
If there are no visible flow marks and the stain is relatively small, you can examine the underside of the roof for “shiners.” Shiners are nails that have missed the framing members, typically occurring when the roof sheathing was nailed to the rafters. Moisture from the rooms below often condenses on these cold nails in the chilly attic. One way to identify this is by going up to your attic on a cold night. The nails will appear white due to frost. As the attic warms up during the day, the frost will melt and drip, only to frost up again at night. To address this issue, simply clip the nail using a pair of side-cutting pliers.
By diligently investigating these potential indicators, you can successfully pinpoint and address the source of the roof leak.

Fix Plumbing Vent Boots
Plumbing vent boots come in various materials, including all plastic, plastic and metal, or two-piece metal units. Inspect plastic bases for any cracks and metal bases for signs of broken seams. Also, closely examine the rubber boot surrounding the pipe. It may be deteriorated or torn, allowing water to seep into the house along the pipe. If you encounter any of these issues, it’s advisable to purchase a new vent boot to replace the old one.
However, if the nails at the base are missing or have come loose, and the boot itself is in good condition, you can opt to replace them with rubber-washered screws typically used for metal roofing systems. These screws can be found at most home centers alongside other types of screws. Keep in mind that you’ll need to carefully work on the neighboring shingles on both sides. If you don’t have spare shingles, take care when removing them so they can be reused. A flat bar can be useful for separating the sealant between the shingle layers, allowing you to slide the flat bar under the nail heads and remove the nails.

How to Fix Roof Vents
Inspect the plastic roof vents for any cracked housings, and check the metal ones for broken seams. While it may be tempting to apply caulk as a quick fix, this solution is unlikely to be long-lasting. The best course of action is to replace the damaged vents entirely. Additionally, examine the bottom edge of the vent for any pulled or missing nails. Replace these nails with rubber-washered screws for a more secure attachment.
In most cases, you can remove the nails located under the shingles on both sides of the vent to free it. There may also be nails across the top of the vent that can often be loosened without removing the shingles. Secure the bottom of the vent in place using rubber-washered screws. To provide added protection against water infiltration and secure the shingles, apply a bead of caulk beneath the shingles on both sides of the vent. This method is much simpler than attempting to renail the shingles.

Fix Walls and Dormers
Sometimes, water infiltration doesn’t occur solely through the shingled surface of the roof. Wind-driven rain can find its way in from various areas above the roof, such as around windows, between corner boards and siding, and through cracks and knotholes in the siding. Dormer walls, in particular, can create multiple entry points for water to seep down and penetrate the roof. Over time, caulk can become worn, cracked, or even completely absent between the corner boards, window edges, and siding. Water can easily seep through these gaps, bypass the flashing, and enter the house. Even if the caulk appears intact, it may not be effectively sealing against the adjacent surfaces. To assess the situation, use a putty knife to carefully examine the area and determine if it is adequately sealed. Remove any questionable caulk and replace it with a high-quality caulk.
Additionally, inspect the siding located above the step flashing. If you come across any cracked, rotted, or missing siding, it’s important to replace it. Ensure that the new siding overlaps the step flashing by at least 2 inches to provide proper protection against water intrusion. If you’re still experiencing a leak, remove the corner boards and inspect the overlapping flashing at the corner. Often, there is old and hardened caulk where the two flashing pieces meet at the inner corner.

Complex Roof Problem
This particular roof experiences leaks both during the snowy winter months and summer storms, primarily due to inadequate flashing. One of the most challenging areas to waterproof is the junction between the soffit and the roof. In the provided photo, there are still visible signs of an ice dam. An ice dam forms when snow melts, and the resulting water refreezes at the colder edges of the roof. Over time, water accumulates behind the dam and eventually seeps under the shingles and soffit, finding its way through the roof at vulnerable points. To address this issue, it is crucial to start with proper flashing, as it can help prevent leaks not only from rainfall but also from ice dams.
To begin the repair process, the shingles need to be removed down to the wooden sheathing. Then, a strip of adhesive ice-and-water barrier, which can be found where roofing repair products are sold, should be inserted under the joint between the soffit and the main roof. Depending on how the roofs are joined, it may be necessary to create a slot to ensure proper placement. The strip of barrier should overlap another piece of ice-and-water barrier that extends below it, reaching all the way to the roof edge. This will effectively cover the areas most prone to leaks. Next, reshingle the roof, ensuring that metal step flashing is slid behind the fascia board (the trim located behind the gutter). The valley flashing, which is positioned over the joint where the two roofs meet, should overlap the step flashing by at least 2 inches.
If leaks persist due to ice dams, it may be worth considering the installation of roof edge heating cables, which can be found at local hardware stores or home centers. It’s important to note that while improved attic insulation and ventilation are typically effective measures for preventing ice dams, they may not fully resolve the issue in complex cases involving a compromised roof.

Fix Step Flashing
Step flashing is an essential component used where walls meet the roof. Its purpose is to divert water over the shingle located downhill from each section of flashing. However, if the flashing becomes rusted or a piece becomes dislodged, water can easily bypass it and find its way into the house. In such cases, it becomes necessary to replace the rusted or damaged flashing. This process involves removing the shingles, loosening the siding, and then removing and replacing the step flashing. Although it may sound complicated, the procedure is relatively straightforward. However, there are instances when a roofer may forget to secure the flashing in place, causing it to gradually slip down and expose the wall. If you’d like to learn more about installing step flashing, I recommend checking out an article that provides detailed instructions on how to do it yourself.

Don’t Count on Caulk!
Using caulk or roof cement as a solution for a leaky roof is seldom effective, and the results are typically short-lived. Instead, it is advisable to opt for a “mechanical” approach whenever possible to address the issue more effectively. This involves replacing or repairing the existing flashing rather than relying on sealants as temporary fixes. It is important to prioritize the use of flashing as a leak stopper, reserving caulk only for extremely small holes or situations where flashing is not a viable option. By focusing on mechanical repairs and reinforcing the integrity of the flashing, you can achieve longer-lasting and more reliable results in resolving a leaky roof.

Fix Small Holes
Small holes in shingles can be deceptively problematic as they can lead to long-term damage such as rot and leaks, even without immediate noticeable signs. These holes can be remnants from previous installations like satellite dishes or antenna mounting brackets, or they can result from various causes. Additionally, it’s important to address any exposed or misplaced roofing repair nails by removing them and patching the resulting holes. While fixing small holes is a straightforward task, it’s crucial to avoid the temptation of applying caulk directly into the hole as a solution. Instead, the appropriate fix for this type of leaky roof issue is to use flashing. Flashing provides the necessary protection and sealing to effectively address the problem and prevent further water infiltration.
Leaks Around Brick Chimneys
Brick chimneys can be prone to various issues, and it’s impossible to address all of them in this context. One common problem is with the flashing surrounding the chimney, particularly if it’s made of galvanized steel. Over time, the flashing can rust, especially at the 90-degree bend at the bottom. One relatively simple and effective solution, although it provides only a temporary fix, is to slide new flashing underneath the old rusted one. This way, any water that manages to seep through will be redirected away from the vulnerable areas. However, the optimal solution involves cutting a saw kerf into the mortar and installing new flashing. For comprehensive instructions on how to properly install chimney flashing, it is recommended to seek detailed guidance from reliable sources.
In conclusion, when it comes to roof repair, it’s crucial to address issues promptly and effectively to prevent further damage to your home. If you’re seeking professional assistance for your roof repair needs, consider the services of Mile High Lifescape. Our team of experienced professionals is dedicated to providing high-quality roof repair solutions that are tailored to meet your specific requirements. Whether it’s fixing leaks, replacing damaged flashing, or addressing other roofing issues, we are committed to delivering reliable and long-lasting results. Trust Mile High Lifescape to restore the integrity of your roof and provide you with peace of mind. Contact us today to learn more about our roof repair services and schedule a consultation.