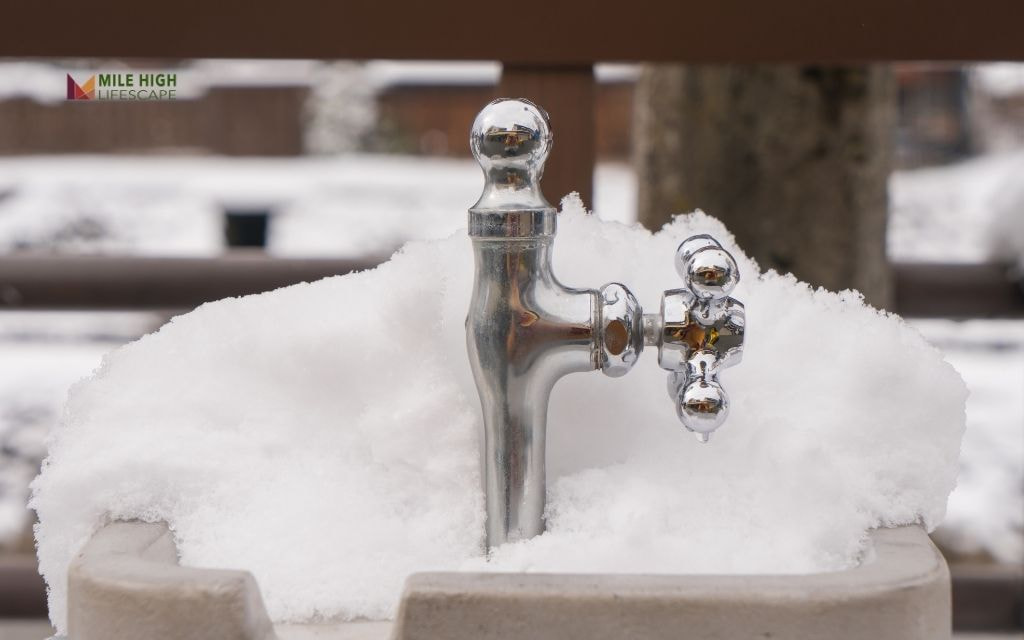
Denver’s harsh winter climate poses serious threats to outdoor plumbing systems. Water expands by approximately 9% when it freezes, creating tremendous pressure that can crack pipes and burst faucets. The Mile-High City experiences dramatic temperature swings and freeze-thaw cycles that make outdoor faucet protection essential for every homeowner.
So, how to winterize outdoor faucets? Winterizing outdoor faucets involves shutting off water supply, draining remaining water, and protecting exposed components from freezing temperatures.
This preventive process protects your home from thousands of dollars in water damage and emergency plumbing repairs.
Why is winterizing outdoor faucets so important?
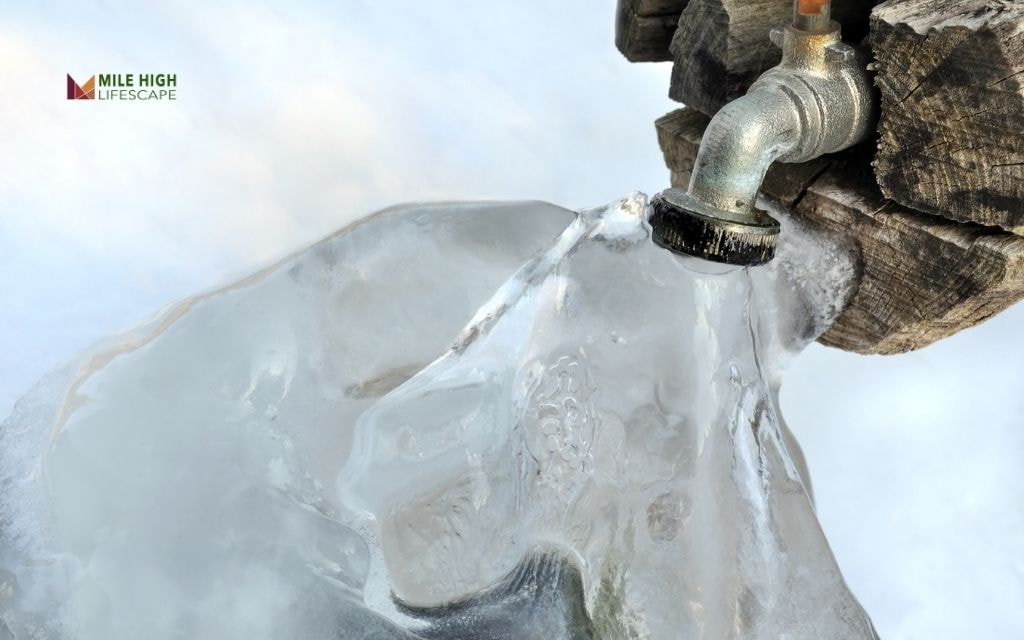
When water freezes inside pipes, it creates internal pressure. This force splits metal pipes, cracks valve housings, and damages connection joints. The expansion occurs gradually, often creating hairline fractures that worsen over multiple freeze-thaw cycles.
Burst outdoor faucets typically cost between $150 and $500 to repair. However, water damage from uncontrolled leaks can reach thousands of dollars. Insurance claims for freeze damage average $10,000 in Colorado, making prevention the smart financial choice.
Professional contractors charge premium rates for emergency winter repairs. Parts availability becomes limited during peak freeze periods, extending repair timelines and increasing costs.
How to winterize outdoor faucets in Denver?
Step 1: Locate and shut off water supply
Find the shut-off valve controlling your outdoor faucet. Most Denver homes have these valves in basements, crawl spaces, or utility rooms. The valve typically sits along the wall closest to the exterior faucet location.
Turn the valve clockwise until it stops completely. Some valves require multiple rotations, while quarter-turn ball valves move just 90 degrees. Test the valve by attempting to turn it further – resistance indicates proper closure.
Mark valve locations with colored tape for future reference. Many homeowners struggle to locate these valves during winter emergencies when quick action becomes critical.
Step 2: Drain all remaining water
Open the outdoor faucet fully to release trapped water. Allow gravity to pull remaining liquid from the pipe system. This process typically takes 5-10 minutes for complete drainage.
Keep the faucet handle in the open position throughout winter. This prevents pressure buildup if any residual water freezes and expands within the pipe system.
Check for proper drainage by observing water flow patterns. Steady drainage indicates clear pipes, while sporadic dripping suggests partial blockages requiring professional attention.
Step 3: Protect exposed components
Apply foam pipe insulation around visible pipes leading to outdoor faucets. Cut insulation to fit snugly around pipe circumferences, eliminating air gaps that reduce effectiveness. Secure insulation with duct tape at joints and connection points.
Install faucet covers over outdoor spigots. These dome-shaped protectors trap warm air around faucet mechanisms while blocking wind exposure. Choose covers rated for Denver’s temperature extremes, typically -20°F or lower.
Wrap exposed valve components with insulating tape or pipe wrap. Pay special attention to connection joints where pipes enter building foundations – these transition points experience the greatest temperature variations.
Step 4: Inspect for maintenance issues
Examine faucet handles, spouts, and connection points for visible damage. Look for corrosion, loose fittings, or worn seals that could worsen during freeze cycles.
Test valve operation before winterization completion. Stiff or resistant handles indicate internal wear requiring replacement before spring use.
Document any identified issues with photographs and notes. This documentation helps when scheduling spring maintenance or communicating with repair professionals.
Step 5: Verify complete protection
Double-check shut-off valve positions and faucet handle orientations. Verify insulation coverage around all exposed pipe sections and secure attachment of protective covers.
Create a winterization checklist for future seasons. Include valve locations, insulation quantities needed, and specific tools required for efficient completion.
Schedule reminder notifications for fall winterization and spring reactivation. Consistent timing prevents last-minute rushes when weather conditions become challenging.
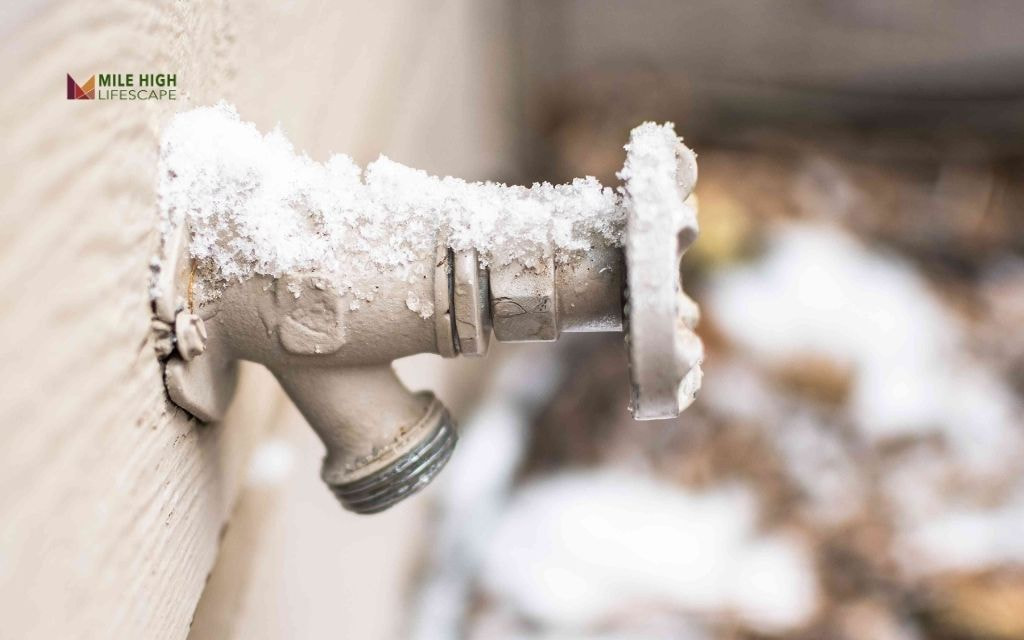
How to know if your outdoor faucet has frozen?
Frozen outdoor faucets exhibit distinct symptoms that homeowners can easily identify:
- No water flow when turning handles indicates ice blockage within pipe systems.
- Visible frost or ice accumulation around faucet housing confirms freezing conditions.
- Strange noises during operation suggest ice fragments moving through pipes.
- Reduced water pressure compared to normal flow rates indicates partial ice blockages restricting water movement.
Temperature readings below 32°F combined with these symptoms confirm frozen conditions requiring immediate attention.
How to fix a frozen faucet?
- Step 1: Shut off the main water supply immediately upon discovering frozen faucets. This prevents additional water from entering frozen sections and reduces pressure buildup during thawing processes.
- Step 2: Never use open flames, propane torches, or other direct heat sources for thawing. These methods can damage pipes, create fire hazards, and cause rapid pressure changes leading to pipe rupture.
- Step 3: Apply gentle heat using hair dryers, space heaters, or warm towels. Work gradually from the faucet toward the building, allowing ice to melt slowly and safely.
- Step 4: Contact licensed plumbers when thawing attempts prove unsuccessful after 2-3 hours of effort. Professional equipment and expertise prevent damage from improper thawing techniques.
Seek immediate professional help if you discover cracked pipes, leaking joints, or damaged faucet components during thawing processes. These conditions require specialized repair techniques and replacement parts.
How to stay safe while winterizing your outdoor faucets?
- Wear insulated gloves when handling metal pipes and insulation materials to prevent frostbite and skin irritation
- Use adequate lighting in basements, crawl spaces, and outdoor areas to prevent accidents and ensure complete task completion
- Maintain stable footing on icy surfaces around foundations and wear non-slip footwear during outdoor work
- Never use open flames, propane torches, or direct heat sources for thawing frozen pipes – use hair dryers or warm towels instead
- Turn off electrical power to outdoor outlets near work areas to prevent shock hazards from wet conditions
- Read manufacturer instructions for all insulation materials, especially those requiring ventilation or containing chemicals
- Verify contractor licensing and insurance coverage before hiring professional winterization services to protect against liability
Common winterization mistakes to avoid
- Failing to locate and shut off all water supply valves – some homes have multiple shut-offs controlling different outdoor faucet zones
- Not allowing adequate drainage time after shutting off water supply – complete drainage requires 10-15 minutes to remove all trapped water
- Forgetting to leave faucet handles in the open position after draining, which creates dangerous pressure buildup during freeze events
- Leaving gaps in insulation coverage around pipes, creating thermal bridges that allow cold air to reach vulnerable pipe sections
- Installing generic faucet covers not rated for Colorado’s climate conditions instead of covers designed for -20°F temperatures
- Delaying winterization until after the first freeze event
- Ignoring existing leaks, loose fittings, or damaged components that worsen dramatically when water freezes and expands
- Skipping annual inspection of shut-off valves, which may fail when needed most during emergency situations
Conclusion
Professional winterization includes complete system inspection, proper shut-off procedures, thorough drainage verification, and installation of appropriate protective materials. We guarantee proper protection or return to address any issues at no additional cost.
Mile High Lifescape provides comprehensive outdoor faucet winterization services throughout the Denver metro area. Our experienced team understands local climate challenges and uses proven techniques protecting homes from freeze damage.
Our service covers Littleton, Lakewood, Westminster, Boulder, Golden, Longmont, Loveland, and Colorado Springs. We provide free estimates and can schedule winterization services at your convenience.
Frequently Asked Questions (FAQs)
Should outside faucets remain open or closed for winter?
Keep outdoor faucets open during winter after shutting off interior water supply and draining pipes. Open positions prevent pressure buildup if residual water freezes and expands within pipe systems.
At what temperature do outside faucets freeze?
Outdoor faucets begin freezing when temperatures reach 32°F for extended periods. However, wind exposure and pipe materials affect actual freezing points. Protection should begin when forecasts predict sustained temperatures below 35°F.
When should Denver residents winterize outdoor faucets?
Begin winterization when nighttime temperatures consistently approach 32°F, typically occurring in mid to late October in Denver. Early preparation prevents damage from unexpected cold snaps.
What happens if winterization is forgotten?
Forgotten winterization can result in burst pipes, water damage, and expensive emergency repairs. Denver’s rapid temperature changes increase risks for unprepared systems.
How much does professional winterization cost in Denver?
Professional winterization services typically range from $75 to $150 per property, depending on the number of faucets and system complexity. This investment prevents thousands of dollars in potential freeze damage.
