Grass runners push into flower beds, and loose mulch drifts onto the lawn, because the bed has no firm edge and no steady cover. Mulching and edging solve both problems as one job. This guide shows how to cut the edge, set the mulch, and keep the result sharp through the year.
You will learn which tools and edge types fit your yard, how deep to cut and spread, and how to handle trees. Each step comes with a reason, so you can adapt mulching and edging to your own soil and plants.
What mulching and edging mean and why they work as a pair
Mulching spreads a protective layer of organic or inorganic material over soil to hold moisture, block weeds, and steady soil temperature. Edging cuts or installs a clear border between a bed and the lawn. Trimming differs from edging, because trimming only cuts growth that has already crossed the line.
Mulching and edging depend on each other. The edge keeps grass roots out and holds mulch inside the bed, and the mulch covers the trench and slows weeds. Grass grows toward and into beds about 3 to 4 inches a year, so mulching and edging need repeating.
Tools and edge types
Mulching and edging call for few tools: a flat spade or half-moon edger, a rake, a wheelbarrow, and a garden hose or marking paint to trace the line. Use a string trimmer for upkeep after the first cut. Heavy rental gear is unnecessary for a standard bed.
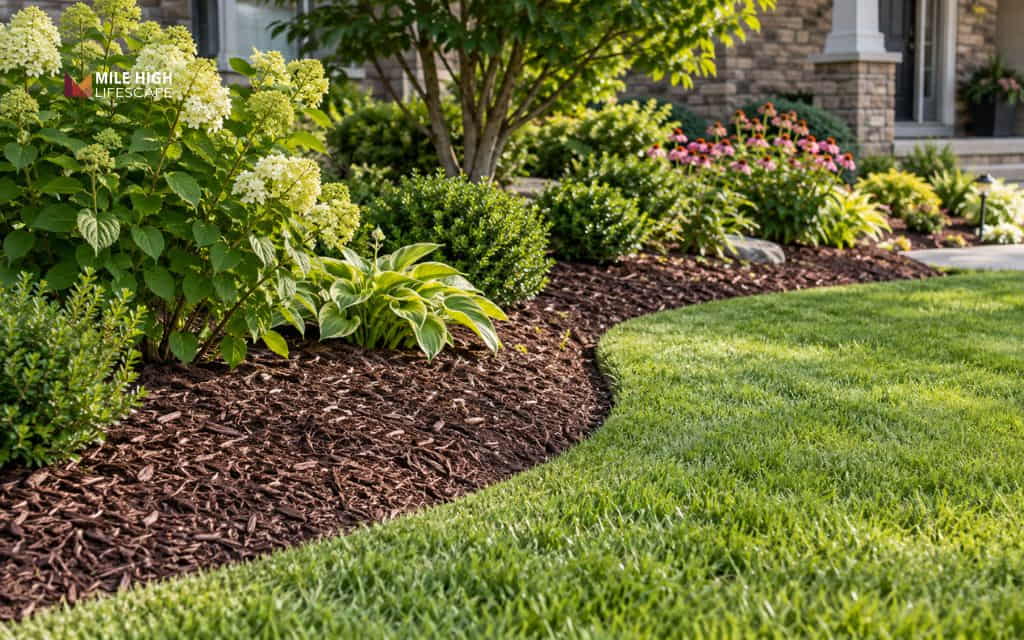
Edge type shapes upkeep in any mulching and edging project. The spade-cut trench costs nothing and adapts as beds grow, which suits new beds because shrubs often swallow permanent edging within a few seasons. These landscape border ideas show how each material looks in a finished yard.
| Edge type | Best for | Upkeep | Main drawback |
| Spade-cut trench | New beds and changing shapes | Re-cut each spring | Needs a yearly refresh |
| Plastic or metal strip | Curves and tight budgets | Anchor firmly and check each season | Plastic can shift or break over time |
| Masonry (stone, brick, concrete) | Permanent, formal borders | Low once set | Costs the most of the four types |
| Wood (logs or boards) | Informal beds and raised beds | Low to moderate | Needs rot-resistant wood in damp soil |
Best time to edge and mulch
Early spring and fall suit most regions for mulching and edging. Soil cuts cleanly after rain, and a fall layer insulates roots before the ground freezes. In colder zones, late spring after the last frost also works, once weeds begin to appear.
Cut the edge when the soil is damp but not soggy, because dry ground resists the spade and soggy ground smears. Mulch the same day so weeds do not refill the trench, which keeps mulching and edging to one session.
How to edge a mulch bed step by step
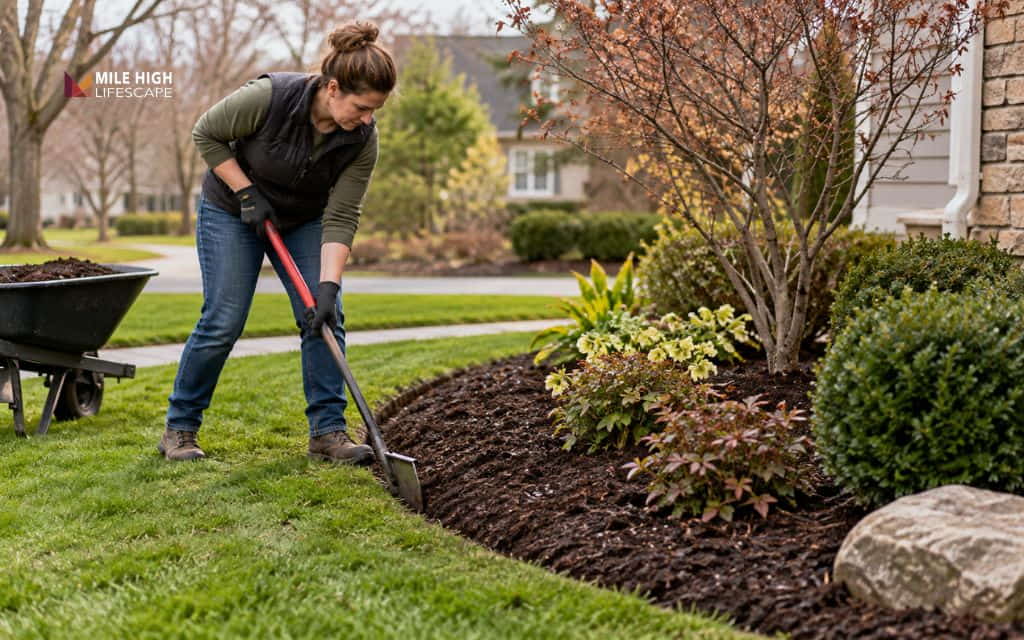
Edge first, then mulch. The trench holds mulch in place, and cutting the edge after mulching mixes soil into the layer and wastes material. Mulching and edging in the right order take seven steps, whether you work on a bed or a border around trees.
- Mark the line: Lay a garden hose or spray marking paint along the curve you want, then step back and adjust until the shape flows.
- Reset the bed: Rake old mulch back 18 to 24 inches from the edge if space allows, and pull weeds and grass in that strip.
- Cut the outside edge: Push a flat spade or half-moon edger straight down along the line, about 3 to 4 inches deep.
- Cut the inside edge: Angle the second cut toward the first to form a V-shaped trench, then lift out the sod.
- Level the bed: Break up clumps and rake the soil so it slopes gently down toward the edge.
- Spread the mulch: Pull mulch back over the soil to a depth of 2 to 3 inches, keep the trench open, and leave a narrow strip of bare soil at the lawn edge for easy touch-ups.
- Clear stems and trunks: Pull mulch at least 3 inches back from stems and trunks so the bases stay dry and visible.
Keep mulch at or just below the top of any border, not piled above it, because piled mulch gives rain a path out of the bed. Water the surface lightly and rake it smooth to finish.
Mulch depth and amount by bed type
Depth decides whether mulching and edging protect a bed or harm it. Most beds need 2 to 3 inches, and beds with heavy weed pressure can take up to 4 inches. Deeper layers block oxygen from roots and invite fungal growth and pests, so count old mulch in the total and rake out any excess beyond 3 inches.
| Bed type | Depth | Note |
| Flower beds | 2 to 3 inches | Keep plant crowns and stems uncovered |
| Beds with trees and shrubs | 2 to 4 inches | Keep mulch off trunks and stems |
| Beds with heavy weed pressure | Up to 4 inches | Never go deeper than 4 inches |
Quantity follows from depth. One cubic yard covers about 108 square feet at 3 inches, about 162 square feet at 2 inches, and about 81 square feet at 4 inches. Measure first, so the mulching and edging job needs one delivery: multiply bed length by width, divide by the coverage figure, and round up.
How to edge around a tree
Mulching and edging around a tree follow the same order as a bed, with extra care at the trunk. Mark a ring 2 to 3 feet from the trunk, or out to the dripline for a young tree. Cut shallow near the trunk so the spade does not slice roots.
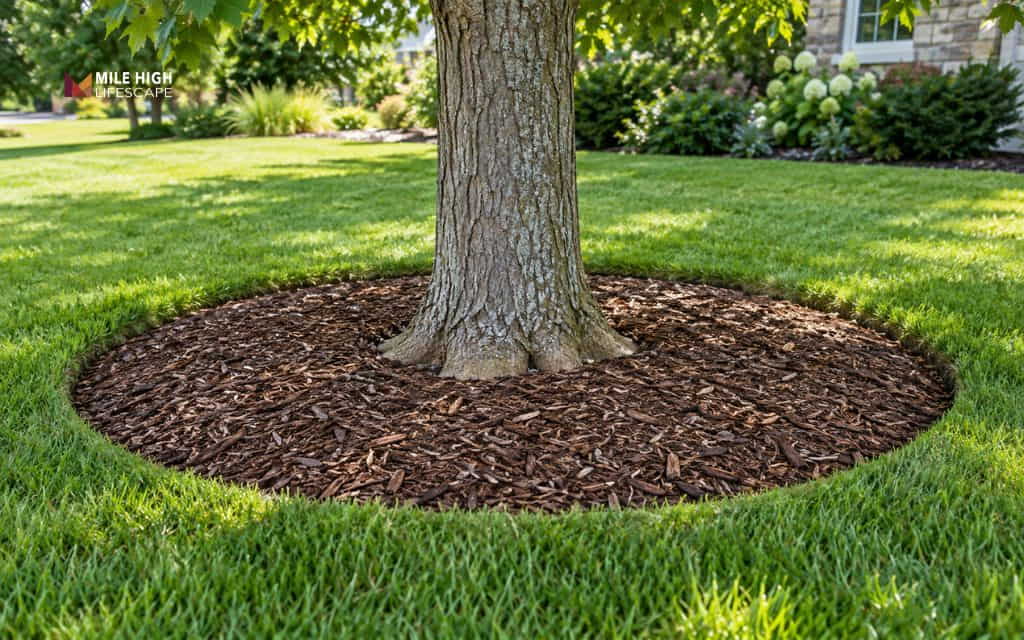
Mulch beds around trees need a flat donut shape, not a volcano. Keep mulch 3 inches from the trunk and leave the root flare visible, since mulch against bark traps moisture and invites fungal disease. Spade-cut rings, stone rings, and low metal bands all work as landscape edging around trees.
What you see and what to fix
Most bed problems trace back to edge depth, mulch depth, or trunk clearance. Use this table to match what you see to the fix, and return to mulching and edging basics when a problem repeats.
| Symptom | Likely cause | Fix |
| Grass creeps into the bed | Edge is too shallow or has faded | Re-cut the trench 3 to 4 inches deep and pull runners by hand |
| Mulch spills onto the lawn | Layer sits above the border, or nothing holds it | Lower the layer to the top of the border and add a mulch retainer such as metal or stone edging |
| Edge fades into a slope | Trimmer string held at an angle | Hold the string at 90 degrees and re-cut the line |
| Tree or shrub base looks stressed | Mulch piled against the trunk or stems | Pull mulch back 3 inches and expose the root flare |
| Weeds push through | Layer too thin, or roots left in the soil | Pull weeds by the root and top up to 2 to 3 inches |
| Mulch washes out after rain | Layer under 2 inches, or loose chunky material | Restore depth and choose shredded mulch, which interlocks |
Keep both in shape all year
Each spring, re-cut the trench, rake and fluff matted mulch, and top up to the target depth. Each fall, add a light top-up before the ground freezes. Trim along the edge with the string held at 90 degrees so the line does not taper. Steady mulching and edging keeps weeds from regaining ground.
Routine mulching and edging repeat every season, so many homeowners fold them, along with trimming, into a regular lawn care plan. Mature beds may need fresh mulch every year or every other year, since organic mulch breaks down and loses depth over time.
DIY or hire a professional
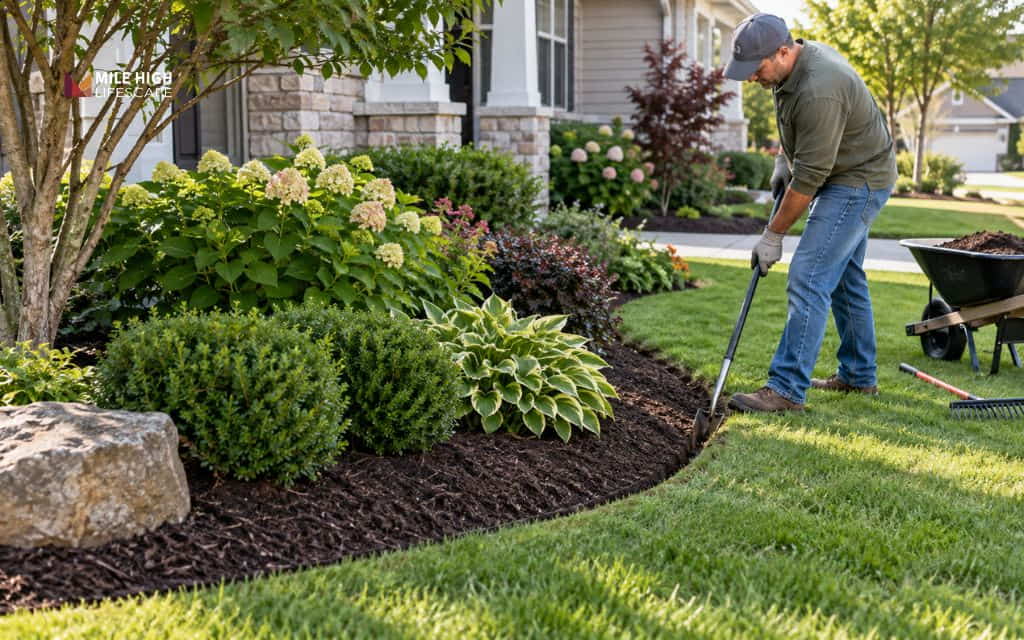
Small, flat beds suit a weekend of DIY mulching and edging. You need basic tools, a few hours, and bagged mulch, or bulk mulch for several beds, which costs less for large areas but takes more effort to move.
Large beds, slopes, and tree rings take more labor than most weekends allow, so many owners hire mulch installation services to prep, edge, and spread in one visit. Price for mulching and edging depends on bed size, terrain, material, and haul-away, so ask for an on-site estimate.
Mulch installation with Mile High Lifescape
Mile High Lifescape has served the Denver Metro area for nearly two decades, and mulching sits within its lawn care services. Professional mulching and edging removes the guesswork on edge depth, mulch depth, and trunk clearance. Here is what you get:
- Bed prep and edging: Crews clear weeds and old mulch, cut a clean edge, and level the soil before any mulch goes down.
- Correct depth and trunk clearance: Mulch goes down at 2 to 3 inches in most beds, with 3 inches of space around trunks and stems.
- Free quote and consultation: Pros assess your property, discuss your preferences and budget, and send a detailed proposal with the scope and estimated costs.
- On-time work: You receive a set start date and a project that finishes as scheduled, so you can plan your week around it.
- One company for the whole yard: Lawn care, landscaping, and maintenance fit into one plan, so beds, lawn edges, and trees get the same standard.
Call (303) 877-9091 to request a free quote for mulch installation and mulching and edging!
Conclusion
Mulching and edging work best as one job done in the right order: cut the edge, clear the bed, set the mulch at the right depth, and keep it clear of stems and trunks. Repeat the cycle each spring and fall, and the beds stay neat with less work. Consistent mulching and edging protects plants, holds moisture, and keeps the lawn line sharp season after season.
Frequently asked questions (FAQs)
What is mulching and edging?
Mulching and edging are two linked bed tasks. Mulching covers soil with a protective layer, and edging cuts a clear border between the bed and the lawn. Together they hold moisture, block weeds, and keep grass and mulch where they belong.
Do you edge before or after mulching?
Edge first, because mulching and edging work in that order. The trench holds mulch in place, and an edge cut through fresh mulch mixes soil into the layer. After the edge is clean, pull mulch back over the bed and keep the trench open.
What is the difference between edging and trimming?
Edging defines the border between a bed and the lawn with a spade or edger. Trimming cuts growth that has already crossed the line. Mulching and edging set the line, and trimming keeps it clean between cuts.
How deep should the edge be?
Cut 3 to 4 inches deep. In mulching and edging, shallower edges let grass roots cross quickly, and the trench also gives mulch a wall to rest against.
How thick should mulch be?
For mulching and edging, spread 2 to 3 inches in most beds and up to 4 inches where weeds press hard. Keep the layer away from stems and trunks, and rake out old mulch that has built up beyond 3 inches.
How often should you repeat mulching and edging?
Re-cut the edge each spring and top up mulch once a year, with a light top-up in fall where winters freeze. Mature beds with steady depth may stretch mulch refreshes to every other year.
Does mulch need landscape fabric underneath?
Landscape fabric works best under inorganic mulch such as gravel. Under wood mulch it can degrade and tangle in roots, so most wood-mulched beds do better without it.