Can you lay sod in the fall? Yes. Fall represents the best window for sod installation when executed properly. The combination of cooling temperatures and increased moisture creates ideal conditions for root development before winter dormancy.
This comprehensive guide about laying sod in the fall examines why September through October offers Denver homeowners a strategic opportunity for lawn renovation, proper installation techniques, and critical winter preparation steps to ensure spring success. Let’s jump in!
Is It Too Late to Lay Sod in Fall in Denver?
No, you still have time – but the clock is ticking. Denver homeowners should complete sod installation before the first hard frost, which typically arrives by mid-October according to Colorado State University Extension data.
The ideal installation window runs from late August through early October, providing the necessary 3-4 weeks for proper root establishment before the ground freezes. Cool-season grasses like Kentucky Bluegrass thrive when planted during this period, developing strong root systems that accelerate spring green-up.
Remember: After mid-October, soil temperatures drop significantly, reducing root development potential and increasing winter damage risk.
Why Should You Lay Sod in The Fall?
Fall provides Denver homeowners with optimal conditions for sod installation, offering several significant advantages over other seasons.
Let’s examine why autumn creates the ideal environment for a new lawn establishment.
Cooler Temperatures Reduce Water Stress
During fall, Denver’s daytime temperatures moderate to 60-75°F while nighttime temperatures drop to 40-50°F. These cooler conditions reduce evaporation rates from both soil and grass blades, meaning:
- Your new sod retains moisture longer between waterings
- Root zones stay moist without becoming waterlogged
- Less water consumption overall compared to summer installations
- Reduced risk of heat stress that can stunt root development
This temperature balance creates perfect conditions for root growth without the excessive water demands of summer installations.
Minimal Weed Competition
Fall naturally suppresses weed germination and growth as most annual weed species complete their life cycle. This timing advantage provides:
- Cleaner soil conditions for new sod establishment
- Reduced competition for nutrients and water
- Less need for herbicide applications during establishment
- Lower management requirements during the critical rooting period
With fewer weeds to compete against, your new sod directs energy toward root development rather than fighting for resources.
Ideal Soil Temperature Balance
Denver’s soil retains summer warmth well into fall, creating a perfect growth environment when combined with cooler air temperatures:
- Soil temperatures between 50-65°F promote optimal root growth
- Warm soil encourages deep root penetration before winter
- Cool air temperatures reduce transpiration stress on grass blades
- This balance stimulates root growth while minimizing leaf stress
This temperature differential encourages the sod to focus energy on developing strong root systems rather than excessive top growth.
Decreased Pest Pressure
Most lawn insect pests complete their active life cycles by early fall in Denver, resulting in:
- Reduced grub and surface-feeding insect activity
- Lower risk of pest damage during vulnerable establishment period
- Minimal need for insecticide applications on new turf
- Less stress on developing grass plants
With fewer pests to contend with, your new sod can establish without the additional stress of insect damage.
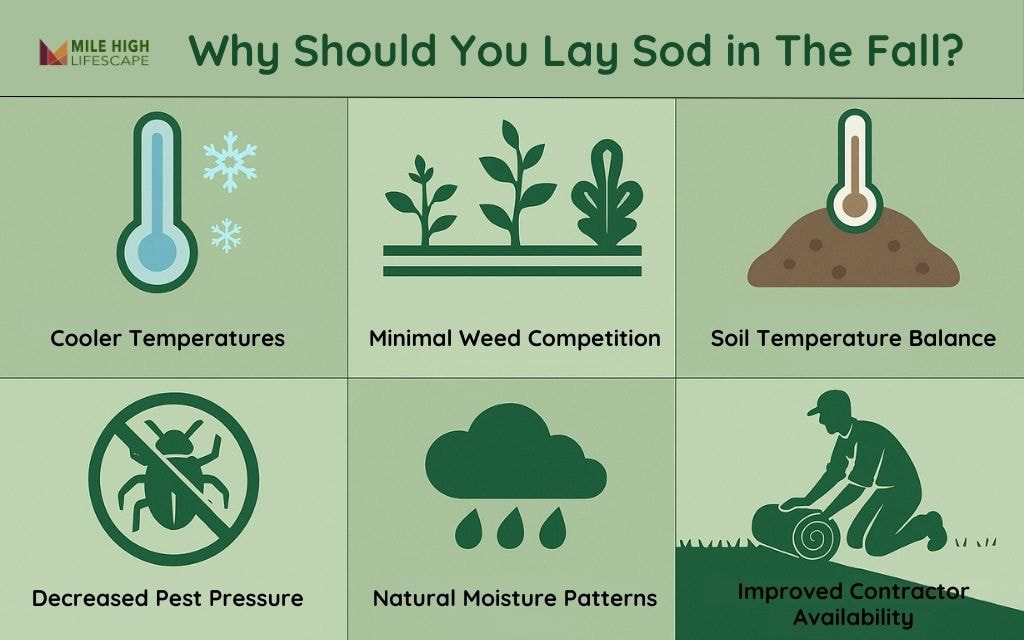
Natural Moisture Patterns
Fall in Denver typically brings increased precipitation frequency with gentle, soaking rains that benefit new sod:
- More consistent natural moisture supplementing irrigation
- Lower intensity rainfall that reduces runoff and erosion
- Higher humidity levels that reduce transpiration water loss
- Morning dew that provides additional moisture to grass blades
These natural moisture patterns help maintain consistent soil moisture levels with less supplemental irrigation.
Improved Contractor Availability
Professional landscape companies experience reduced scheduling pressure during fall months:
- More flexible installation dates to accommodate your schedule
- Greater attention to detail during the installation process
- Often more competitive pricing compared to peak season
- Reduced wait times for quality installation services
This operational advantage ensures your project receives the attention it deserves during this ideal planting window.
How to Install Sod in the Fall (The Right Way)
Follow these critical steps to ensure successful fall sod installation:
- Test and Prepare Soil: Obtain a soil test. Aim for pH between 6.0-7.0. Incorporate amendments based on test results.
- Remove Existing Vegetation: Clear all weeds, old grass, and debris from the installation area. Apply non-selective herbicide 14 days prior if significant weed pressure exists.
- Loosen Compacted Soil: Till or aerate to a depth of 4-6 inches, creating a loose soil bed that encourages rapid root penetration.
- Improve Soil Structure: Incorporate 2-3 inches of quality compost for heavy clay soils common in Denver. This improves drainage and root development.
- Grade for Proper Drainage: Slope the soil away from structures (1-2% grade) to prevent water pooling. Fill low spots and level high areas.
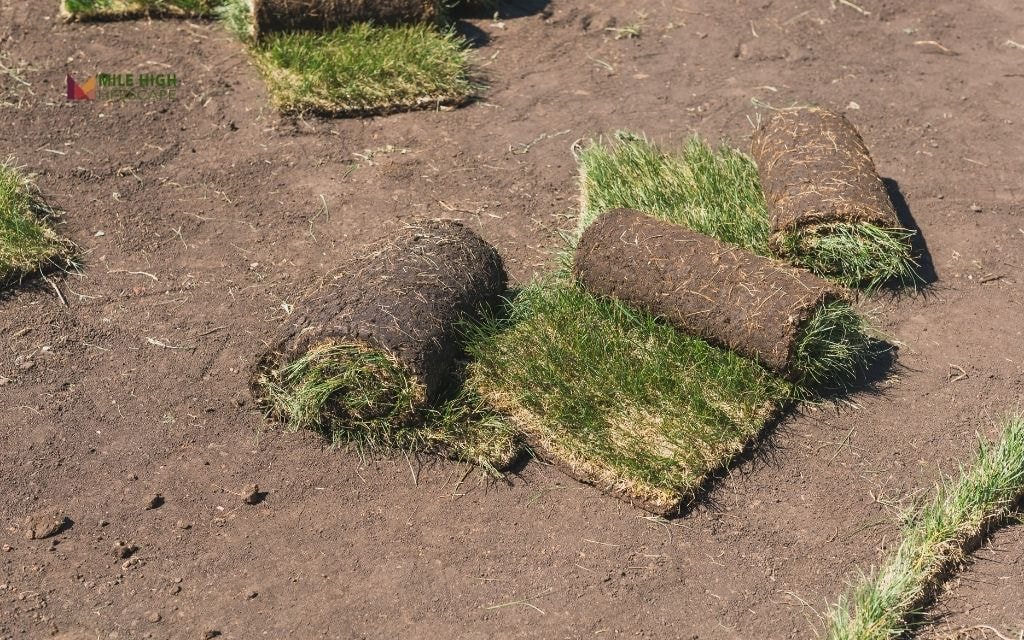
- Install Immediately Upon Delivery: Never store sod overnight. Fall air dries out sod rapidly, decreasing viability.
- Lay in Staggered Pattern: Position pieces in a brick-like pattern, ensuring tight seams without overlaps or gaps.
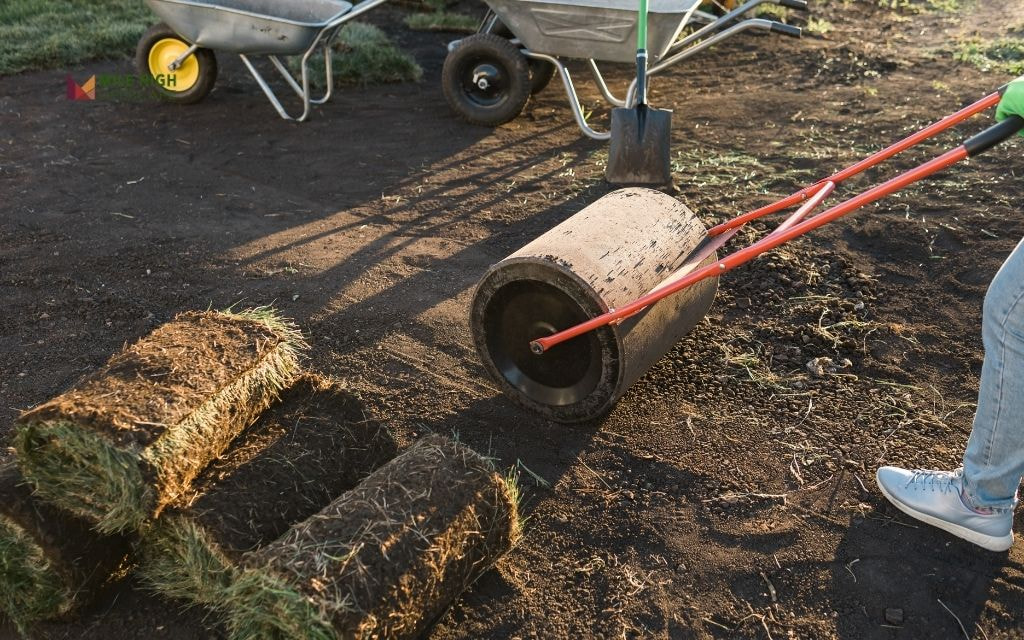
- Roll After Placement: Use a lawn roller filled ⅓ with water to eliminate air pockets and ensure soil-to-sod contact.
- Water Promptly: Begin irrigation within 30 minutes of installation. Saturate to a depth of 6 inches.
- Maintain Consistent Moisture: Water daily for the first two weeks, adjusting for rainfall. The goal is consistently moist soil without saturation.
Pro Tip: Schedule delivery and installation on the same day. Fall conditions can rapidly dehydrate sod, significantly reducing establishment rates.
Learn more about sod installation in our guide about how to lay sod effectively.
Choosing the Right Sod for Laying Sod in The Fall
Selecting appropriate grass varieties proves critical for fall installation success in Denver’s climate:
- Kentucky Bluegrass remains the good choice for Denver properties, offering excellent winter hardiness and spring recovery. While establishment takes slightly longer than some varieties, its drought recovery capabilities and dense growth habit make it worth the investment.
- Tall Fescue provides another excellent option, particularly for partially shaded areas. Its deeper root system offers improved drought tolerance once established, though it may require additional spring care following fall installation.
- Avoid warm-season grasses like Bermuda or Zoysia when installing in fall. These varieties require soil temperatures above 65°F for proper establishment – conditions absent during Denver falls.
Work with local sod producers who grow varieties acclimated to Denver’s unique climate challenges. Locally-grown sod already contains soil microorganisms adapted to regional conditions, accelerating establishment.
Laying Sod in The Fall: How to Care for New Sod Through Winter
Proper winter preparation ensures your fall-installed sod not only survives Denver’s challenging conditions but emerges vibrant in spring. Follow this comprehensive sod care guide to protect your investment through the colder months.
Strategic Watering Schedule
Proper irrigation remains the most critical factor for fall sod establishment. Follow this schedule to develop deep, resilient roots:
- Weeks 1-2: Daily watering, maintaining consistently moist soil
- Weeks 3-4: Every other day, increasing depth while decreasing frequency
- Weeks 5-6: Twice weekly, deeply soaking root zone
- Until Ground Freeze: Weekly deep watering, especially during dry periods
First Mowing
Proper mowing practices establish healthy growth patterns for your new lawn:
- Wait until sod reaches 3.5-4 inches height before first cutting
- Confirm root establishment with gentle tugging (should feel anchored)
- Ensure mower blades are sharp to prevent tearing grass
- Remove no more than ⅓ of total blade height (first cut to 2.5-3 inches)
- Avoid mowing when grass is wet or during frost conditions
- Leave clippings on the lawn during fall to return nutrients
- Gradually lower height to 2.5 inches for final pre-winter mowing
Explore this guide to learn when to mow your new sod in your yard.
Fall Fertilization
Proper nutrients support root development without forcing vulnerable top growth:
- Wait 3-4 weeks after installation before applying fertilizer on new sod
- Select a starter fertilizer with higher phosphorus content (example: 18-24-12)
- Apply at ¾ the recommended rate on the package
- Water immediately after application to activate nutrients
- Avoid high-nitrogen fertilizers which force excess top growth
- Consider a final winterizer application (high potassium) in late October
- Follow application instructions carefully to prevent burn damage
Traffic Management
Limiting stress on developing roots dramatically increases establishment success:
- Keep all foot traffic minimal for the first 3 weeks
- Establish temporary pathways with stepping stones if access required
- Avoid all vehicle or heavy equipment traffic until spring
- Be particularly cautious during freeze/thaw cycles when sod is vulnerable
- Keep pets off new sod areas using temporary fencing if necessary
- Redirect play activities to established lawn areas until spring
Winter Management
Denver’s dry winters require specific moisture strategies:
- Continue monitoring weather forecasts throughout winter
- Water during dry spells when temperatures exceed 40°F for several days
- Apply water mid-day when temperatures are warmest
- Focus winter watering on south-facing and exposed areas
- Use cycle-soak method (several short intervals) to prevent runoff
- Verify soil absorption by checking moisture 3-4 inches deep
- Aim for once-monthly winter watering during extended dry periods
Common Mistakes to Avoid When Laying Sod in the Fall
Prevent these frequent errors that compromise fall sod installation success:
- Installing Too Late: Pushing installation beyond early October leaves insufficient time for root establishment before freezing temperatures arrive.
- Inadequate Soil Preparation: Skipping soil testing and amendment leads to poor drainage and nutrient deficiencies that become apparent in spring.
- Ignoring Watering Before Freeze: Failing to ensure soil moisture before winter dormancy results in desiccation damage during dry winter periods.
- Skipping Rolling Process: Air pockets left beneath sod prevent proper root-to-soil contact, causing sections to dry out and die.
- Applying High-Nitrogen Fertilizer: Fall applications of high-nitrogen products force top growth at the expense of root development, reducing winter hardiness.
- Allowing Leaf Accumulation: Unmanaged leaf debris creates moisture pockets and potential snow mold conditions under winter snow cover.
Should You Hire a Professional for Fall Sod Installation?
While DIY installation remains possible, professional services offer significant advantages, particularly during the critical fall window:
Consider professional installation if:
- Your property requires significant grading work
- You lack time to complete installation within a single day
- Drainage issues need correction before sod placement
- You want warranty protection for your investment
- You’re unfamiliar with Denver’s unique climate considerations
Professional installation ensures proper soil preparation, expert timing, and efficient placement – crucial factors during fall’s narrower installation window.
Conclusion
Fall presents Denver homeowners with an optimal window for sod installation when executed properly. The combination of moderate temperatures, reduced weed pressure, and ample time for root establishment before winter creates ideal conditions for success.
By following proper preparation protocols, selecting appropriate grass varieties, and implementing consistent care practices through winter, your new fall-installed lawn will emerge vibrant and healthy come spring.
For professional fall sod installation services throughout Denver, contact Mile High Lifescape at (303) 877-9091 or hello@milehighlifescape.com for a free consultation.
Frequently Asked Questions (FAQs)
How late in the fall can I plant sod?
You can plant sod until the ground remains unfrozen, typically giving new turf 4-6 weeks to establish before winter dormancy. In Denver, mid-October generally marks the cutoff for optimal results.
Is it okay to lay sod in November?
Yes, sod can be installed in November, but success rates decrease significantly. Late installations require meticulous winter watering and protection, with higher risk of winter damage and delayed spring establishment.
Do I need to water fall sod if it snows?
No, snow provides natural insulation and moisture to new sod. Watering snow-covered sod risks ice formation that can damage grass crowns. Resume watering only during extended dry periods when temperatures exceed 40°F and no snow cover exists.
What should you put down before laying sod?
Before laying sod, prepare soil by incorporating compost, starter fertilizer with higher phosphorus content, and soil amendments based on soil test results. A properly prepared seedbed should be loose to a depth of 4-6 inches with even grading for drainage.
How long should I wait to mow sod installed in the fall?
Wait 2-3 weeks after installation before mowing fall-installed sod. Ensure the sod resists gentle pulling (indicating root establishment) and reaches 3.5-4 inches in height. Use sharp blades and remove no more than one-third of grass height during first mowing.