Rock sinking is one of the most frustrating landscape maintenance issues in our region, but it’s preventable when you understand what’s happening beneath the surface.
This guide walks you through why rock sinking happens in Denver yards and delivers 10 proven strategies to keep rocks stable, level, and looking fresh for years.
Whether you’re fixing an existing problem or installing new rock landscaping, these techniques will save you time, money, and the frustration of constantly re-spreading stones.
Find out more:
- Top 8 landscaping rock types for designing a Denver yard in Colorado’s climate
- How to install landscape rock in Denver: Brief guide for durable outdoor design
- Weed control in rocks: How to eliminate weeds from rock beds
- How to calculate landscape rock before your projects without overspending
What is rock sinking?
“Rock sinking” refers to the gradual process where landscape rocks settle deeper into the soil over time, causing your once-level, attractive rock bed to become uneven, patchy, or partially buried beneath the surface.
This isn’t simply a cosmetic concern that affects your yard’s appearance, it’s a structural and maintenance problem that impacts how your entire landscape functions.
Why do landscape rocks sink into the ground?
In Denver’s climate and soil conditions, several factors work together to pull your decorative stones downward.
Soil compaction and erosion
Denver’s clay soil is the primary culprit behind rock sinking. When rain or irrigation water hits clay, it expands significantly, creating upward pressure. As the soil dries, it contracts and compacts downward.
This constant expansion and contraction creates small voids and channels that allow rocks to gradually settle deeper into the ground. Over multiple wet-dry cycles across seasons, even large stones can disappear several inches below the surface.
Freeze-thaw cycles
Colorado’s temperature swings wreak havoc on landscape stability.
When moisture in the soil freezes during winter nights, it expands and pushes soil particles upward – a process called frost heave. As temperatures rise during sunny afternoons, that ice melts, and the soil settles back down, but never quite into its original position. This creates small pockets and gaps beneath your rocks.
By spring, what started as a level rock bed now looks lumpy and uneven, with some stones completely buried and others sitting awkwardly on the surface.
Lack of a proper base layer
Perhaps the single biggest mistake in rock landscaping is installing decorative stones directly onto soil. Your landscape rocks need a solid, well-draining foundation that distributes weight evenly and prevents direct contact with compactable soil.
Without a stable base layer, rocks have nothing to prevent them from pressing into the ground under their own weight. This is also true for smaller stones like pea gravel, which exert concentrated pressure on small contact points with the soil.
Heavy watering or poor drainage
Saturated soil loses structural integrity, becoming soft and unable to support the weight of rocks above it. In Denver, this happens during spring snowmelt, summer monsoon storms, and in yards with poor grading that allows water to pool. When water saturates clay soil, it becomes nearly liquid, allowing rocks to press deeper with minimal resistance.
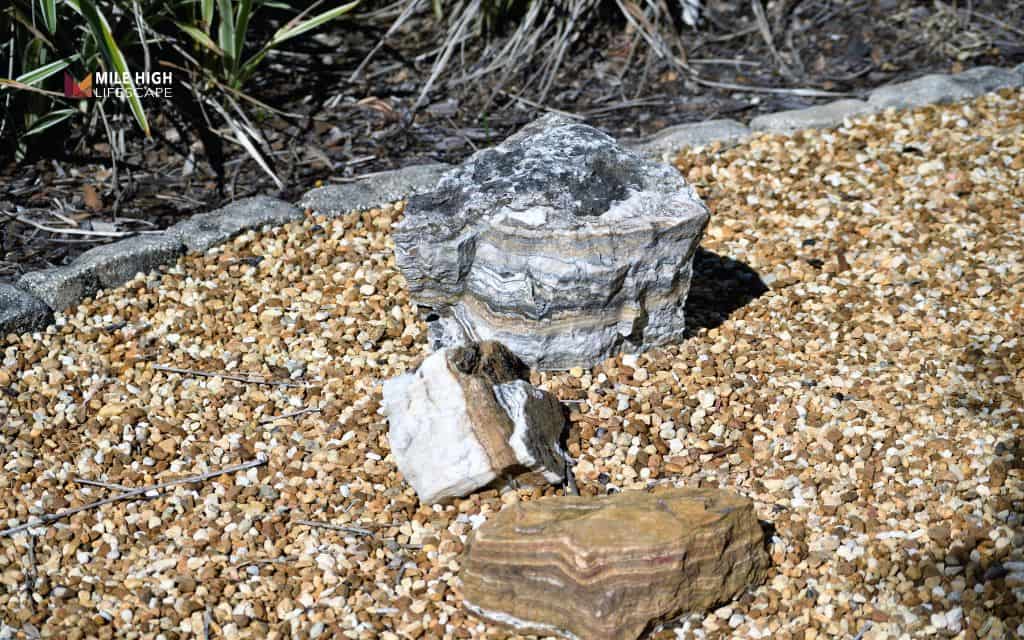
Lightweight or rounded rock types
Not all decorative rocks resist sinking equally. Smooth, rounded river rock and pea gravel are beautiful but problematic.
Their smooth surfaces don’t interlock, so they roll and shift easily under pressure. Their rounded shape also concentrates their weight on small contact points, like marbles pressing into clay, which accelerates sinking.
Lightweight volcanic rock and pumice face similar challenges.
While attractive and affordable, these porous stones lack the mass to resist Denver’s soil movement. Wind can shift them, foot traffic moves them easily, and they don’t have enough weight to stabilize themselves against frost heave.
10 tips to keep rocks from sinking
Now that you understand why rock sinking happens, let’s explore techniques to prevent it.
Remove and clean existing rocks before resetting
If you’re fixing an existing sunken rock bed, start by removing all the decorative stones.
- Use a flat shovel or garden rake to scoop rocks into a wheelbarrow, working in sections to stay organized.
- As you remove them, sift the rocks through hardware cloth or a coarse mesh screen to separate stones from accumulated soil, decomposed organic matter, and debris that’s built up over time.
This cleaning process is crucial because that trapped dirt adds weight and creates direct soil-to-soil contact that accelerates future sinking. Rinse dirty rocks with a hose if needed.
Read more: How to clean landscape rock using simple methods that work: Complete guide
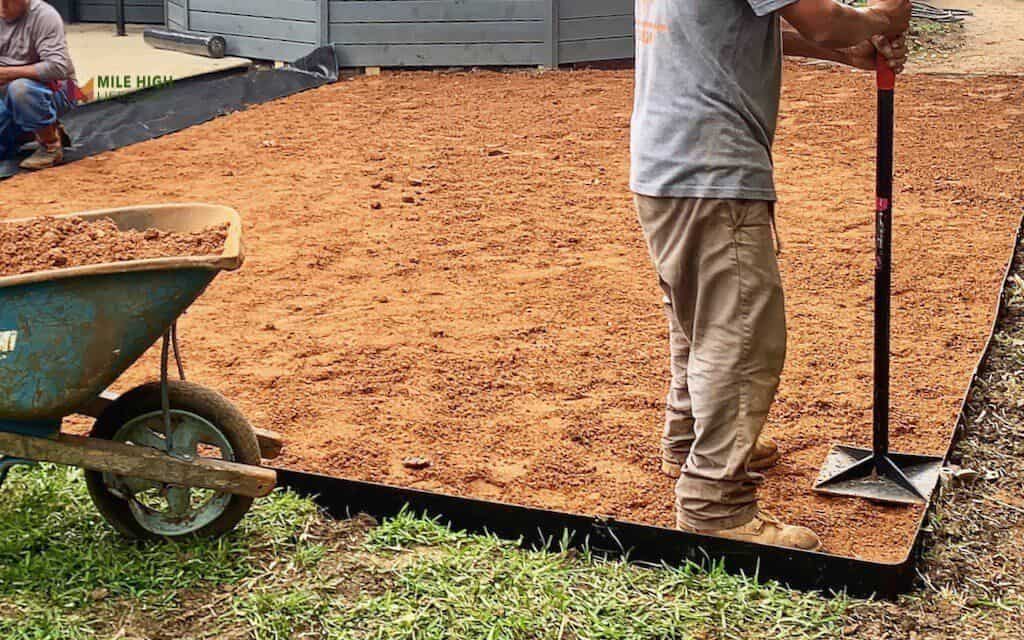
Compact the soil properly
After clearing rocks and debris, your next critical step is creating a firm, stable soil base. Use a hand tamper for small areas or rent a plate compactor for larger projects. Work passes across the entire area, overlapping each pass slightly to ensure even compaction. The goal is to eliminate air pockets and create a dense, uniform surface that resists compression.
Add a crushed gravel or decomposed granite base layer
The foundation of any successful rock landscape is a proper base layer that provides drainage and load distribution.
Install 2-3 inches of three-quarter-inch-minus crushed gravel over your compacted soil. This angular material locks together when compacted, creating a stable platform that won’t shift.
For an even smoother finish, add 1-2 inches of decomposed granite (DG) on top of the gravel. DG compacts, creates excellent drainage, and provides a level surface for your decorative rock.
This two-layer approach gives you the most stable foundation possible.
Install a high-quality landscape fabric
Landscape fabric serves as the critical barrier between your base layers and decorative rock.
Choose professional-grade geotextile fabric, not the thin stuff from big-box stores. Quality fabric is permeable, allowing water to drain through while preventing soil from migrating upward into your rock layer.
This separation is what prevents the gradual mixing that causes rocks to sink.
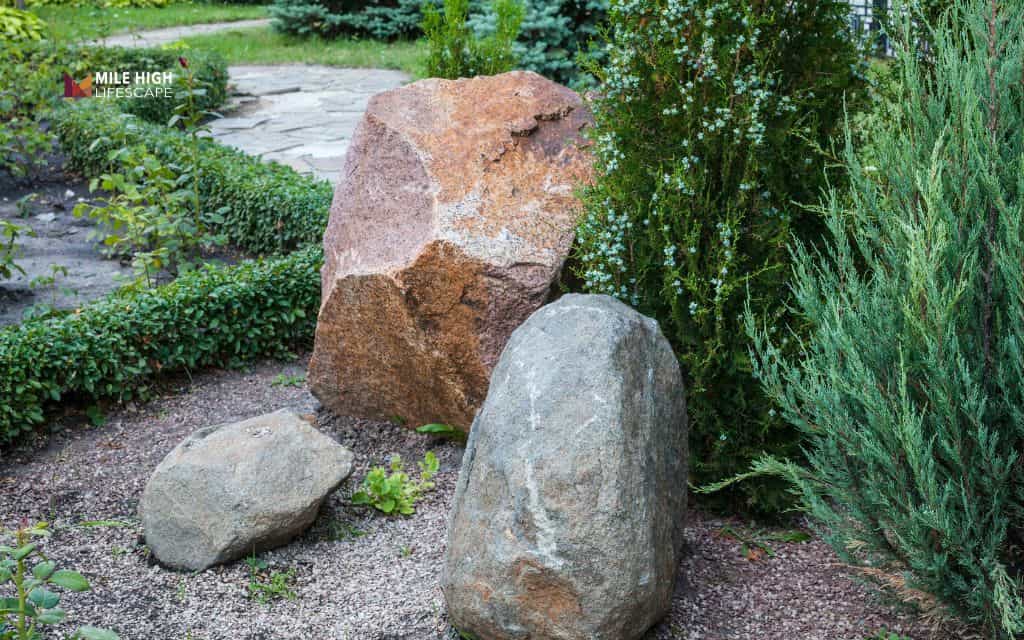
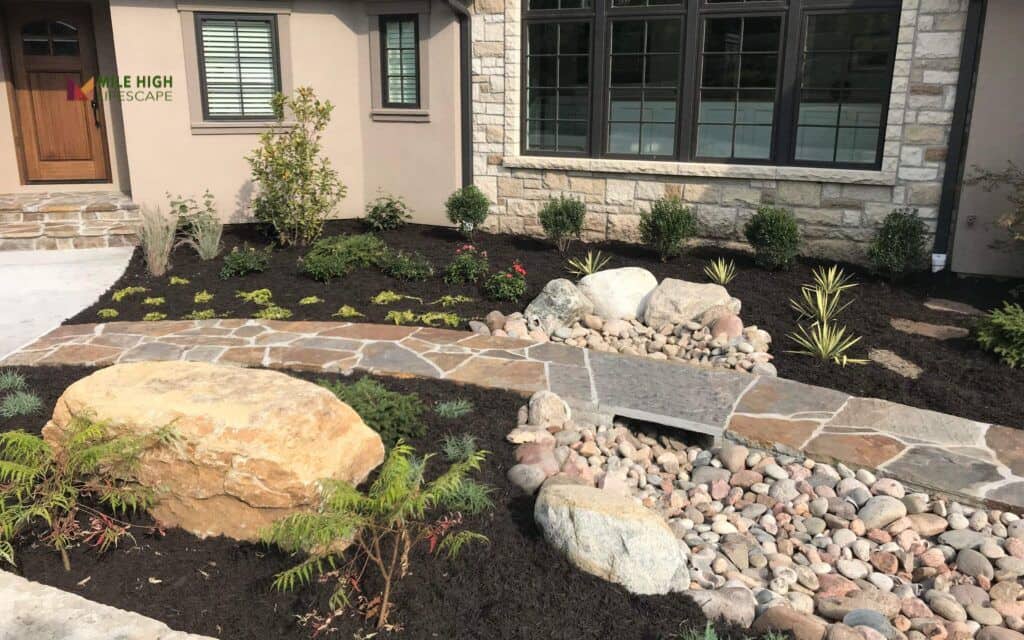
Choose stable, angular rocks
Rock selection impacts how well your landscape resists sinking.
Angular decorative stones, like crushed granite, decomposed granite rock, or crushed limestone, have irregular edges that interlock mechanically. When these rocks press against each other, they can’t roll or shift easily, creating a stable matrix that distributes weight and resists movement.
Aim for rocks in the 1 – 2 inch size range for most decorative applications. This size provides visual interest and maintains stability. Larger rocks (3 – 4 inches) work well for high-traffic areas or where you want a bolder look.
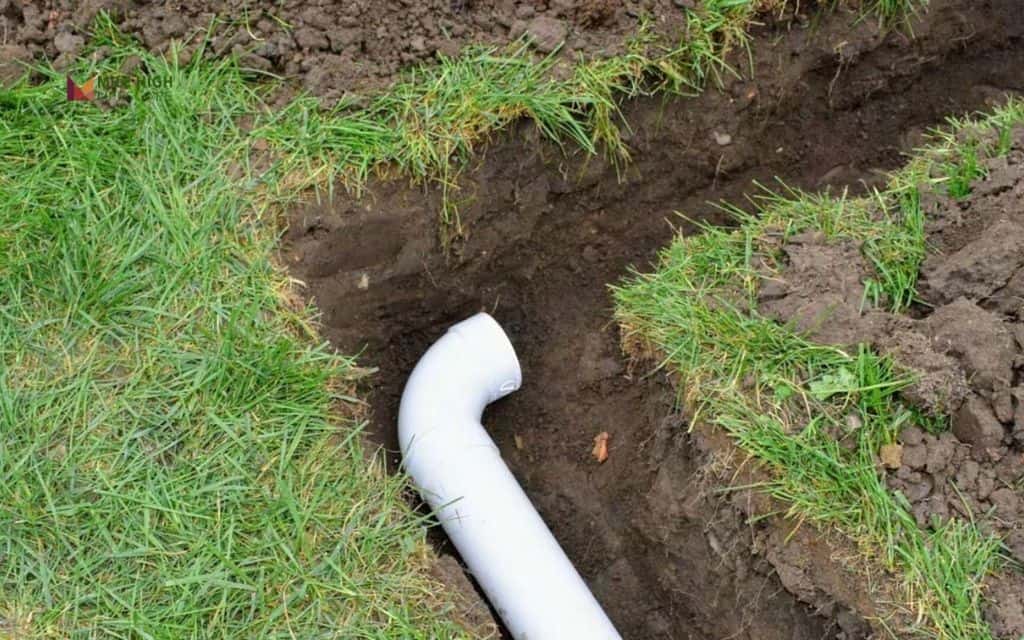
Ensure proper drainage and grading
Water management might be the most underestimated factor in keeping rocks from sinking.
Grade your landscape so water flows away from structures at a minimum 2% slope – that’s a drop of approximately 2-3 inches over 10 feet. This gentle grade is barely visible to the eye but effective at preventing water accumulation.
For problem areas, install a French drain before adding rock. Alternatively, design a dry creek bed that doubles as functional drainage and an attractive landscape feature, guiding water safely through your yard during storms.
Use solid edging to keep rocks contained
Professional-quality edging prevents rocks from migrating and keeps your base layers from spreading. Install steel landscape edging, natural stone borders, or heavy-duty composite edging around all rock beds.
The edging should sit approximately 2 inches below the surface of your decorative rock layer, creating an invisible barrier that prevents movement without being visible.
Maintain proper depth and distribution
Rock depth impacts both appearance and performance.
Install decorative rocks 2-3 inches deep for most applications. This depth provides adequate coverage to hide base layers and fabric and not being so deep that the weight accelerates sinking. In high-traffic walkways or near driveways where durability matters most, increase depth to 4 inches.
Distribute rocks evenly using a rake, avoiding mounding or thin spots.
- Too much rock in one area increases sinking pressure on that spot.
- Too little rock exposes fabric and base materials, undermining the appearance you’re trying to achieve.
Maintain seasonally
Each spring after snowmelt, walk your property and inspect all rock areas. Look for sunken spots, areas where fabric has become exposed, and places where rocks have shifted downhill or pooled near edging. Address these issues immediately while they’re small rather than waiting for them to worsen.
Before winter arrives, do a similar inspection. Remove any leaves, pine needles, or organic debris that’s accumulated in rock beds. This material decomposes during winter under snow cover, creating soft spots that accelerate spring settling.
Rake rocks smooth so snow can melt evenly rather than creating ice dams that damage your installation.
Combine mulch and rock
The most successful Denver landscapes use both mulch and rock, each where it performs best.
Apply organic mulch around plants where you want to retain soil moisture, moderate temperature, and improve soil health as it decomposes. Use rock in open areas, pathways, and spaces where you prioritize durability and low maintenance.
The combination also prevents the heat buildup that happens when rock directly surrounds plants in full sun.
Read more: 10 creative rock and mulch landscape ideas to replace traditional mulch in Denver
When to call a professional
Consider hiring a professional landscaper if your rocks continue sinking despite implementing proper base layers and fabric, indicating underlying soil or drainage issues that need expert diagnosis.
Qualified local professionals assess your specific site conditions, including soil composition, drainage patterns, and sun exposure, then design integrated solutions that address root causes rather than just symptoms. They understand which products and techniques perform reliably in Colorado’s climate and can often complete in days what would take homeowners weeks.
Mile High Lifescape specializes in landscape renovation and rock installation throughout the Denver metro area. Our team understands Front Range soil conditions and designs rock landscapes that stay beautiful with minimal maintenance year after year.
Conclusion
Preventing rock sinking comes down to 3 key principles: proper layering, effective water management, and consistent maintenance.
When you install a compacted base, use quality fabric as a barrier, choose the right rock type, and manage drainage properly, you create a landscape that resists Denver’s challenging clay soils, dramatic temperature swings, and unpredictable precipitation.
By implementing these proven techniques, you transform rock beds from problematic to permanent, creating a low-maintenance, water-wise landscape that fits the climate and your lifestyle.
Frequently asked questions (FAQ)
Can I fix sunken rocks without removing everything?
For minor settling, yes. Rake surface rocks aside to expose the sunken area, then add compacted crushed gravel or decomposed granite to fill the depression. Tamp this material firmly, then redistribute rocks evenly over the repair. This works for small areas up to a few square feet.
Should I use mulch under decorative rock?
No. While mulch is excellent around plants, placing it beneath decorative rock creates problems. Organic mulch decomposes over time, creating soft, unstable layers that accelerate rock sinking. As mulch breaks down, it also creates voids that rocks settle into. Instead, use landscape fabric over a gravel base to separate rocks from soil.
How deep should rocks be installed?
Install decorative rocks 2 – 3 inches deep for standard landscape beds and around plants. This depth covers base materials and fabric while not creating excessive weight that accelerates sinking. For high-traffic walkways or areas adjacent to driveways where durability is critical, increase depth to 4 inches.
How often should I maintain rock landscapes in Denver?
Inspect your rock beds twice annually, once in spring and again in fall before winter. Spring inspections catch settling and frost heave damage from winter, while fall maintenance removes organic debris that decomposes under snow.
.
