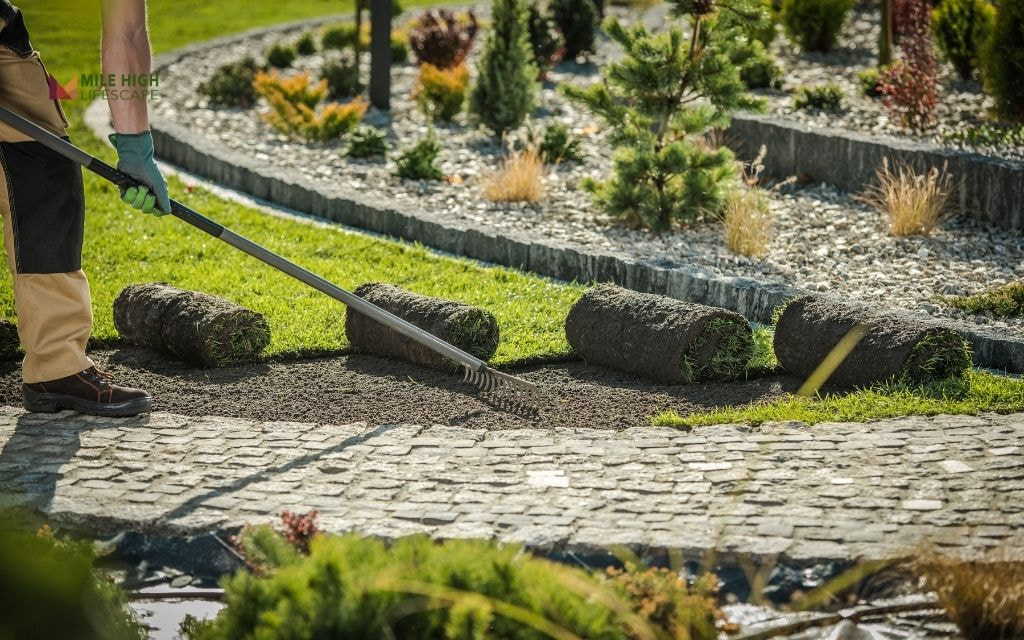
How to lay sod in Denver? Laying sod starts with soil preparation, followed by unrolling and placing the sod tightly together to ensure the seams are snug and the grass makes full contact with the soil.
Denver’s unique climate makes sod particularly valuable for local homeowners. Our region’s shorter growing season limits the window for successful seed germination, while our intense sun and occasional water restrictions can challenge newly seeded areas.
This guide provides instructions for successful sod installation. We’ll cover optimal timing for our climate, proper ground preparation techniques, and essential post-installation care tailored to Denver’s unique needs.
When is the Best Time to Lay Sod in Denver?
Strategic timing significantly impacts sod establishment success in Denver’s climate. For optimal results:
- Late Spring (May-June) provides ideal conditions as soil temperatures warm while avoiding summer heat stress. The moderate temperatures and consistent moisture during this period help new roots establish quickly.
- Early Fall (September-October) offers another excellent window, allowing roots to develop before winter dormancy. Fall installation often requires less supplemental watering than summer installations.
Learn more about the best time to lay sod in this guide.
Avoid winter and early spring installations when ground freezes prevent proper root contact with soil.
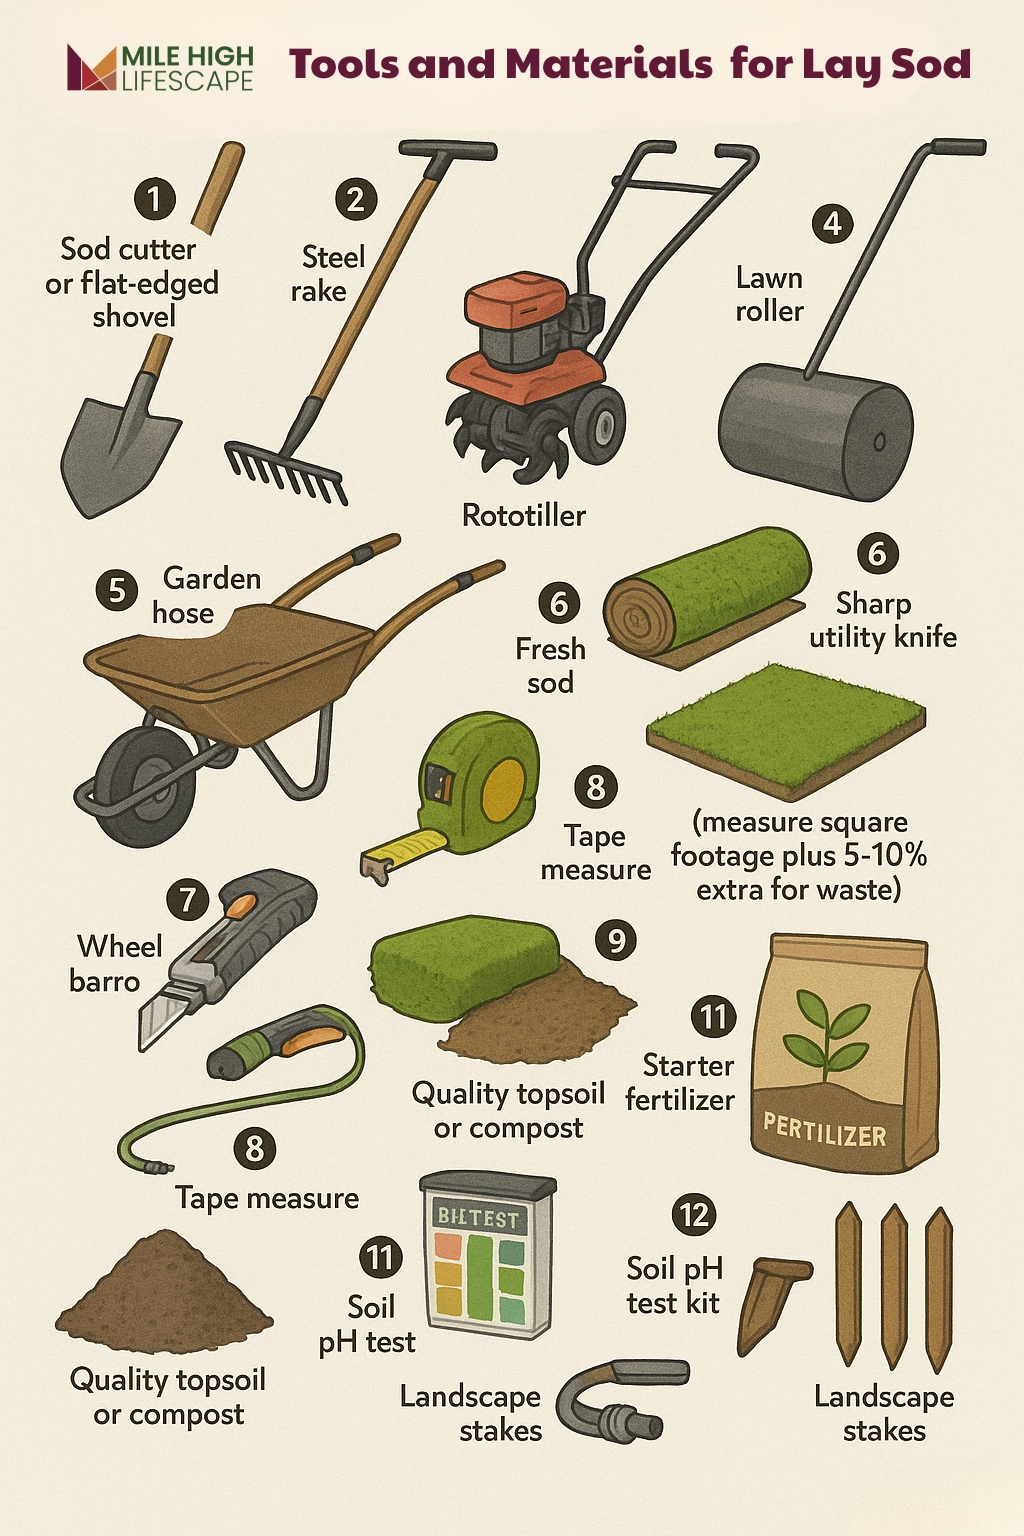
Tools and Materials You’ll Need
Tools
- Sod cutter or flat-edged shovel for removing existing grass
- Steel rake for leveling soil surface
- Rototiller to break up compacted ground
- Lawn roller (can be rented) for eliminating air pockets
- Garden hose with sprinkler or established irrigation system
- Sharp utility knife for trimming pieces
- Wheelbarrow for moving soil amendments
- Tape measure for accurate area calculation
Materials
- Fresh sod (measure square footage plus 5-10% extra for waste)
- Quality topsoil or compost for Denver’s clay or sandy soil improvement
- Starter fertilizer (with higher phosphorus for root development)
- Soil pH test kit (Denver soils typically need amendment)
- Landscape stakes for slopes (if applicable)
How to Lay Sod in Denver?
Step 1: Remove Existing Grass and Debris
Start with a clean slate. Use a sod cutter (available at equipment rental stores) to remove existing grass and root systems to a depth of 1-2 inches. For smaller areas, a flat shovel works effectively. Remove all vegetation, rocks, and debris from the area.
Pay particular attention to perennial weeds common in Denver, like bindweed and thistle, which can push through new sod if roots remain. Rake the area thoroughly to ensure complete removal of unwanted vegetation.
Step 2: Test and Prepare the Soil
Denver’s native soil presents unique challenges – often heavy clay or sandy with low organic content. Test your soil pH (ideally between 6.0-7.0) using an inexpensive testing kit available at garden centers.
Add 2-3 inches of quality topsoil or compost to improve soil structure. Denver’s clay soils benefit from organic matter that improves drainage, while sandy areas need materials that increase water retention.
Do you know how much a yard of topsoil covers? Check out this guide so you can calculate accurately.
Rototill to a depth of 4-6 inches to integrate amendments with native soil. This critical step prevents the “bathtub effect” where different soil layers create drainage problems. Level the area with a rake, establishing a grade that slopes away from buildings (about 1-2% grade).
The final soil surface should sit approximately 1 inch below sidewalks or driveways to accommodate sod thickness.
Step 3: Apply Starter Fertilizer
Spread a phosphorus-rich starter fertilizer across the prepared soil following package rate recommendations. Phosphorus promotes root development – crucial for sod establishment in Denver’s challenging growing conditions.
Rake the fertilizer into the top 1/2 inch of soil rather than leaving it on the surface. This placement makes nutrients immediately available to developing roots.
Lightly water the area to activate the fertilizer without creating muddy conditions.
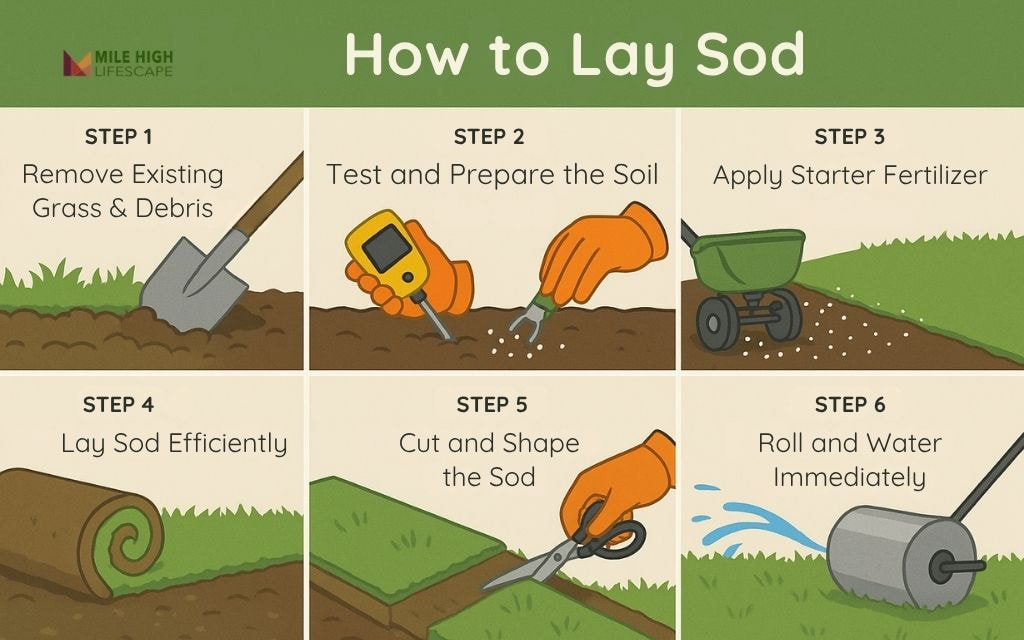
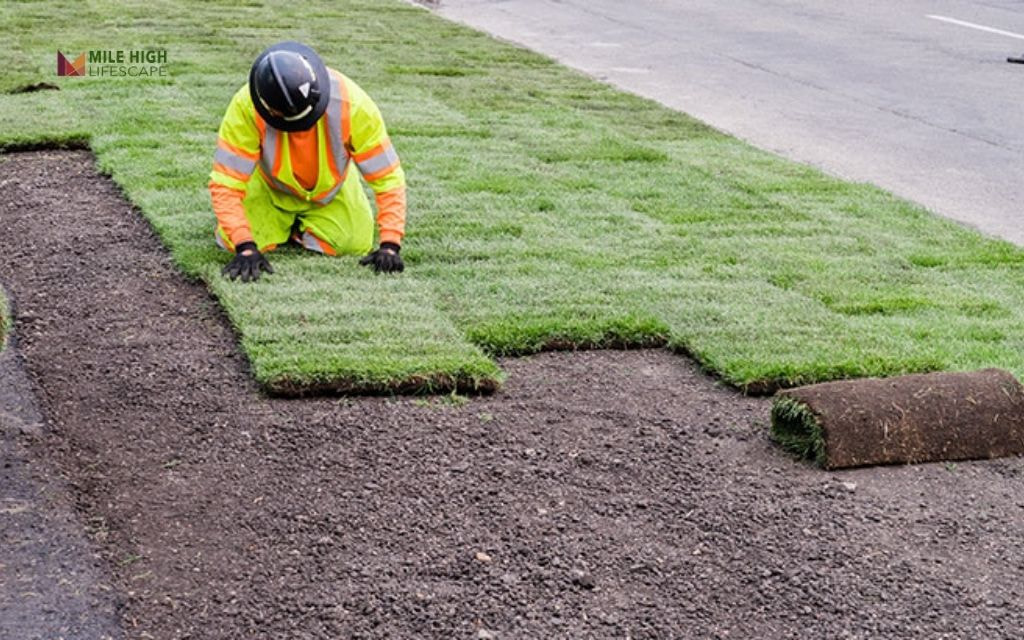
Step 4: Lay Sod Efficiently
Begin laying sod along a straight edge like a driveway or sidewalk. Work with fresh sod immediately – Denver’s dry air quickly dehydrates rolled sod.
Lay pieces in a brick-like staggered pattern, avoiding aligned seams that create vulnerable areas. Press edges tightly together without overlapping or leaving gaps. Cut pieces with a utility knife from the underside for clean edges.
Work from boards or plywood to avoid compacting prepared soil. Install sod across slopes horizontally rather than vertically to prevent slippage and erosion, using landscape stakes on steeper inclines if necessary.
Step 5: Cut and Shape the Sod
Use a sharp utility knife to trim sod around obstacles, curved edges, and sprinkler heads. Make precise cuts for professional results – proper fitting prevents dry edges and ensures complete soil contact.
For irregular spaces, place a full piece over the area, then cut away excess rather than trying to piece together small sections. This approach creates seamless transitions and fewer vulnerable edges.
Ensure all sprinkler heads remain unobstructed but fully surrounded by sod. Adjust soil levels around fixed features as needed for smooth transitions.
Step 6: Roll and Water Immediately
Once all sod is placed, use a water-filled lawn roller to eliminate air pockets between sod and soil. Roll in different directions for thorough contact, which prevents drying and speeds root establishment.
Water immediately after rolling. Apply enough water to soak through the sod and moisten the top inch of soil beneath – typically about 1 inch of water.
Lift corners periodically during initial watering to verify moisture penetration. Denver’s dry air and often windy conditions make immediate watering essential for sod survival.
Post-Installation Sod Care in Denver
Denver’s altitude, sunshine intensity, and typically dry conditions require specific attention to new sod care:
Watering Schedule
- Week 1: Water 2-3 times daily (morning, midday, afternoon) applying approximately 1/4 inch each time. Never allow new sod to dry out.
- Week 2: Reduce to 1-2 times daily, applying slightly more water each session.
- Weeks 3-4: Transition to deeper, less frequent watering (every other day) to encourage deeper root growth.
- After establishment: Follow Denver Water’s seasonal watering guidelines, typically 2-3 times weekly during the growing season.
Mowing
Wait until sod roots have established and grass reaches 3-4 inches height (typically 10-14 days after installation). Set the mower blade high (3 inches) for the first several cuts. Never remove more than 1/3 of grass height in a single mowing. Keep mower blades sharp – dull blades tear grass, increasing water needs.
Fertilizing
Apply balanced fertilizer 4-6 weeks after installation, following a schedule adapted to Denver’s shorter growing season. Avoid fertilizing new sod during the July-August heat unless using products specifically formulated for summer application.
Traffic
Keep all foot traffic off new sod for at least 2-3 weeks. Root establishment takes longer in Denver’s climate compared to more humid regions.
Common Mistakes to Avoid When Laying Sod in Denver
Prevent these frequent installation errors:
- Inadequate soil preparation: Simply placing sod over Denver’s native clay soil virtually guarantees failure. Proper soil amendment forms the foundation for success.
- Installing dormant sod: Denver retailers sometimes sell dormant sod during early spring. While this can work, understand that establishment will take longer than green, actively growing sod.
- Improper watering: Both under-watering and over-watering cause problems. Check moisture levels daily during establishment by lifting sod corners or using a soil probe.
- Misaligned seams: Sod pieces with seams that align create vulnerable lines where drying occurs quickly and weeds can penetrate.
- Delayed installation: Denver’s dry air rapidly dehydrates harvested sod. Install within 24 hours of delivery for best results.
- Ignoring slopes: Horizontal installation and proper staking prevent slippage on Denver’s often hilly terrain.
For those who prefer expert assistance, our landscape company offers professional sod installation services tailored to Denver’s specific needs. Our local expertise ensures proper preparation, installation, and follow-up care for lasting results. Contact us for soil analysis, ground preparation, or complete installation services.
Frequently Asked Questions (FAQs)
What should you put down before laying sod?
Before laying sod, you should prepare the soil by removing existing vegetation, adding 2-3 inches of quality topsoil or compost, and incorporating a starter fertilizer. Denver’s native soils need organic matter improvement to support healthy root development.
Can I just lay sod on dirt?
While you can lay sod directly on dirt, it’s not recommended. Our region’s compacted clay soils lack proper drainage and nutrient content. For successful establishment, loosen soil to a 4-6 inch depth and incorporate quality amendments. This preparation prevents the “bathtub effect” and allows roots to penetrate deeply for drought resistance.
How to lay sod for beginners?
To lay sod successfully as a beginner, focus on proper preparation, timing, and post-installation care. Start with thorough soil preparation, lay sod in a brick-like pattern with tightly butted seams, water immediately after installation, and maintain consistent moisture for 2-3 weeks.
How long does it take for sod to root down?
Sod typically takes 2-3 weeks to develop initial rooting and 4-6 weeks for substantial establishment. Our altitude and drier conditions often extend this timeline compared to more humid regions. Test root development by gently lifting a corner – resistance indicates rooting has begun. Full establishment takes approximately 3 months.
Will sod grow on hard dirt?
Yes, sod can grow on hard dirt, but it will develop shallow roots and struggle during hot, dry periods. The limited root depth makes the lawn vulnerable to drought stress and increases long-term water requirements. Always loosen compacted soil before installation for sustainable results and water efficiency.